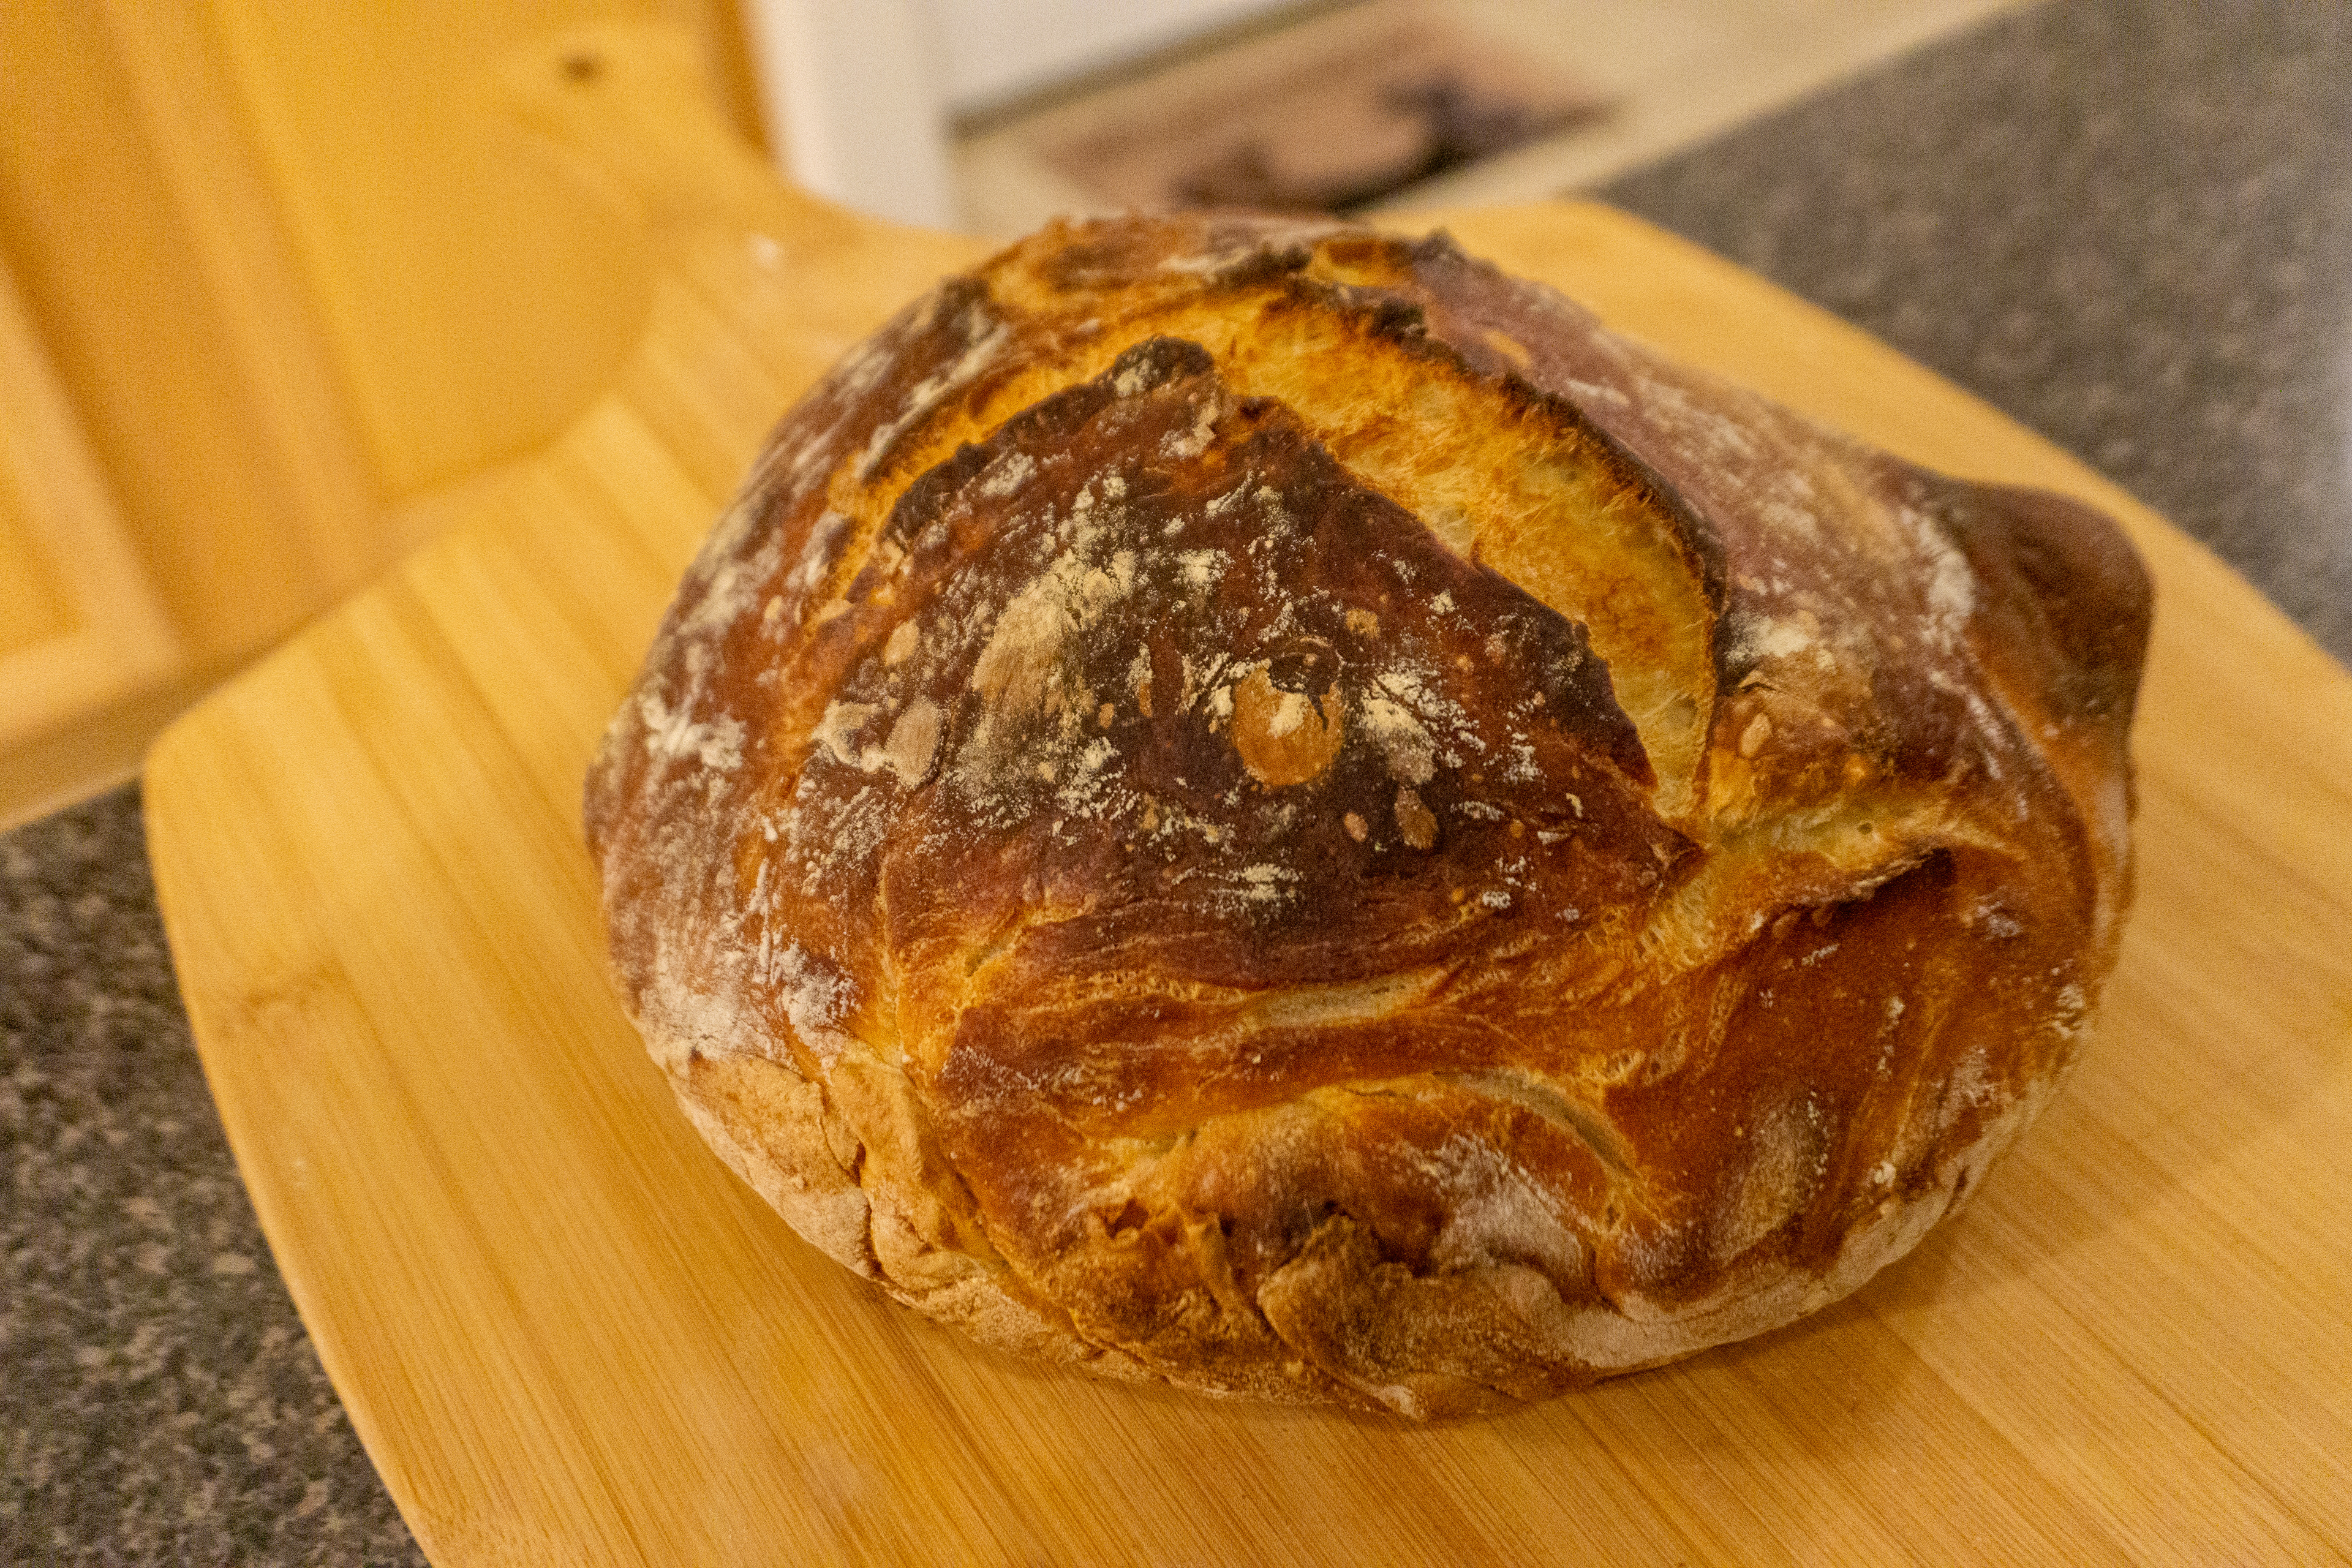
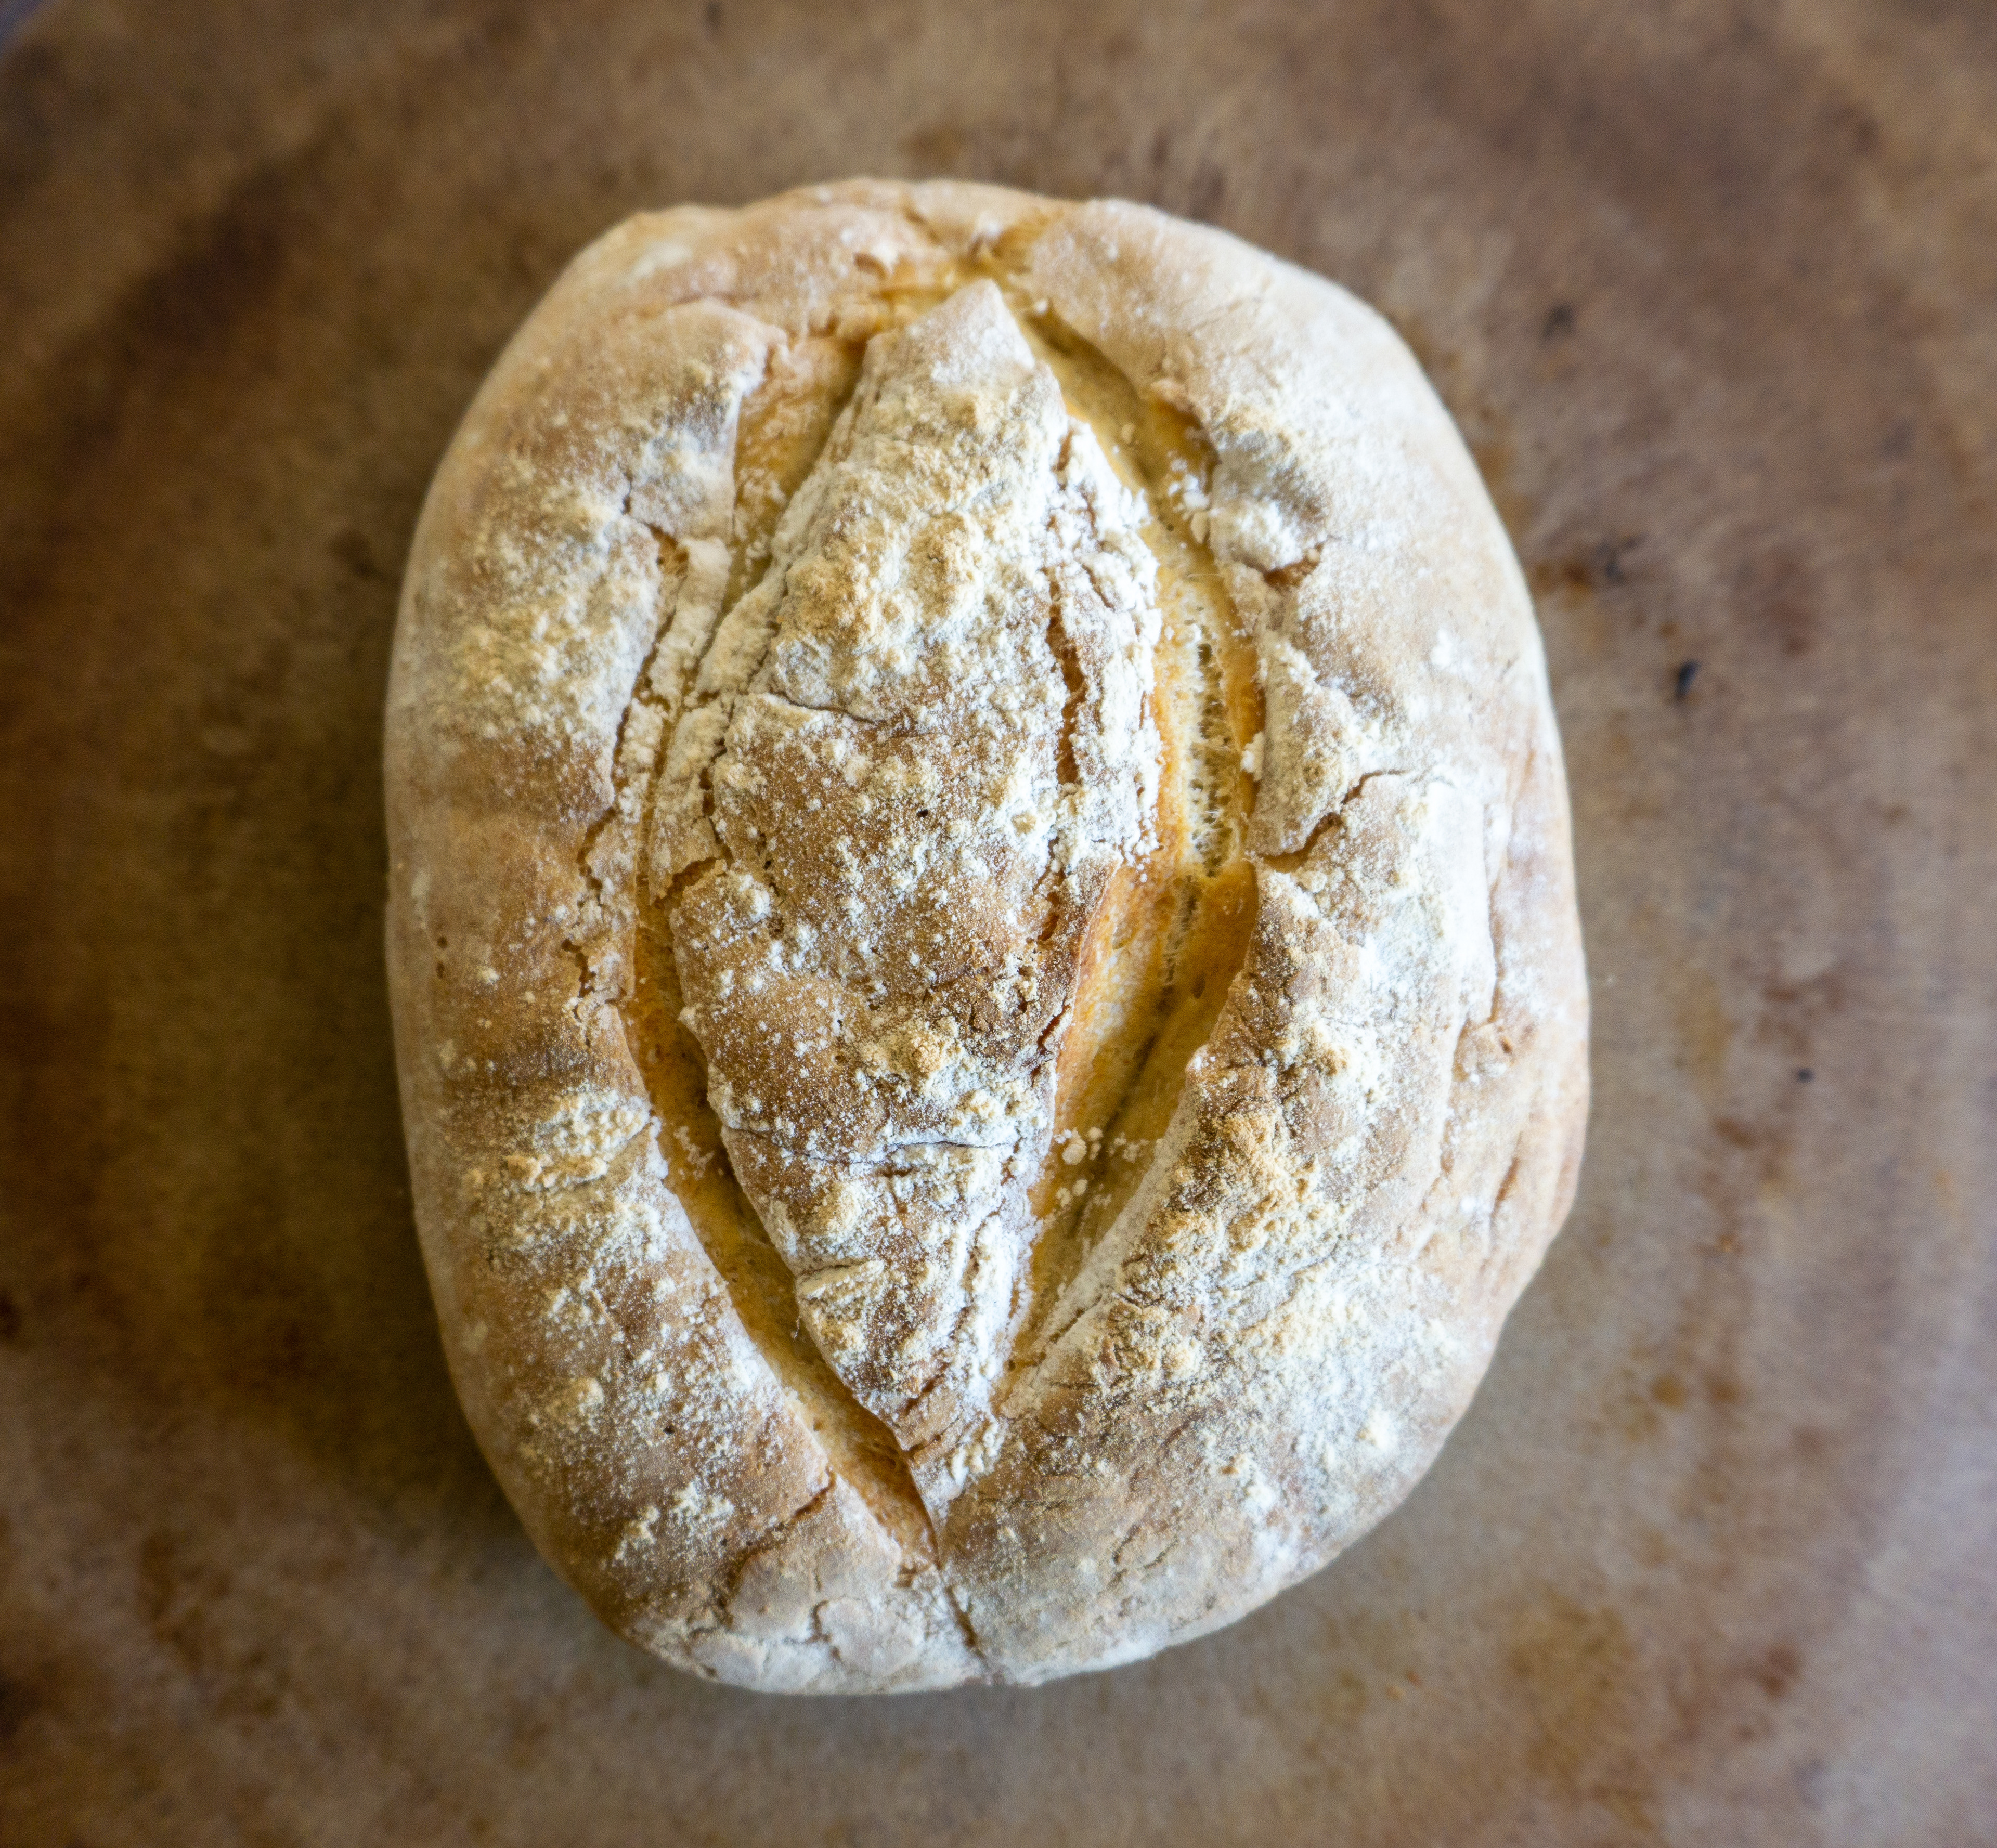
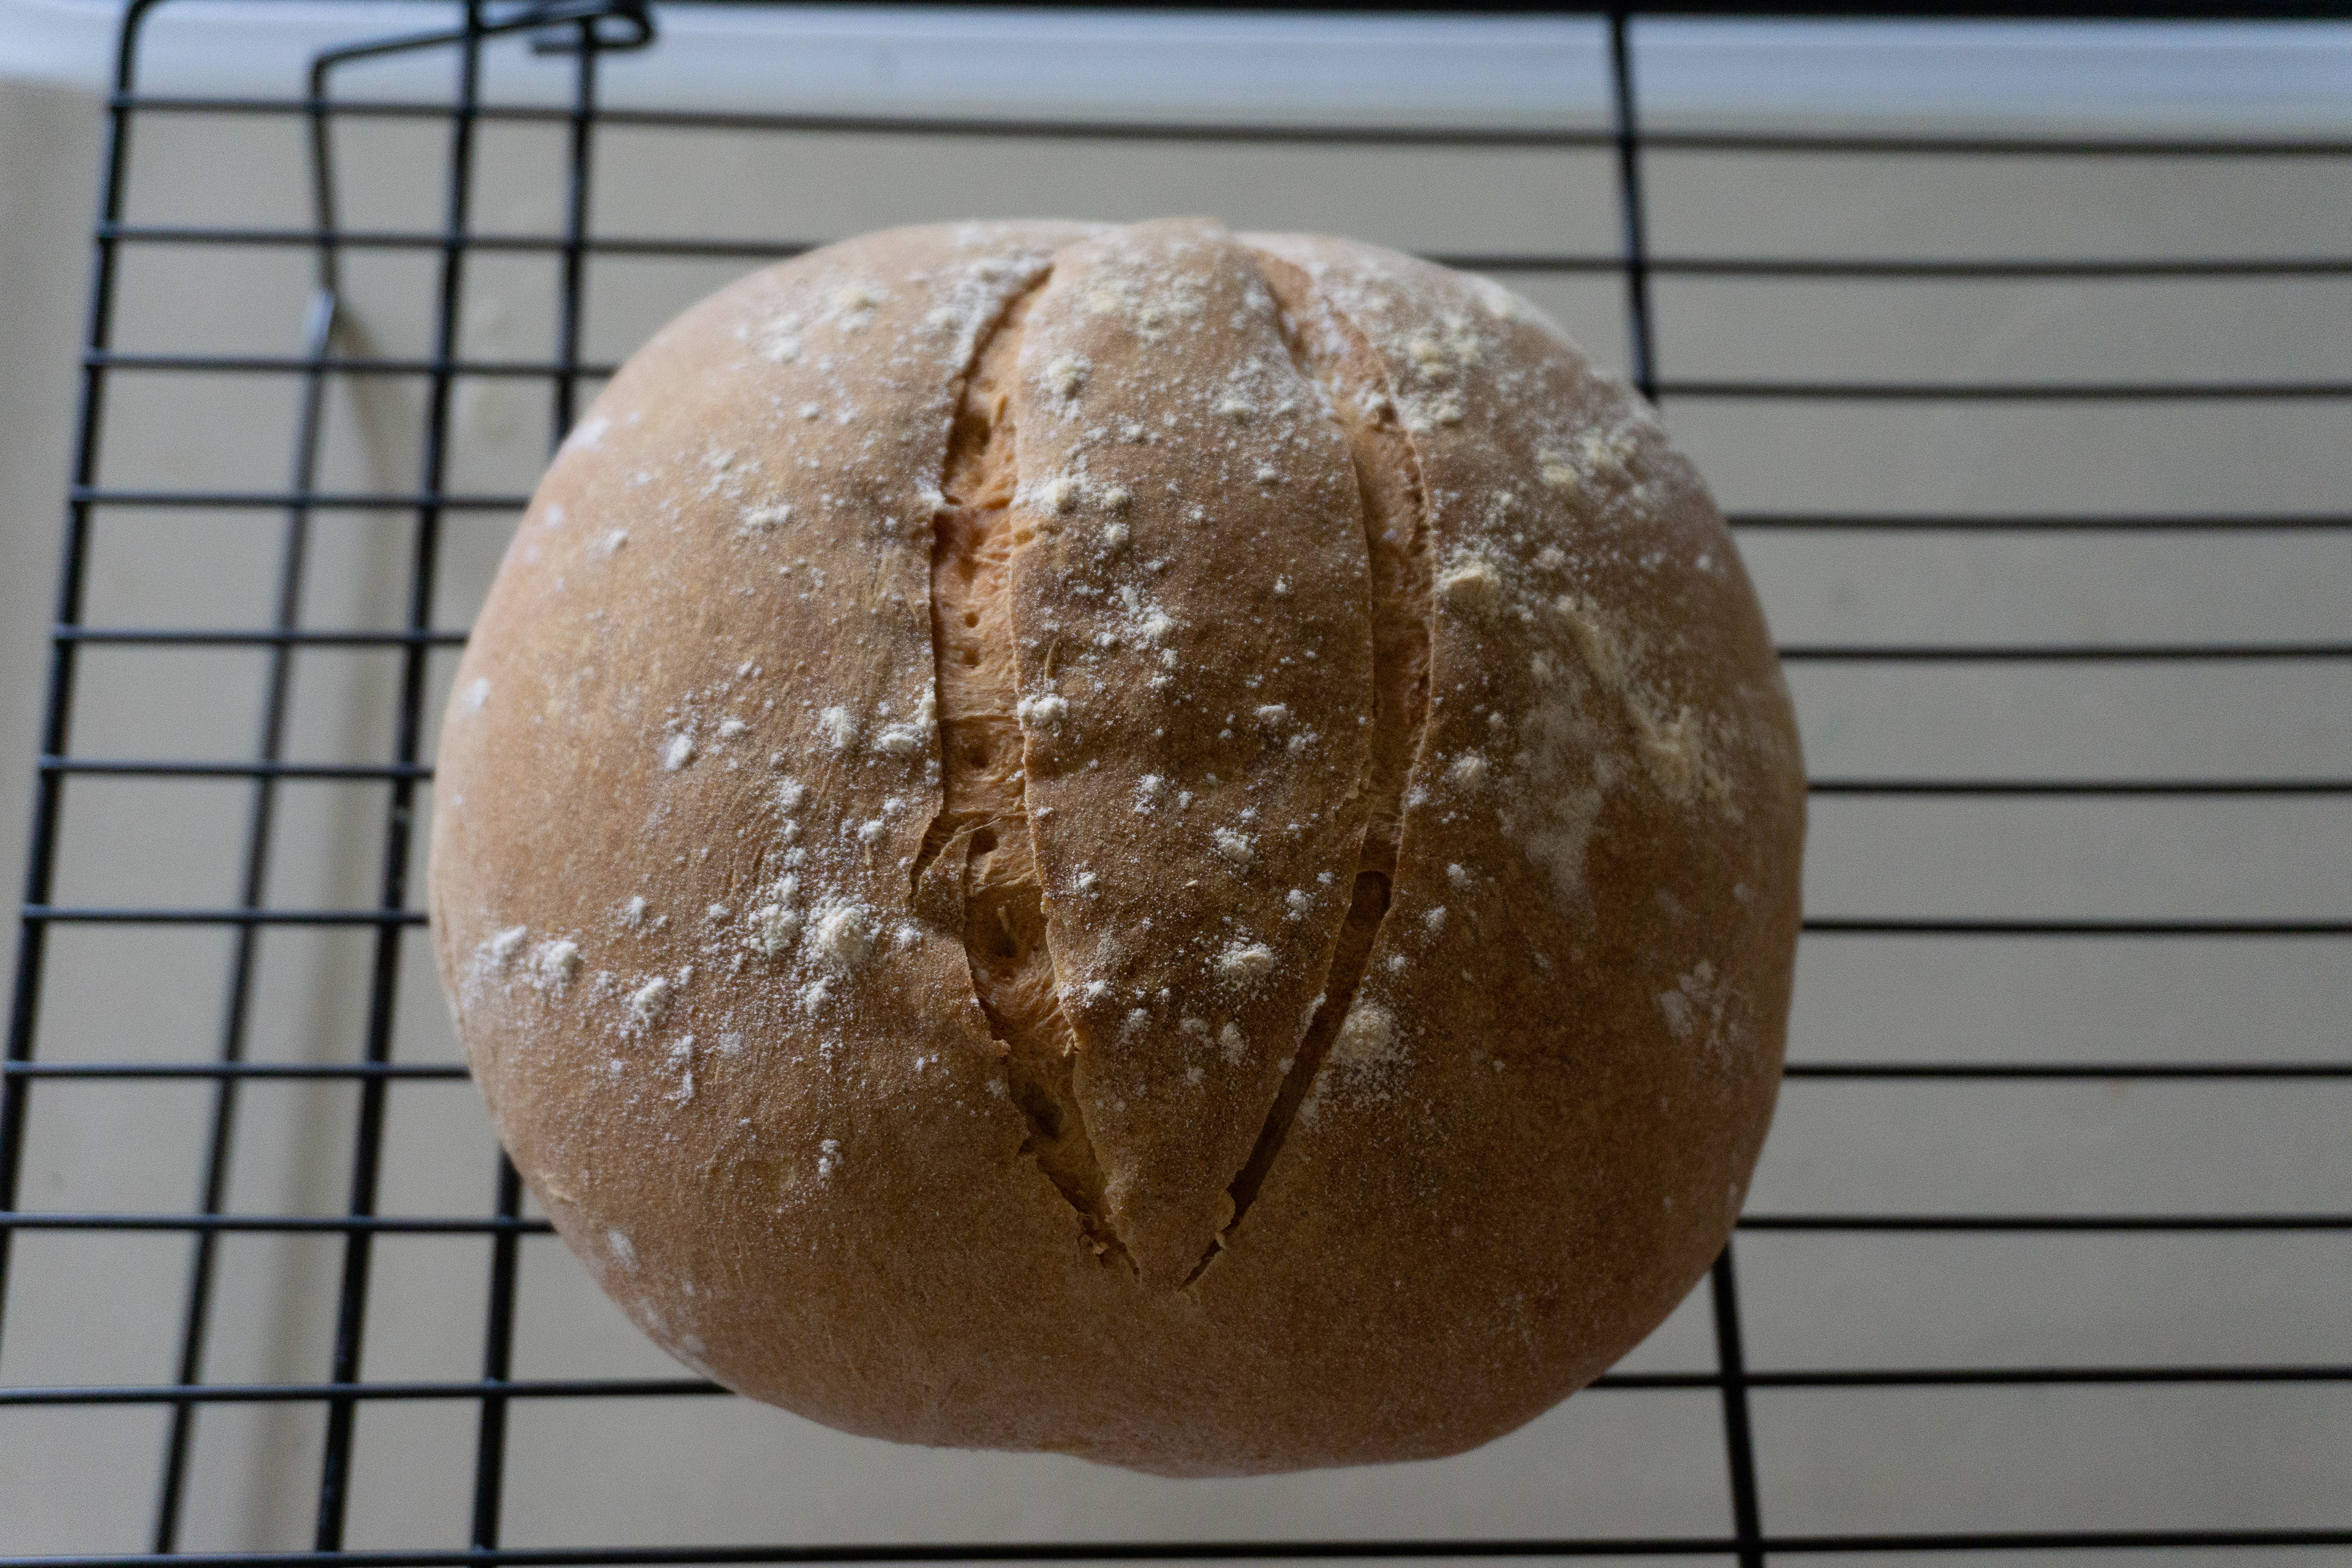
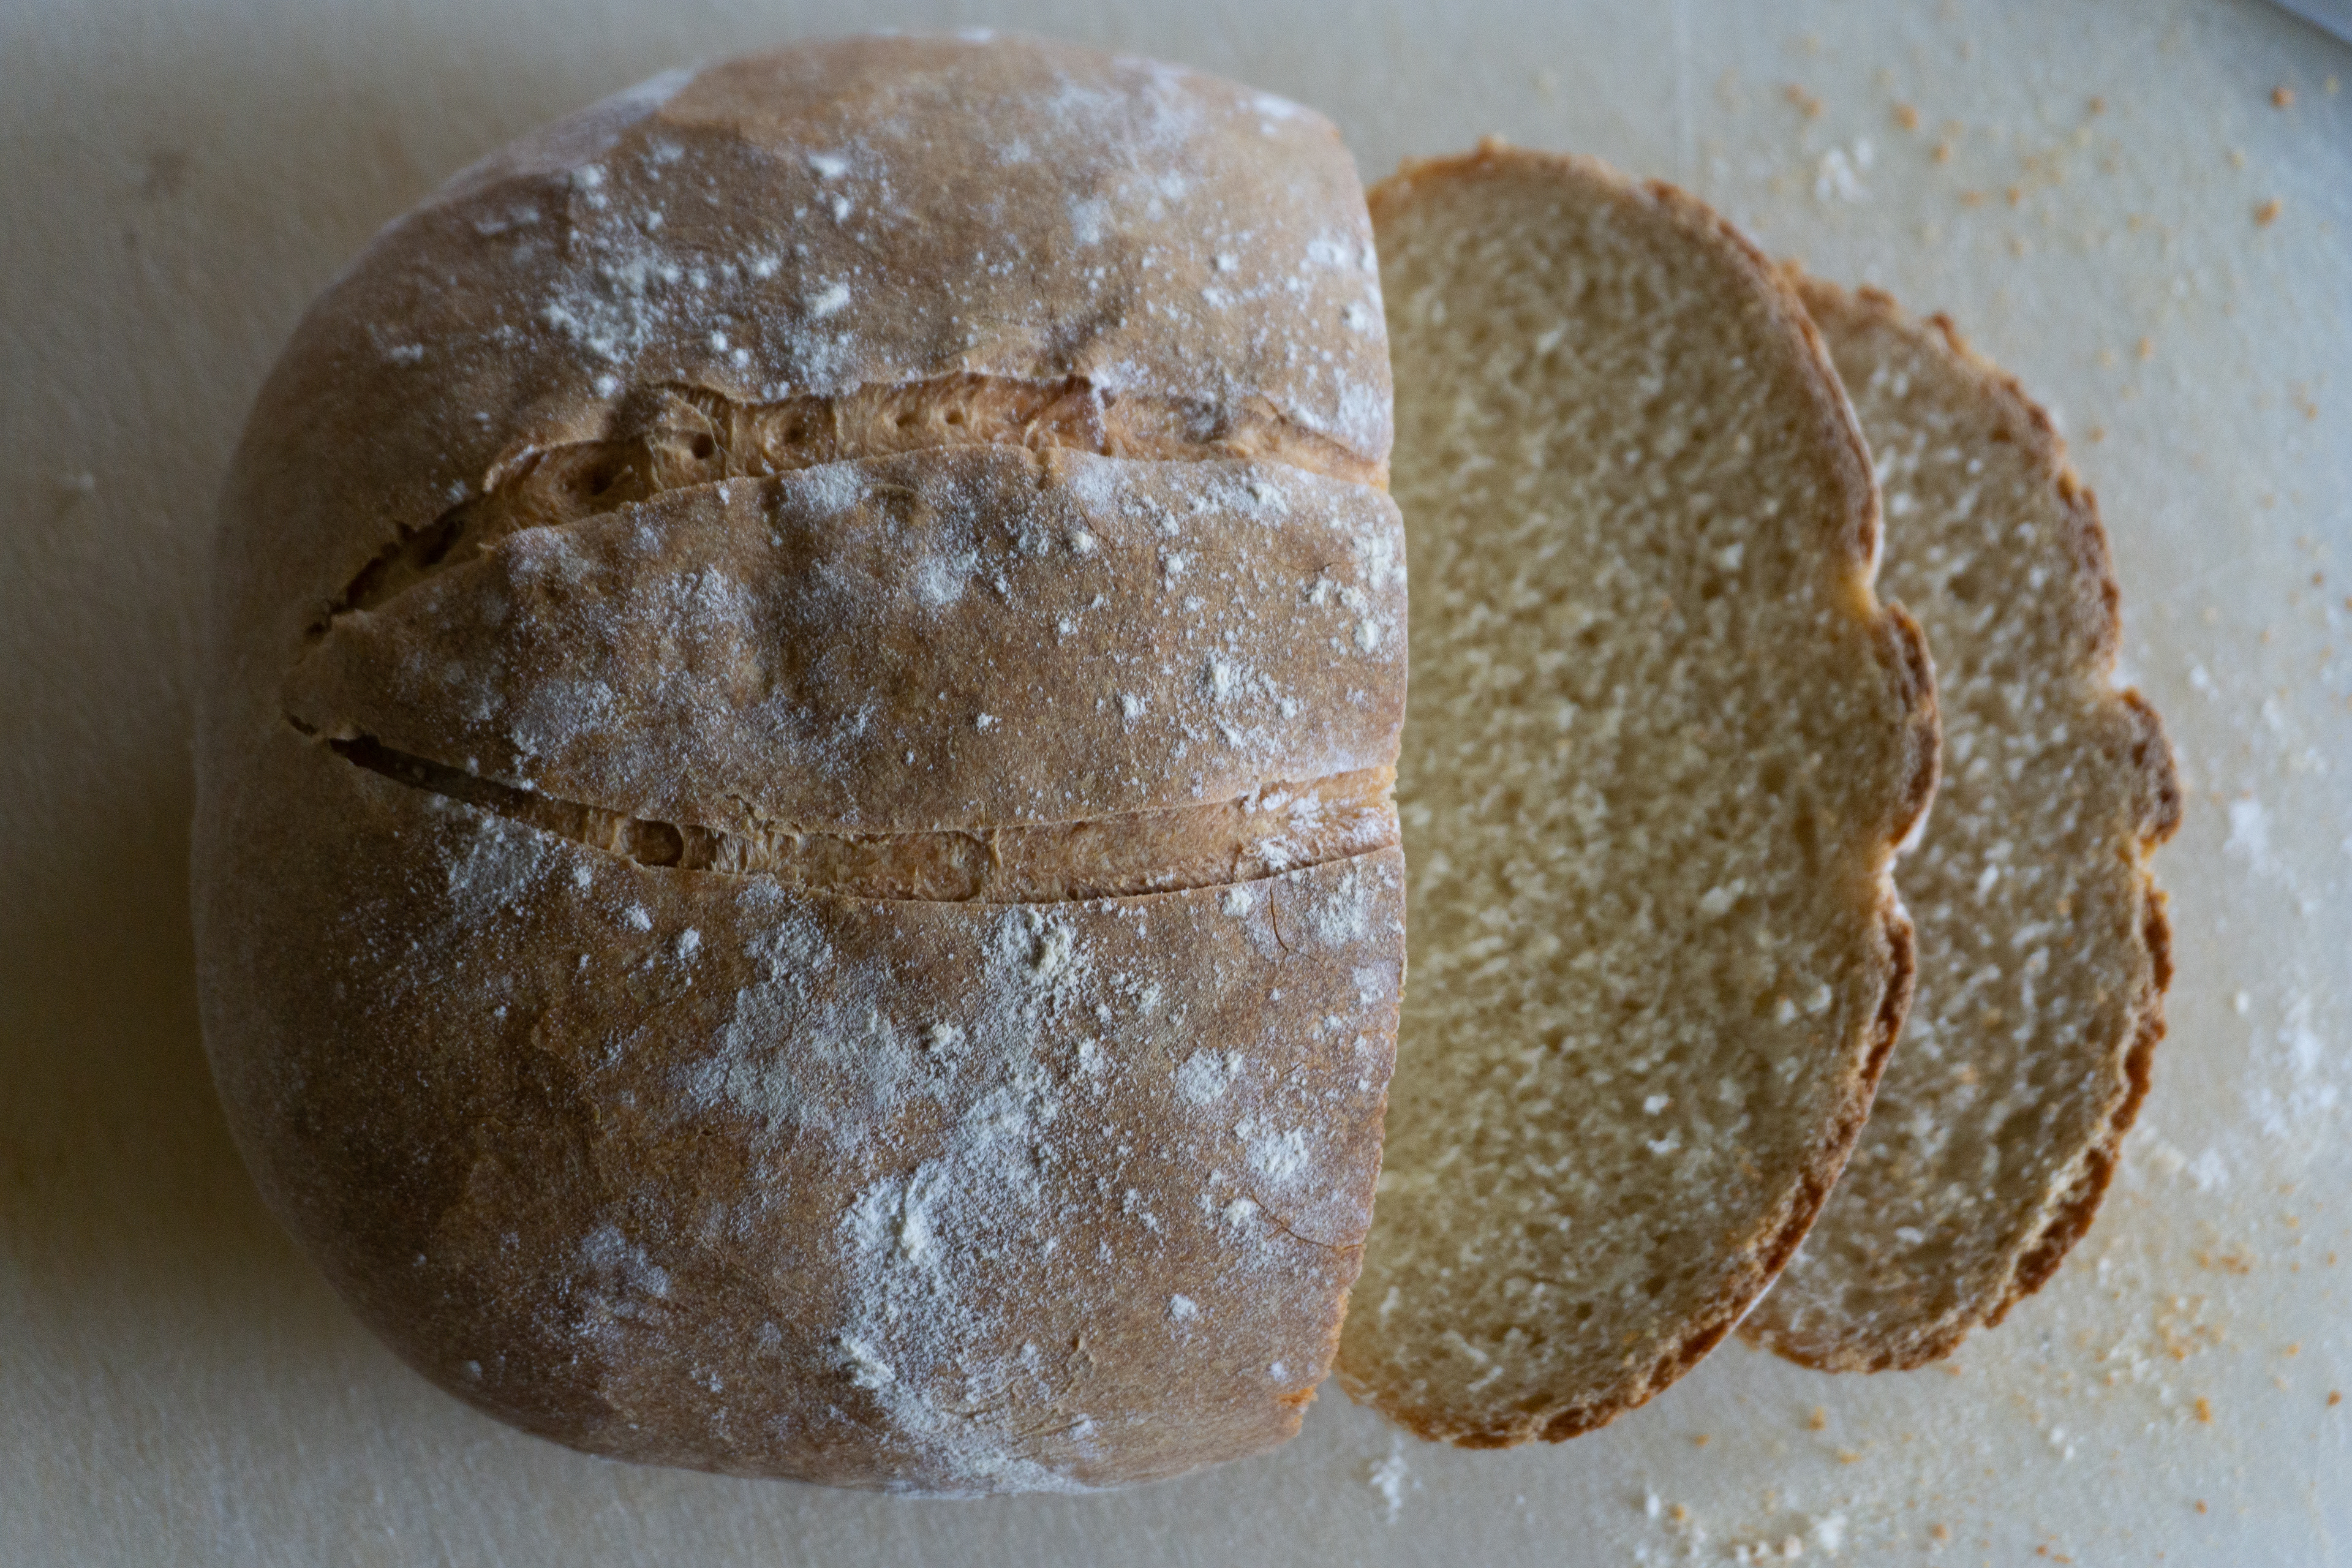
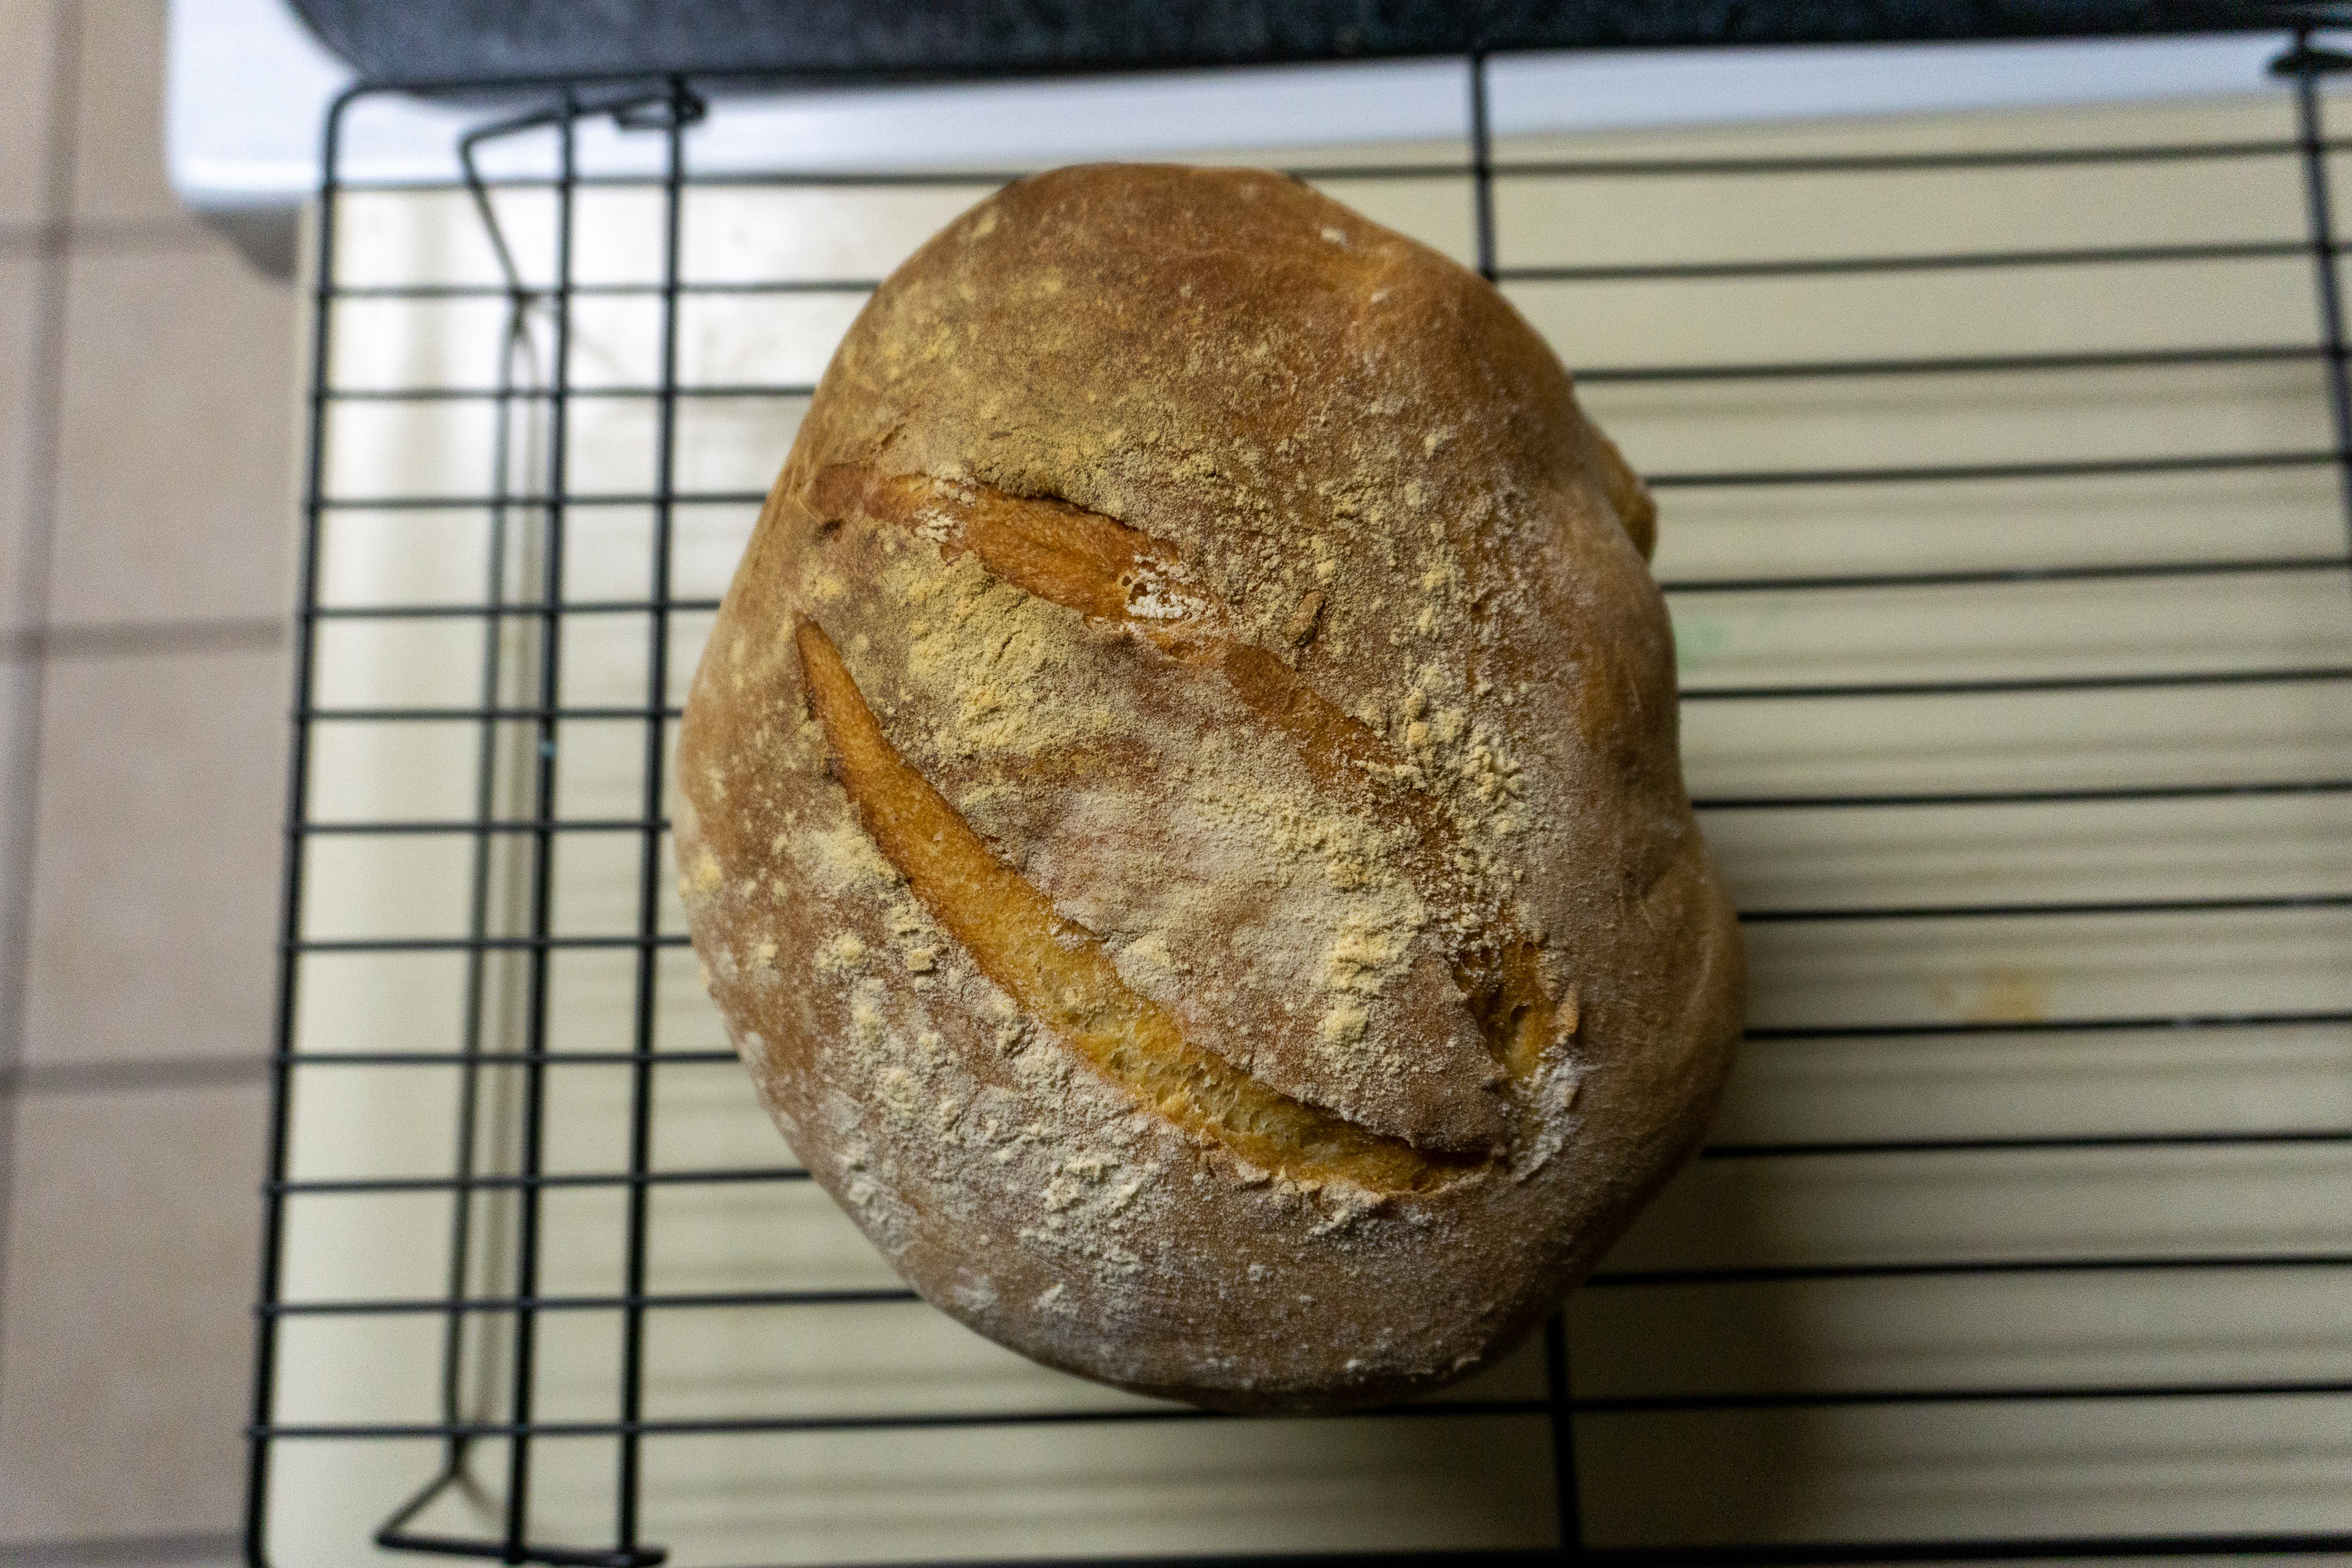
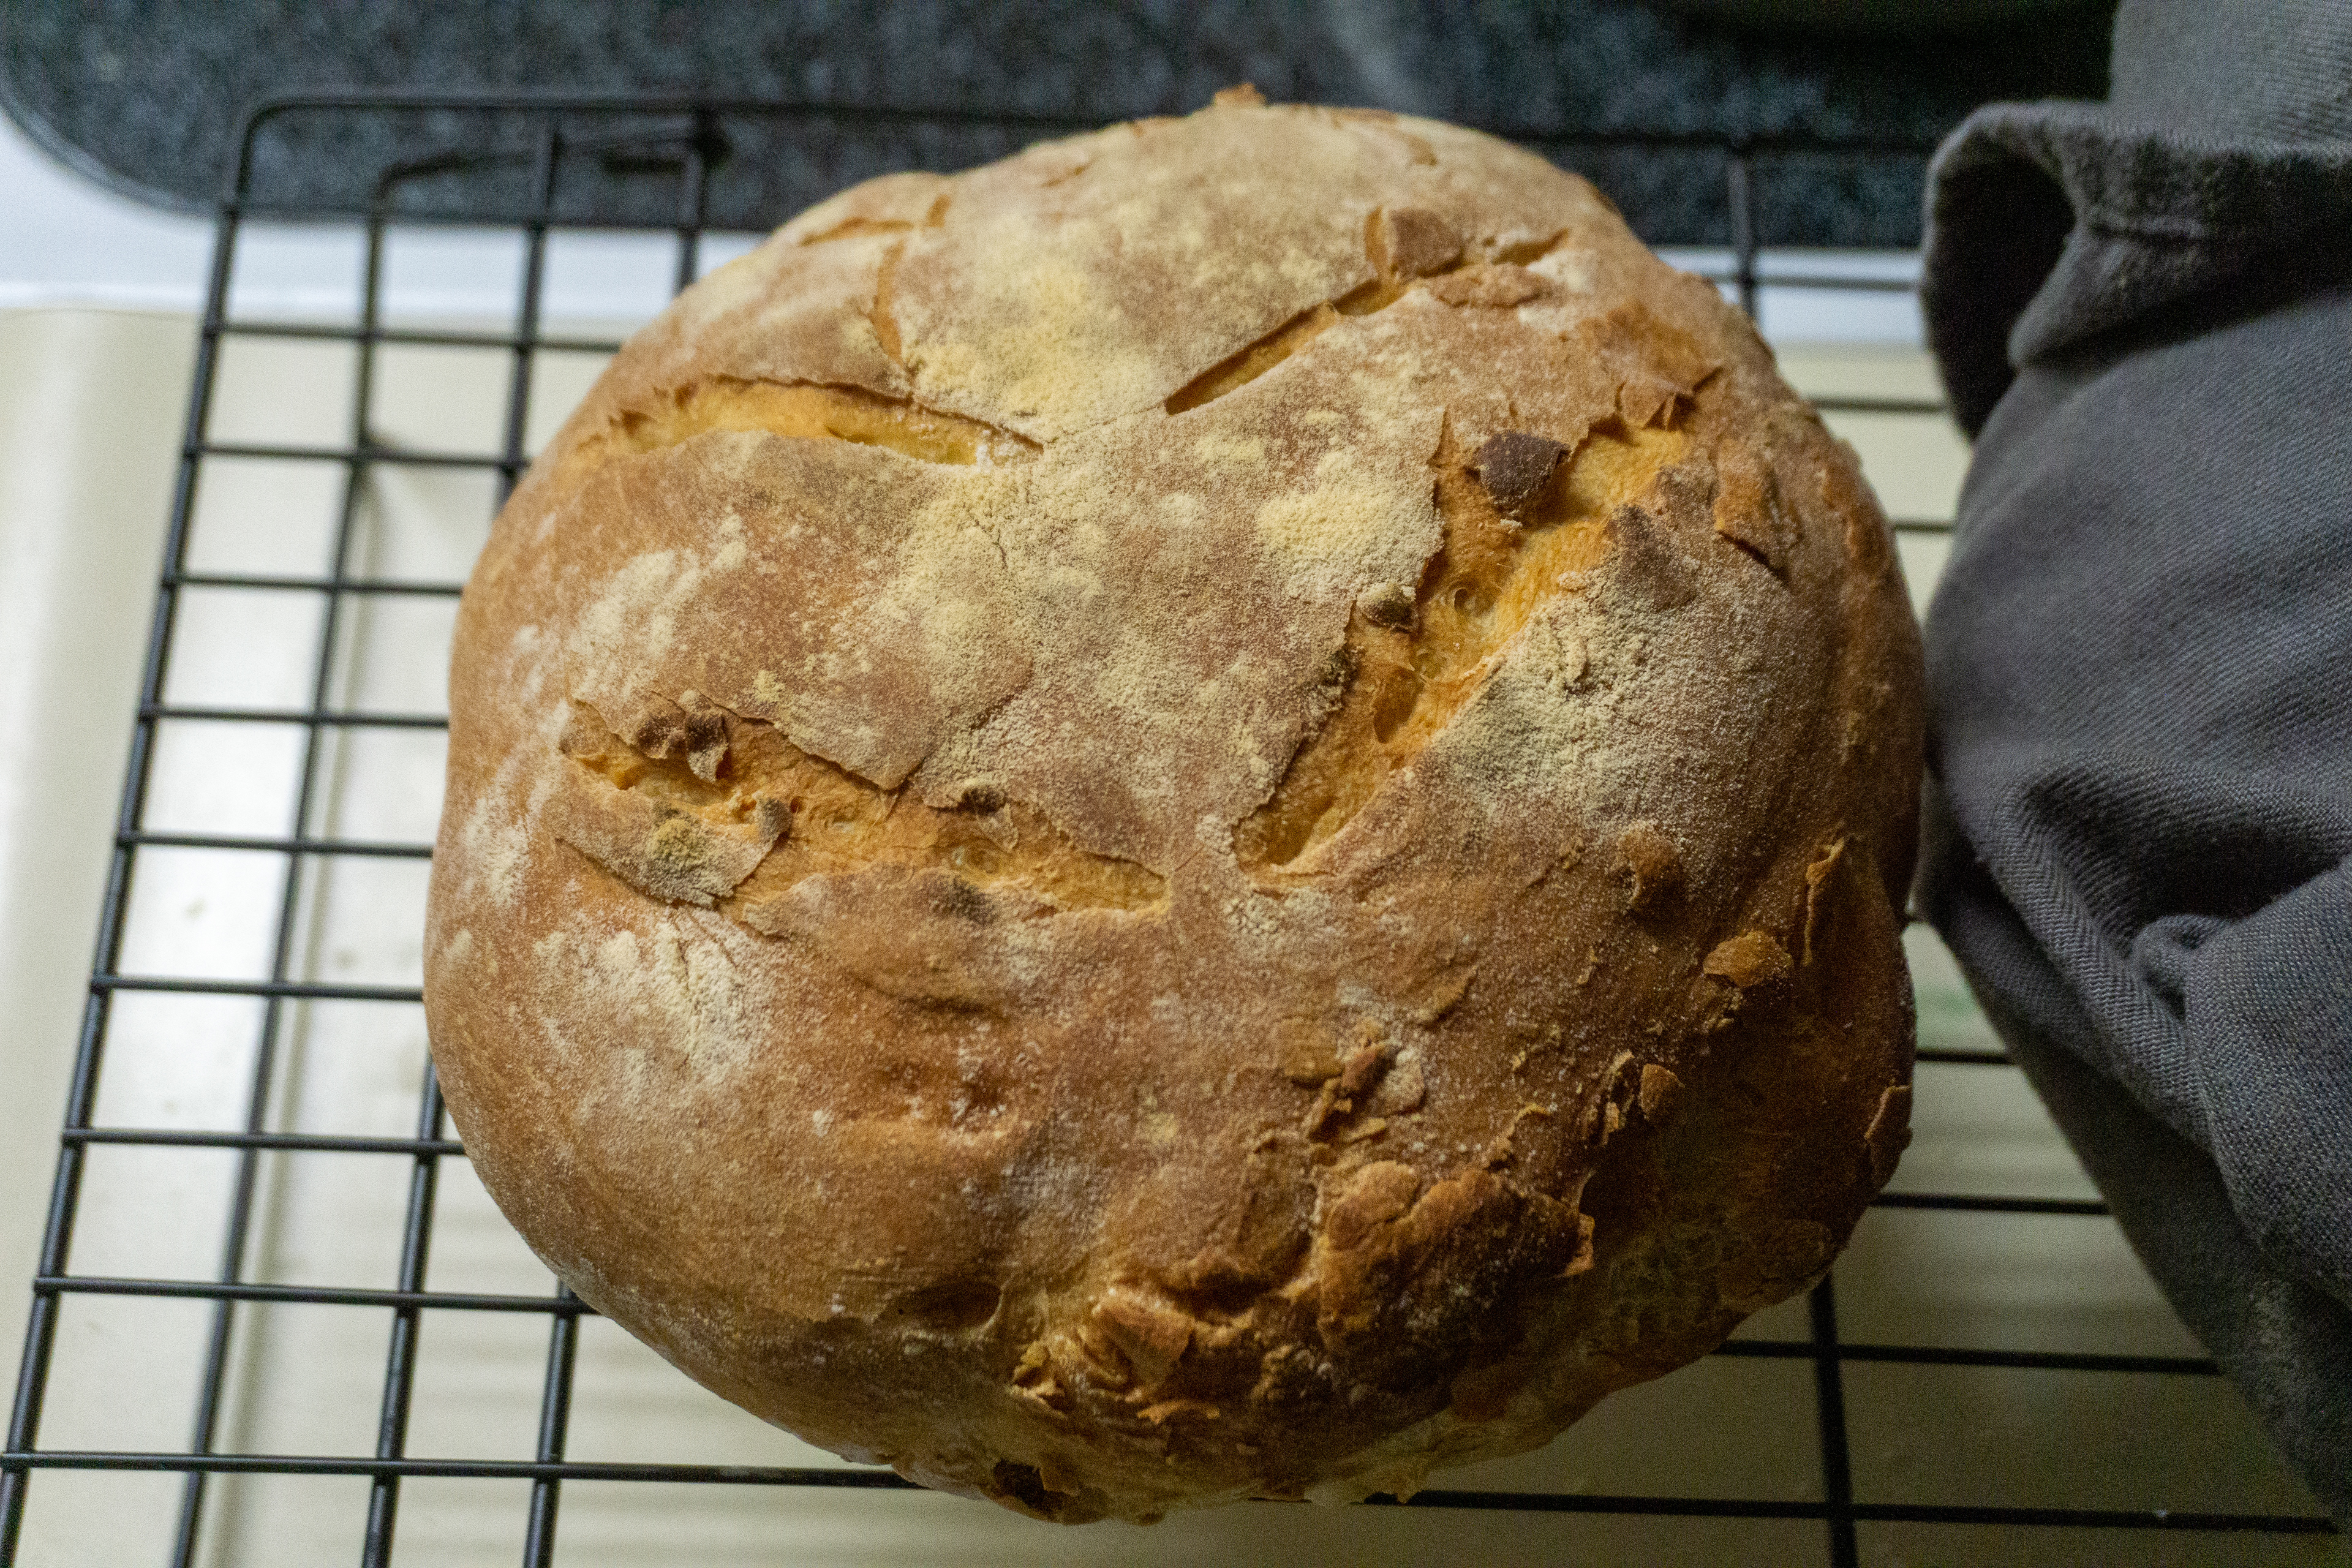
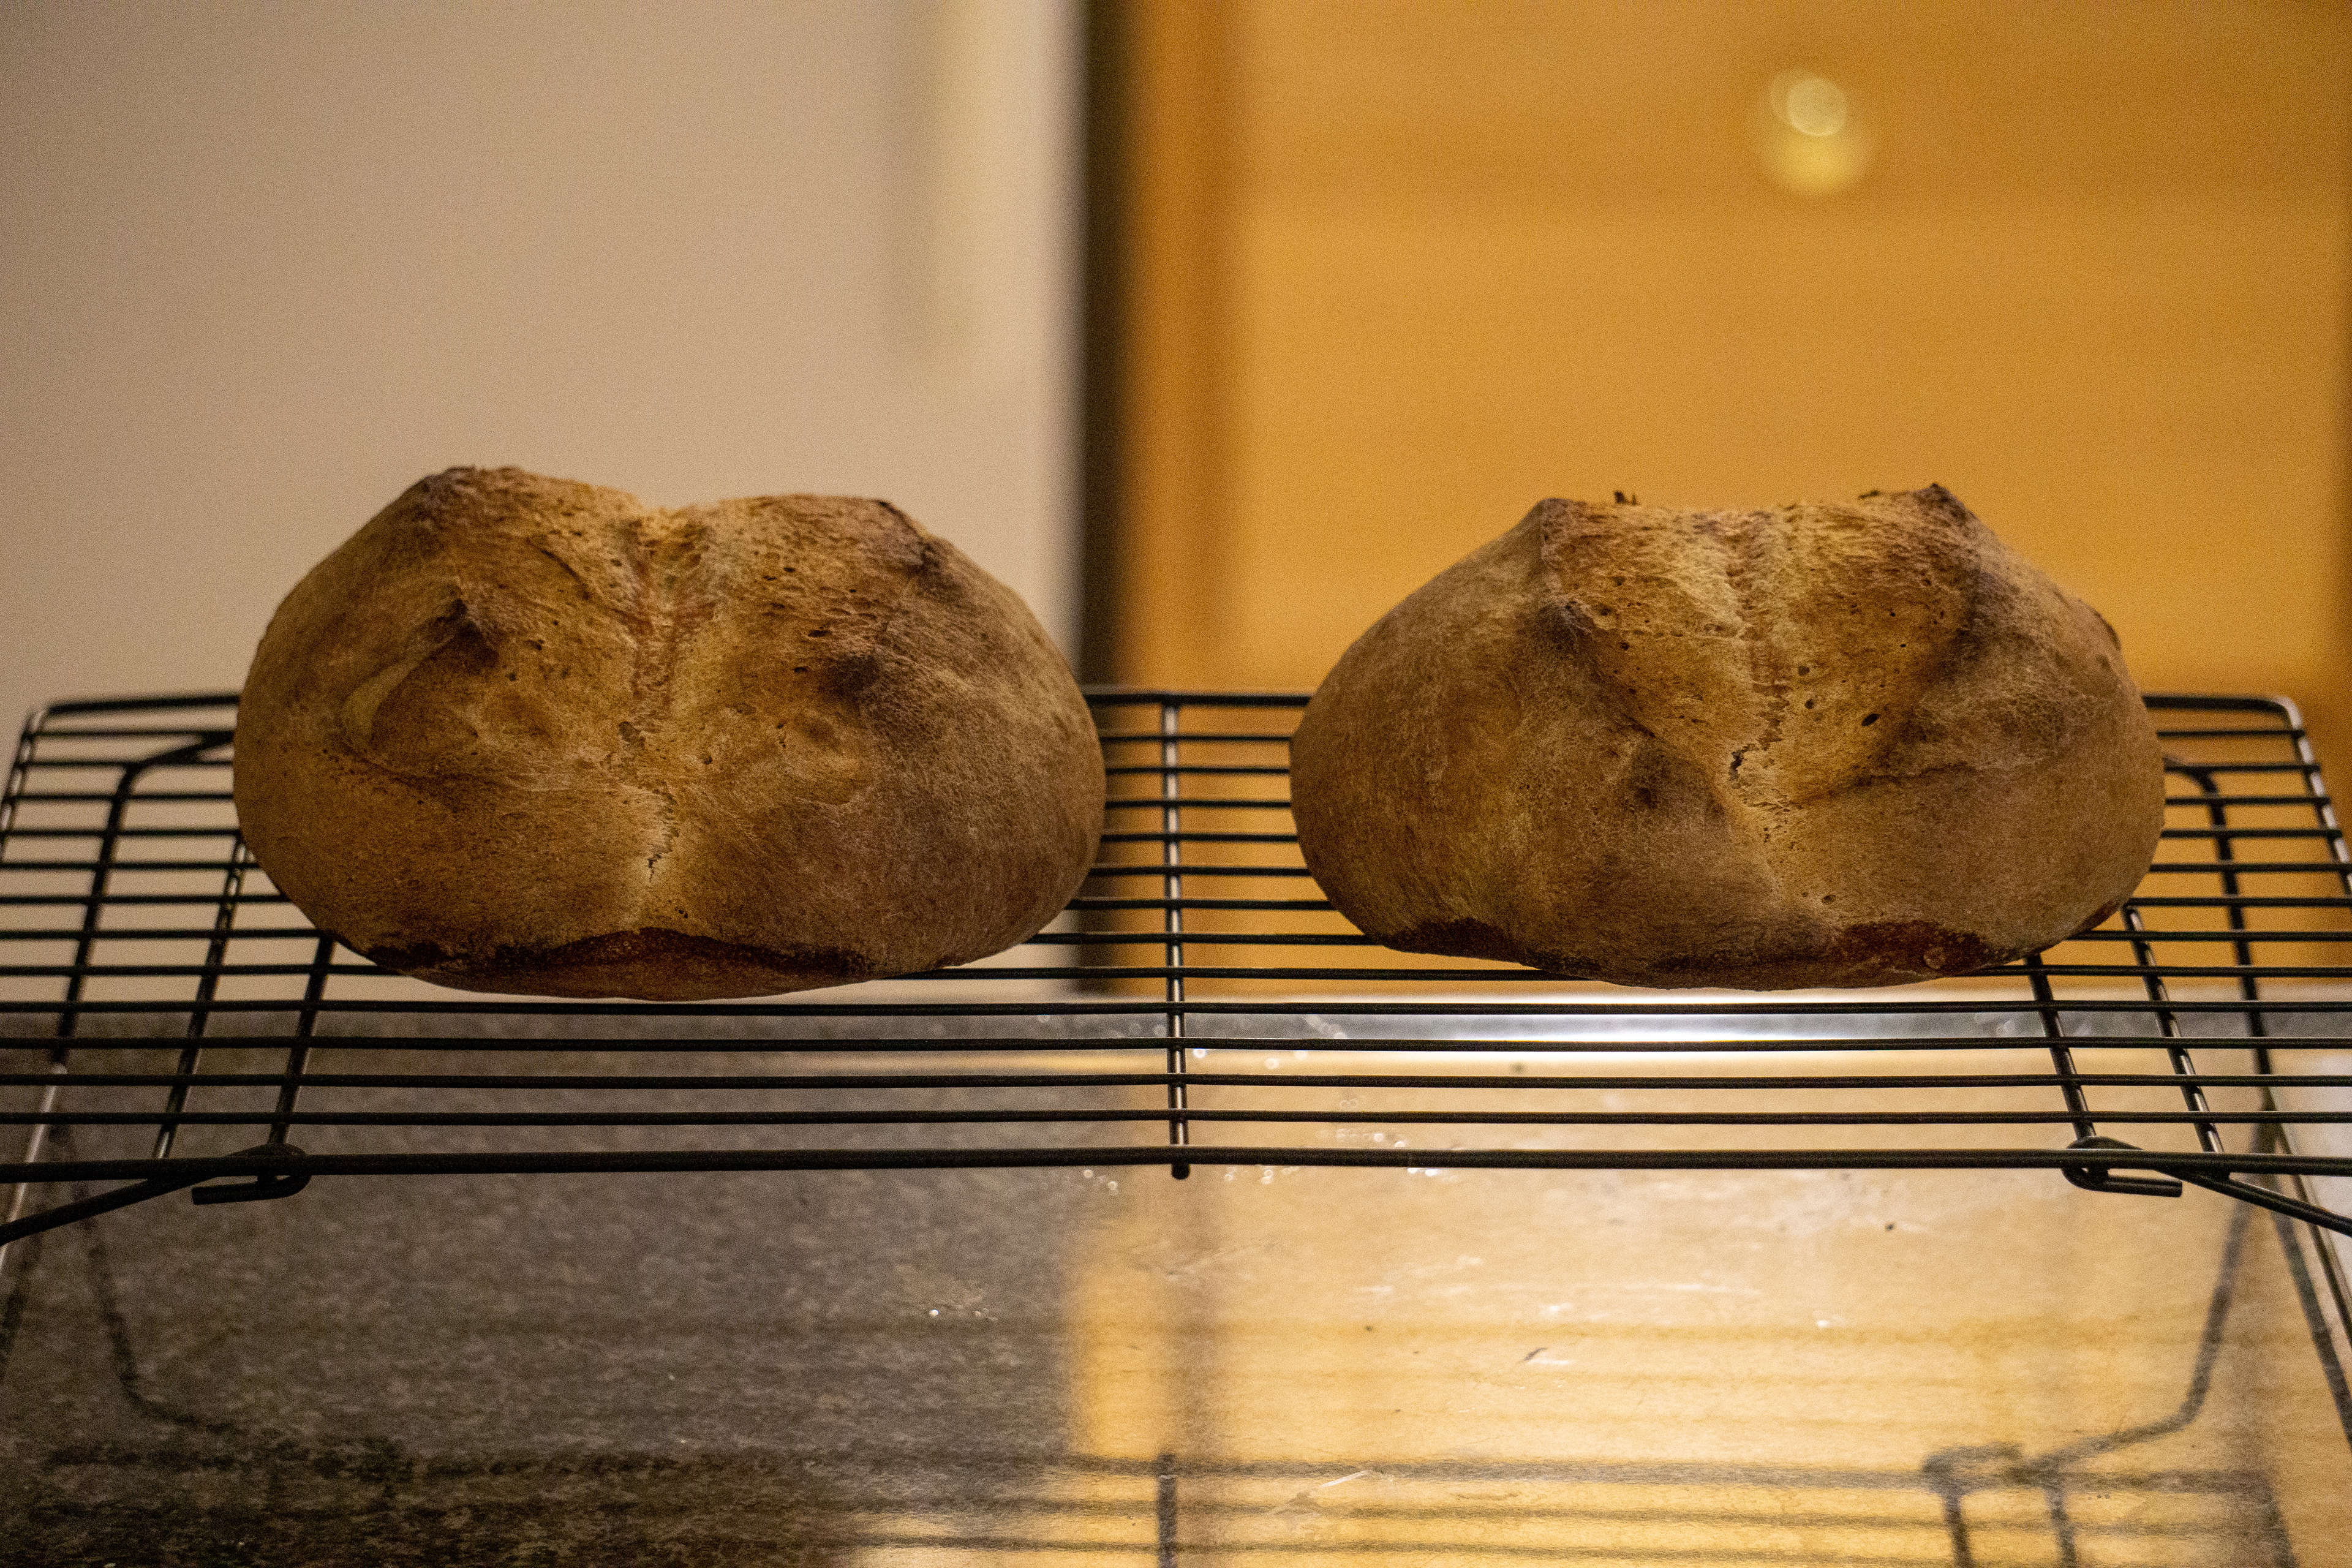
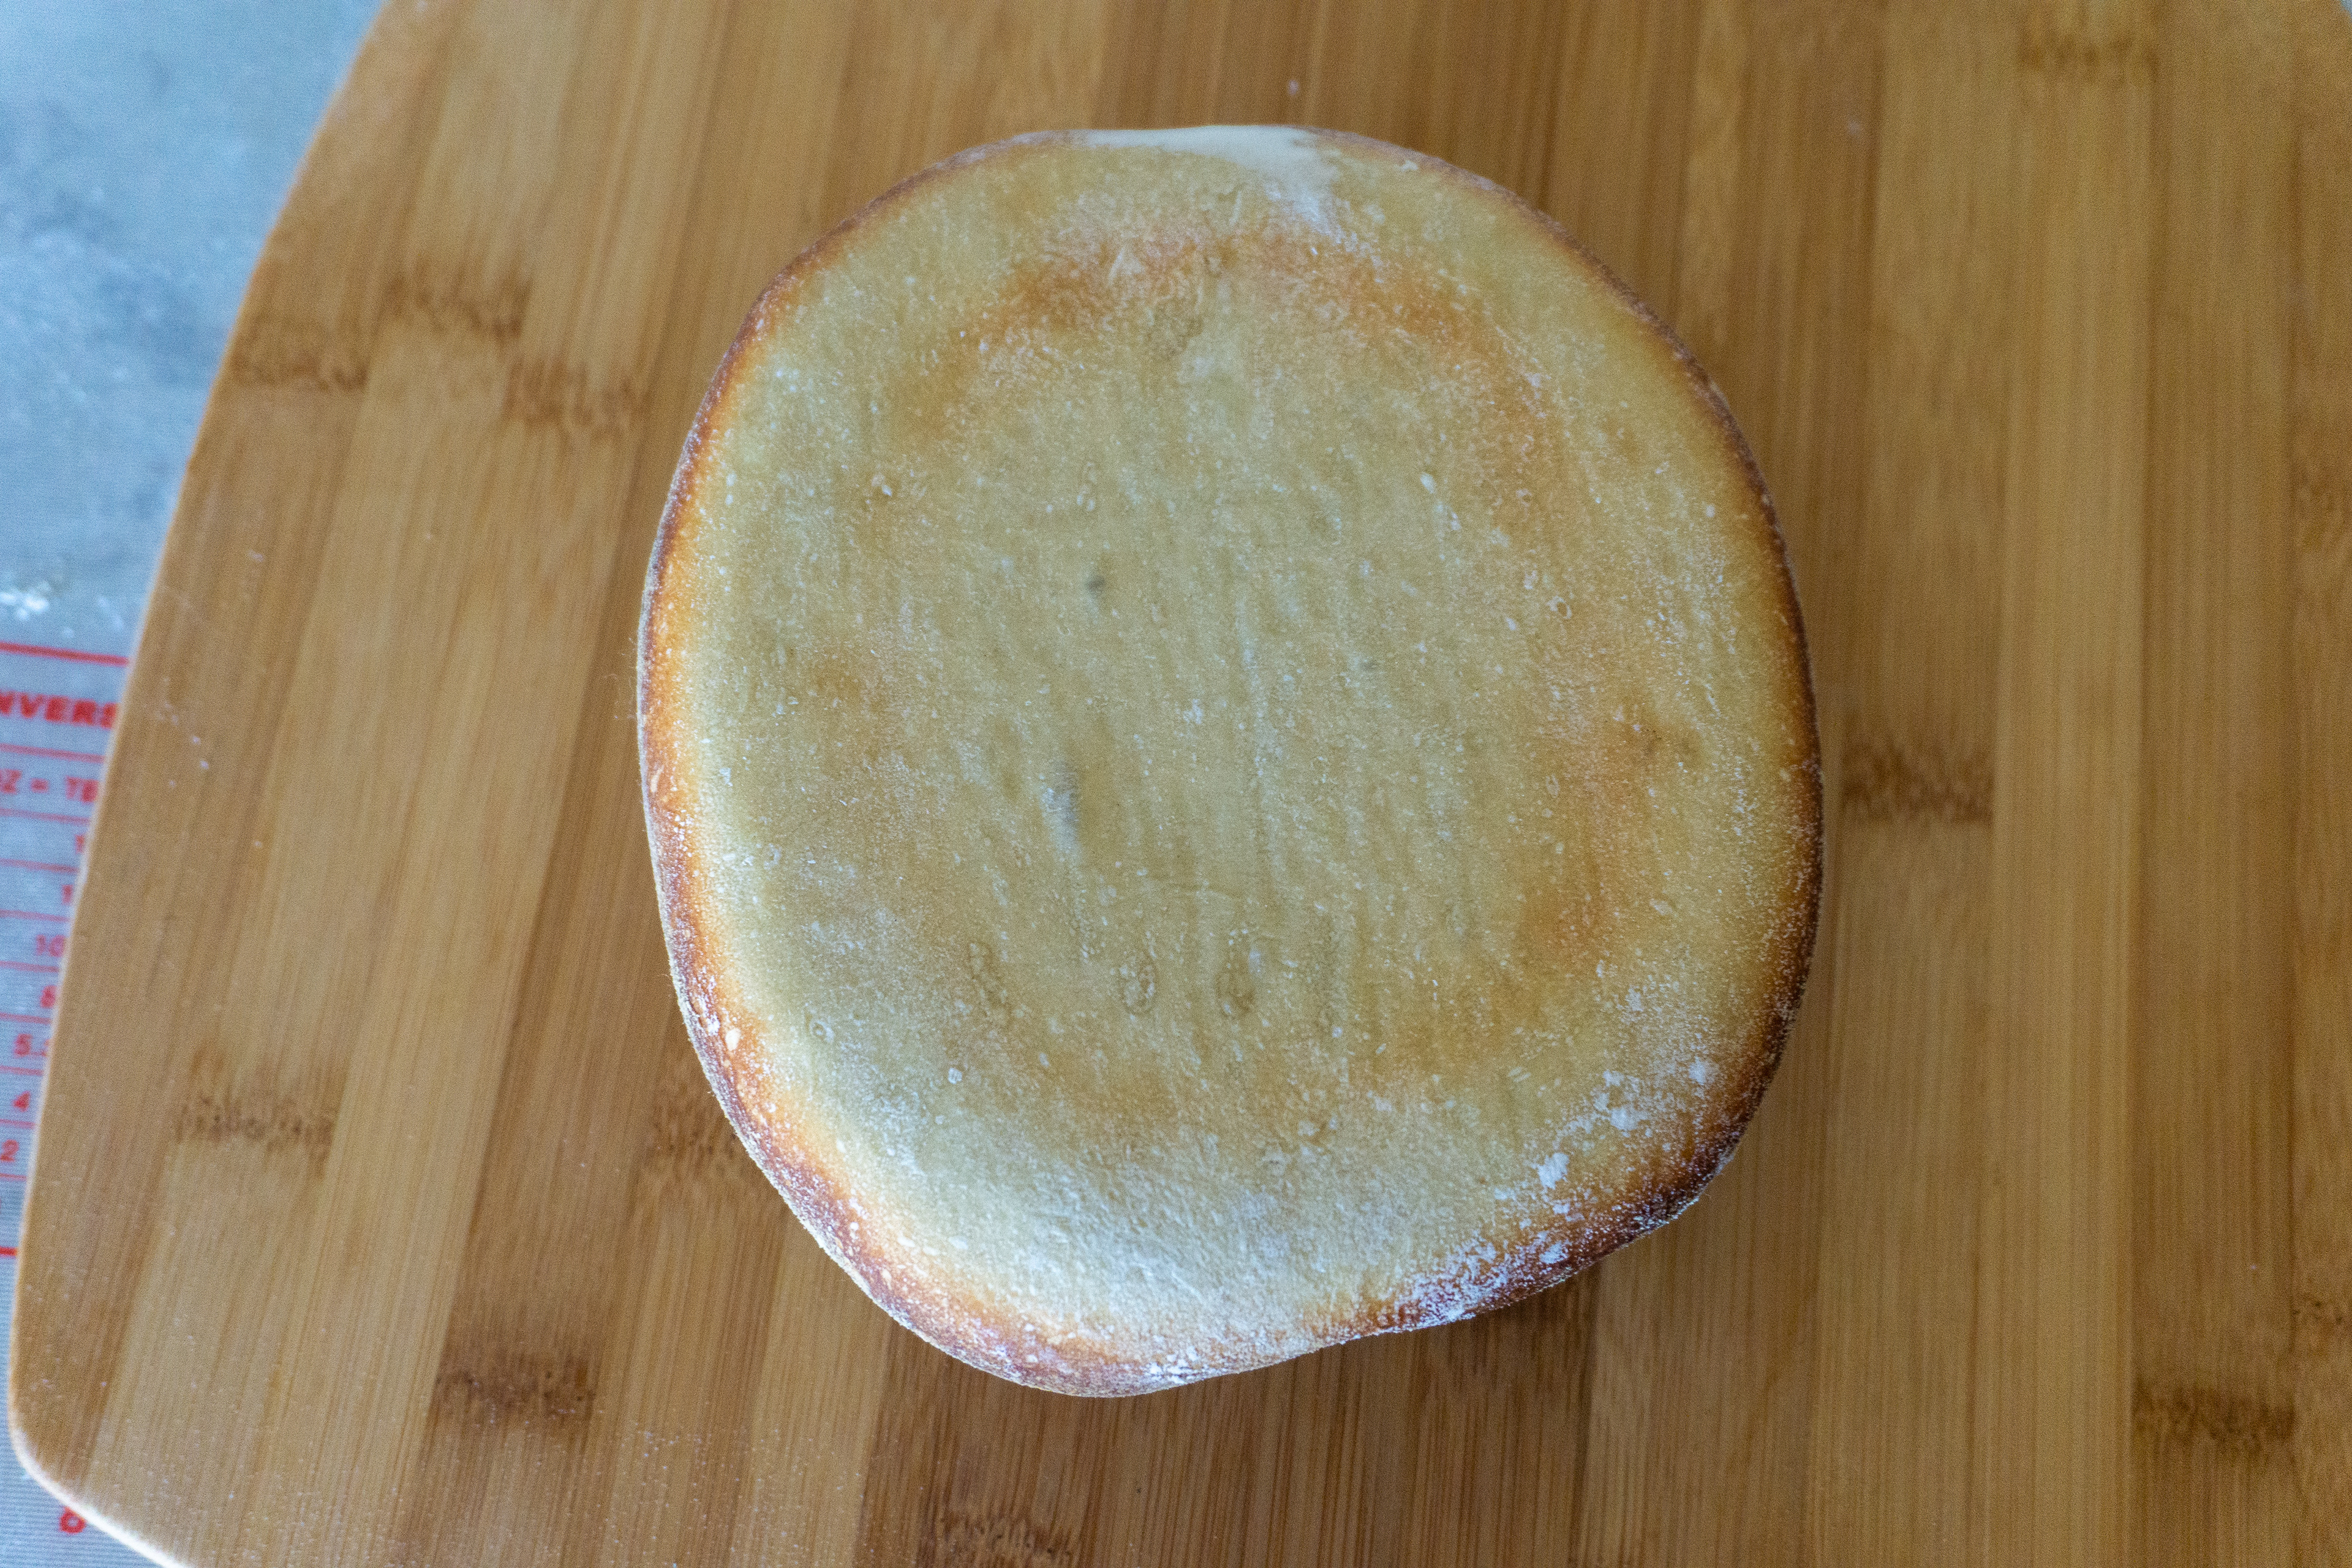
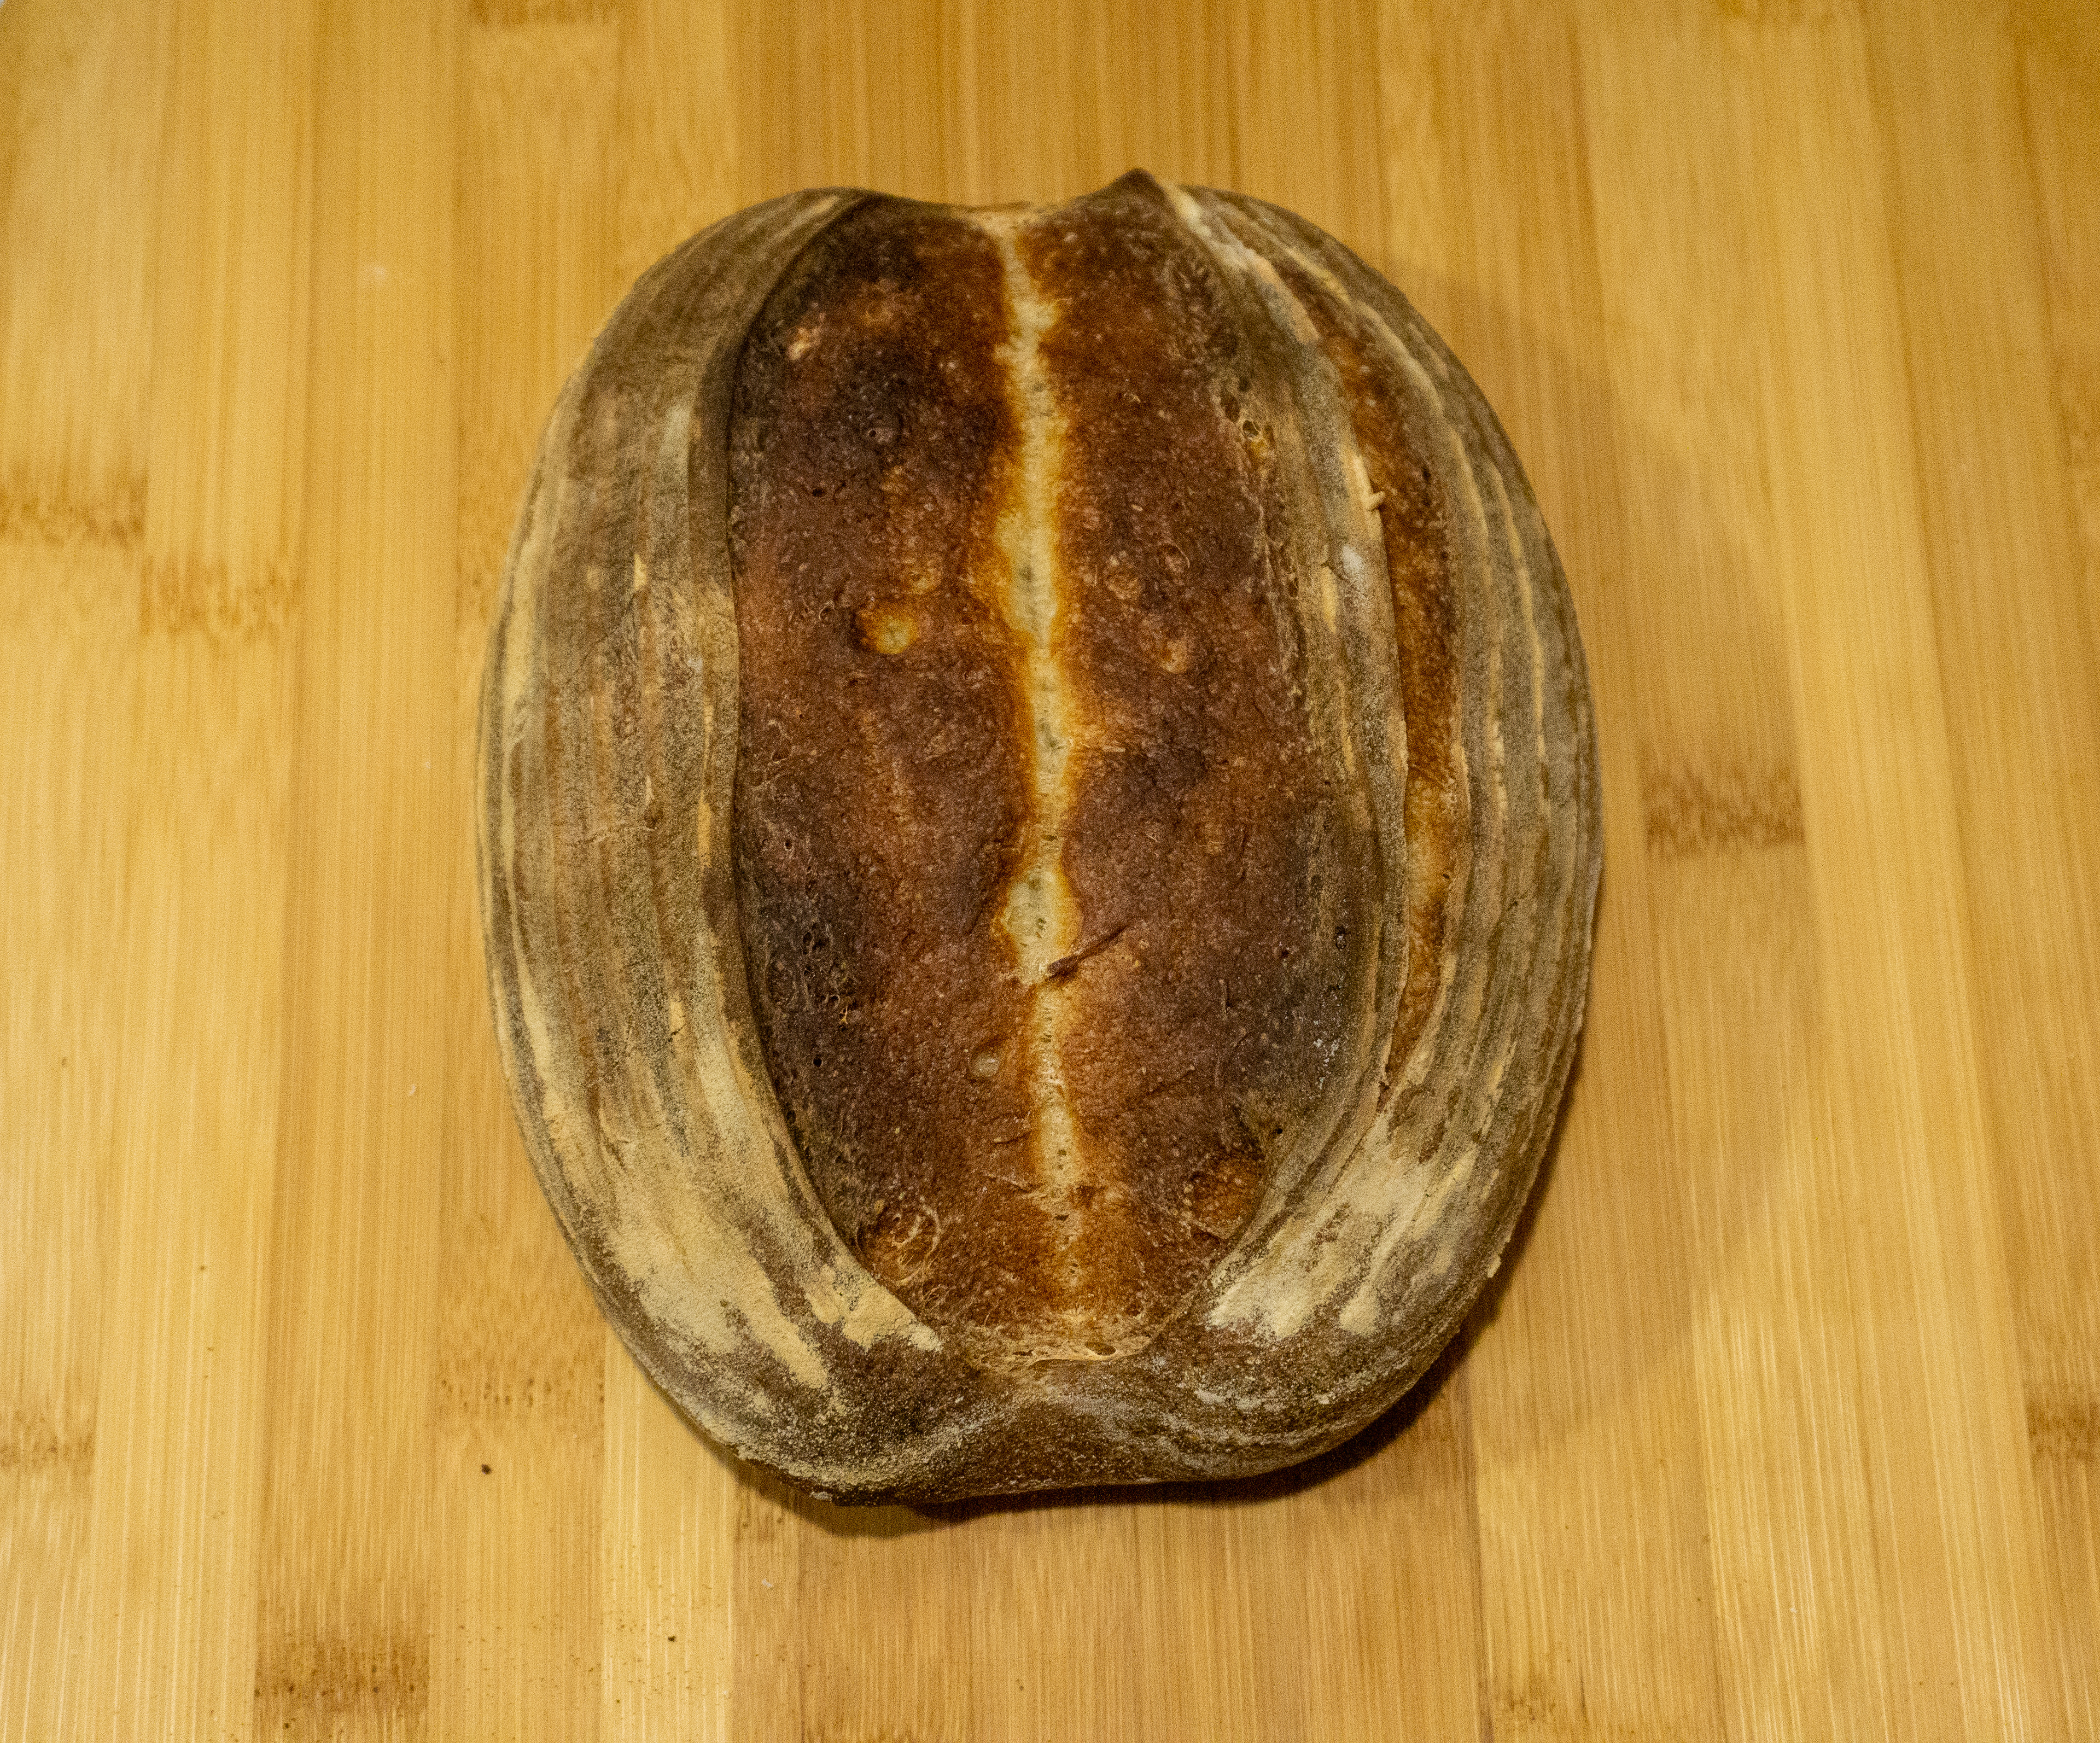
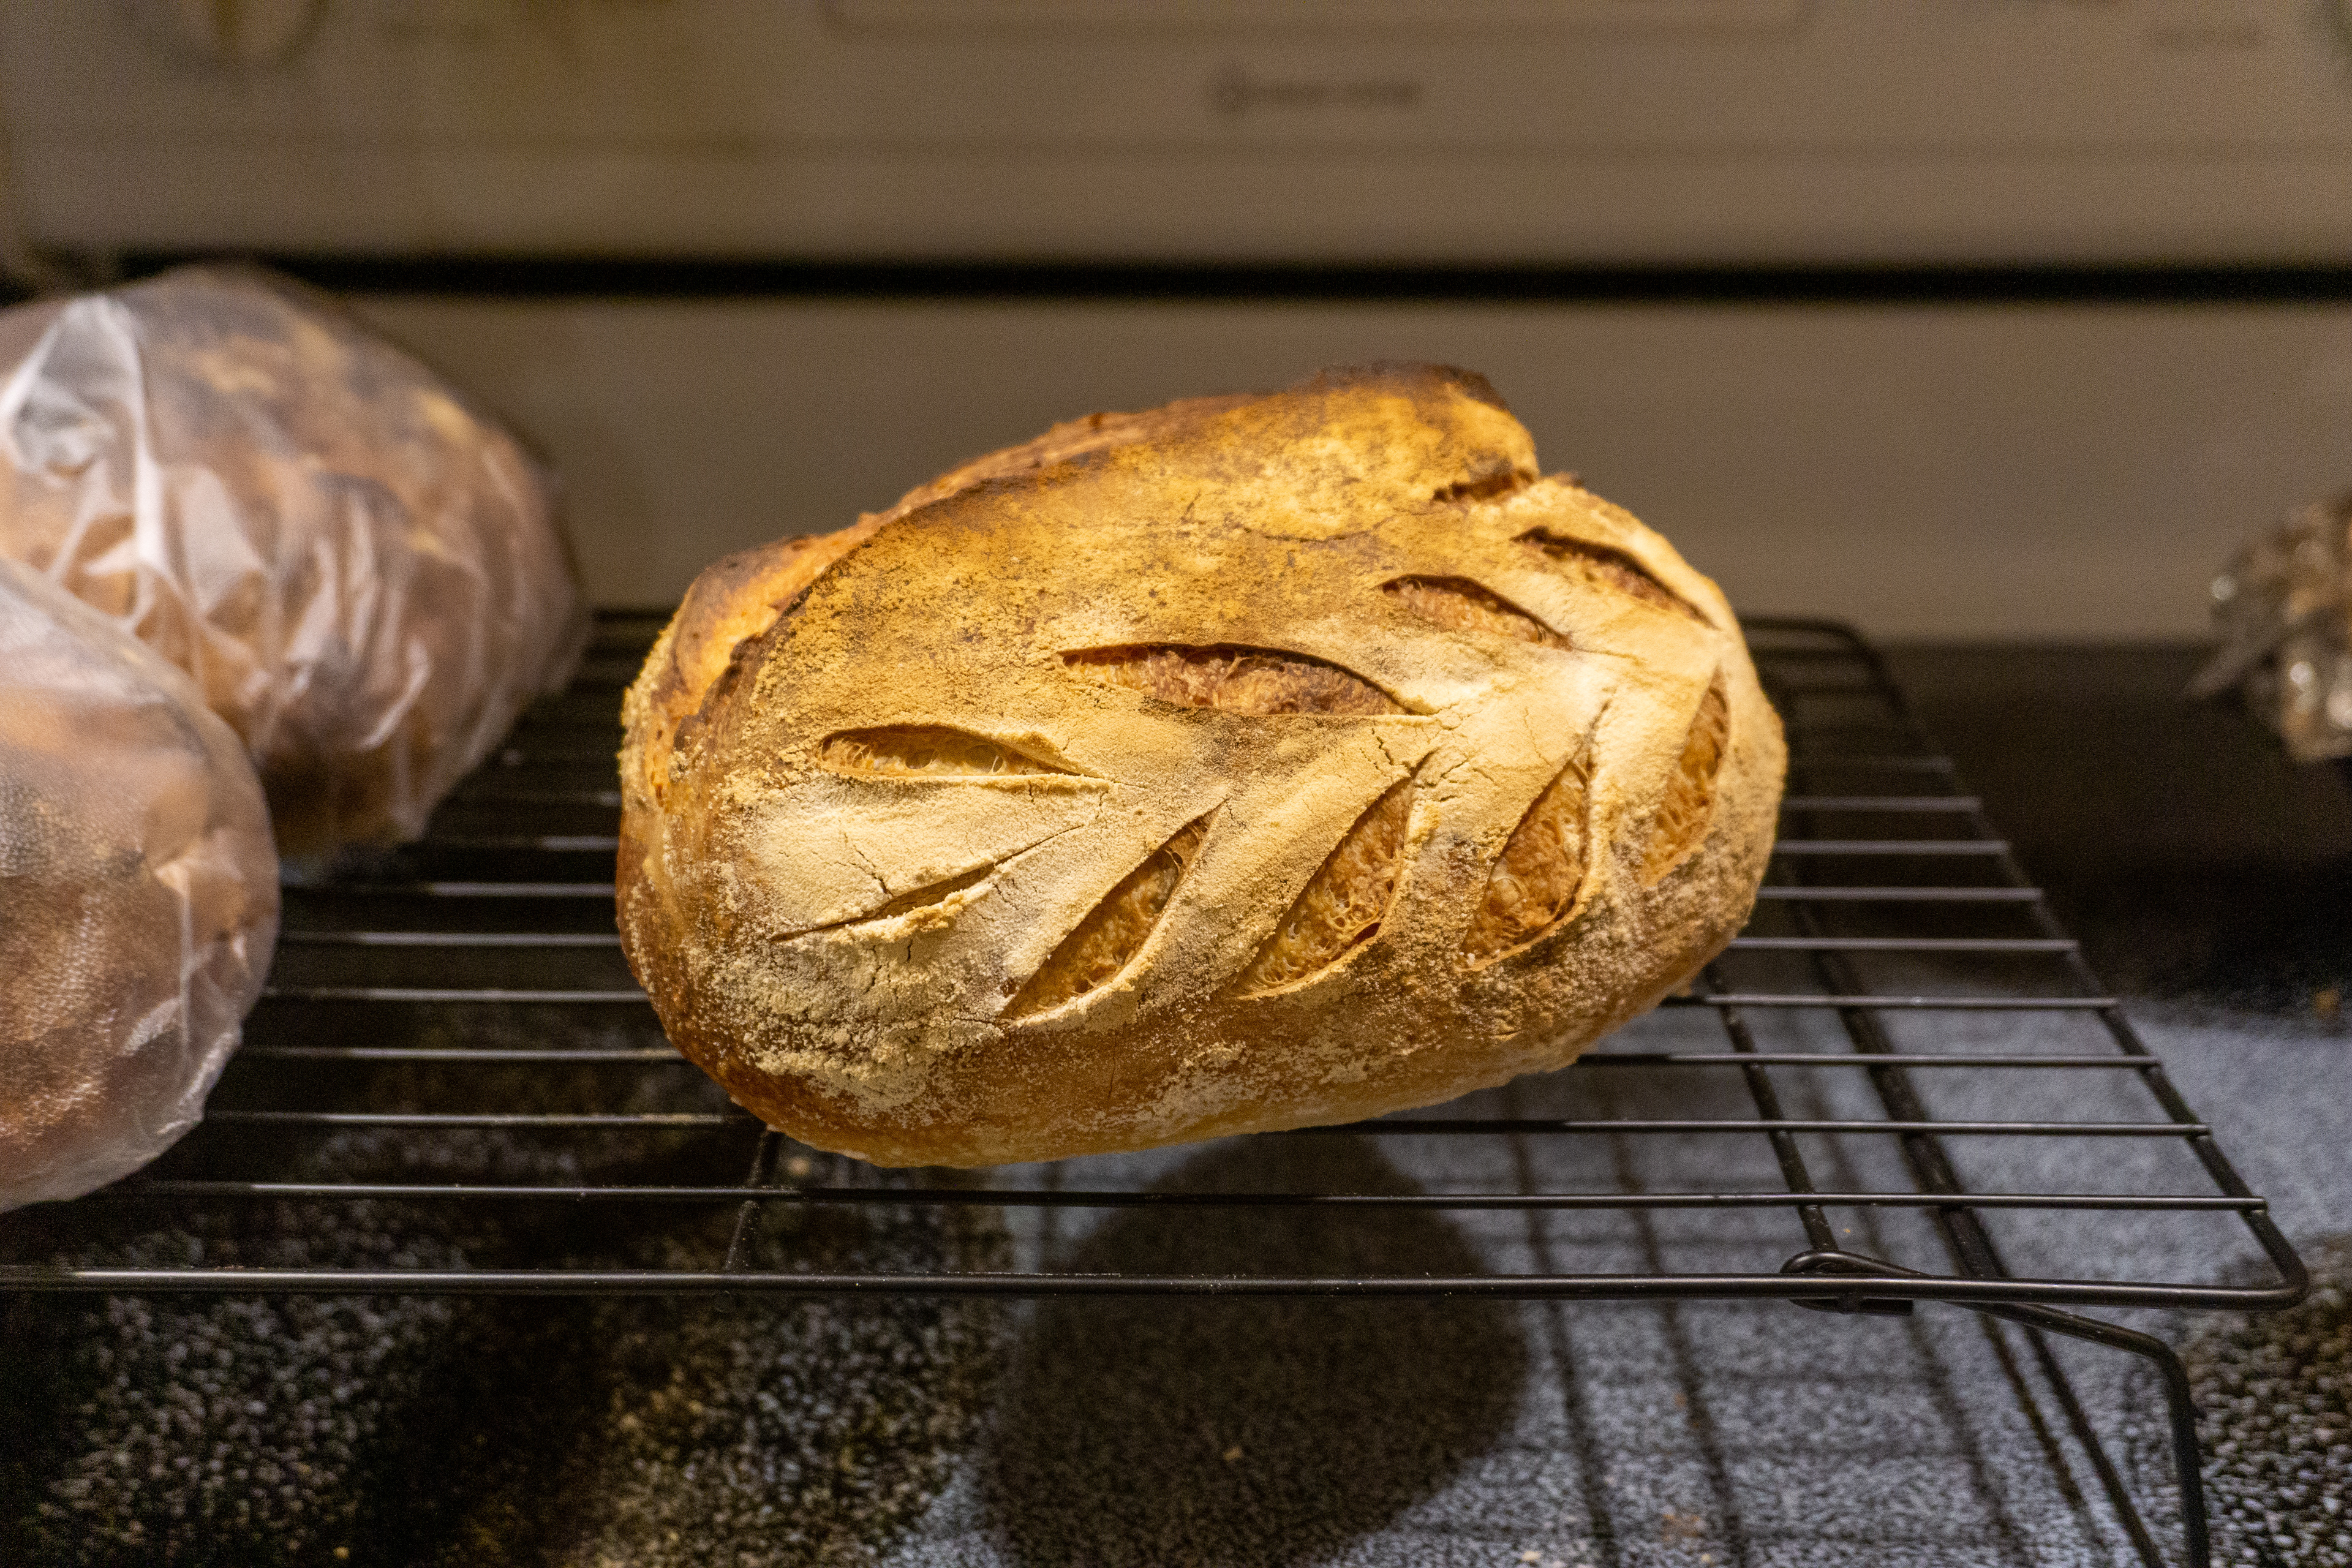
Progress over time from when I started baking bread to a current loaf:
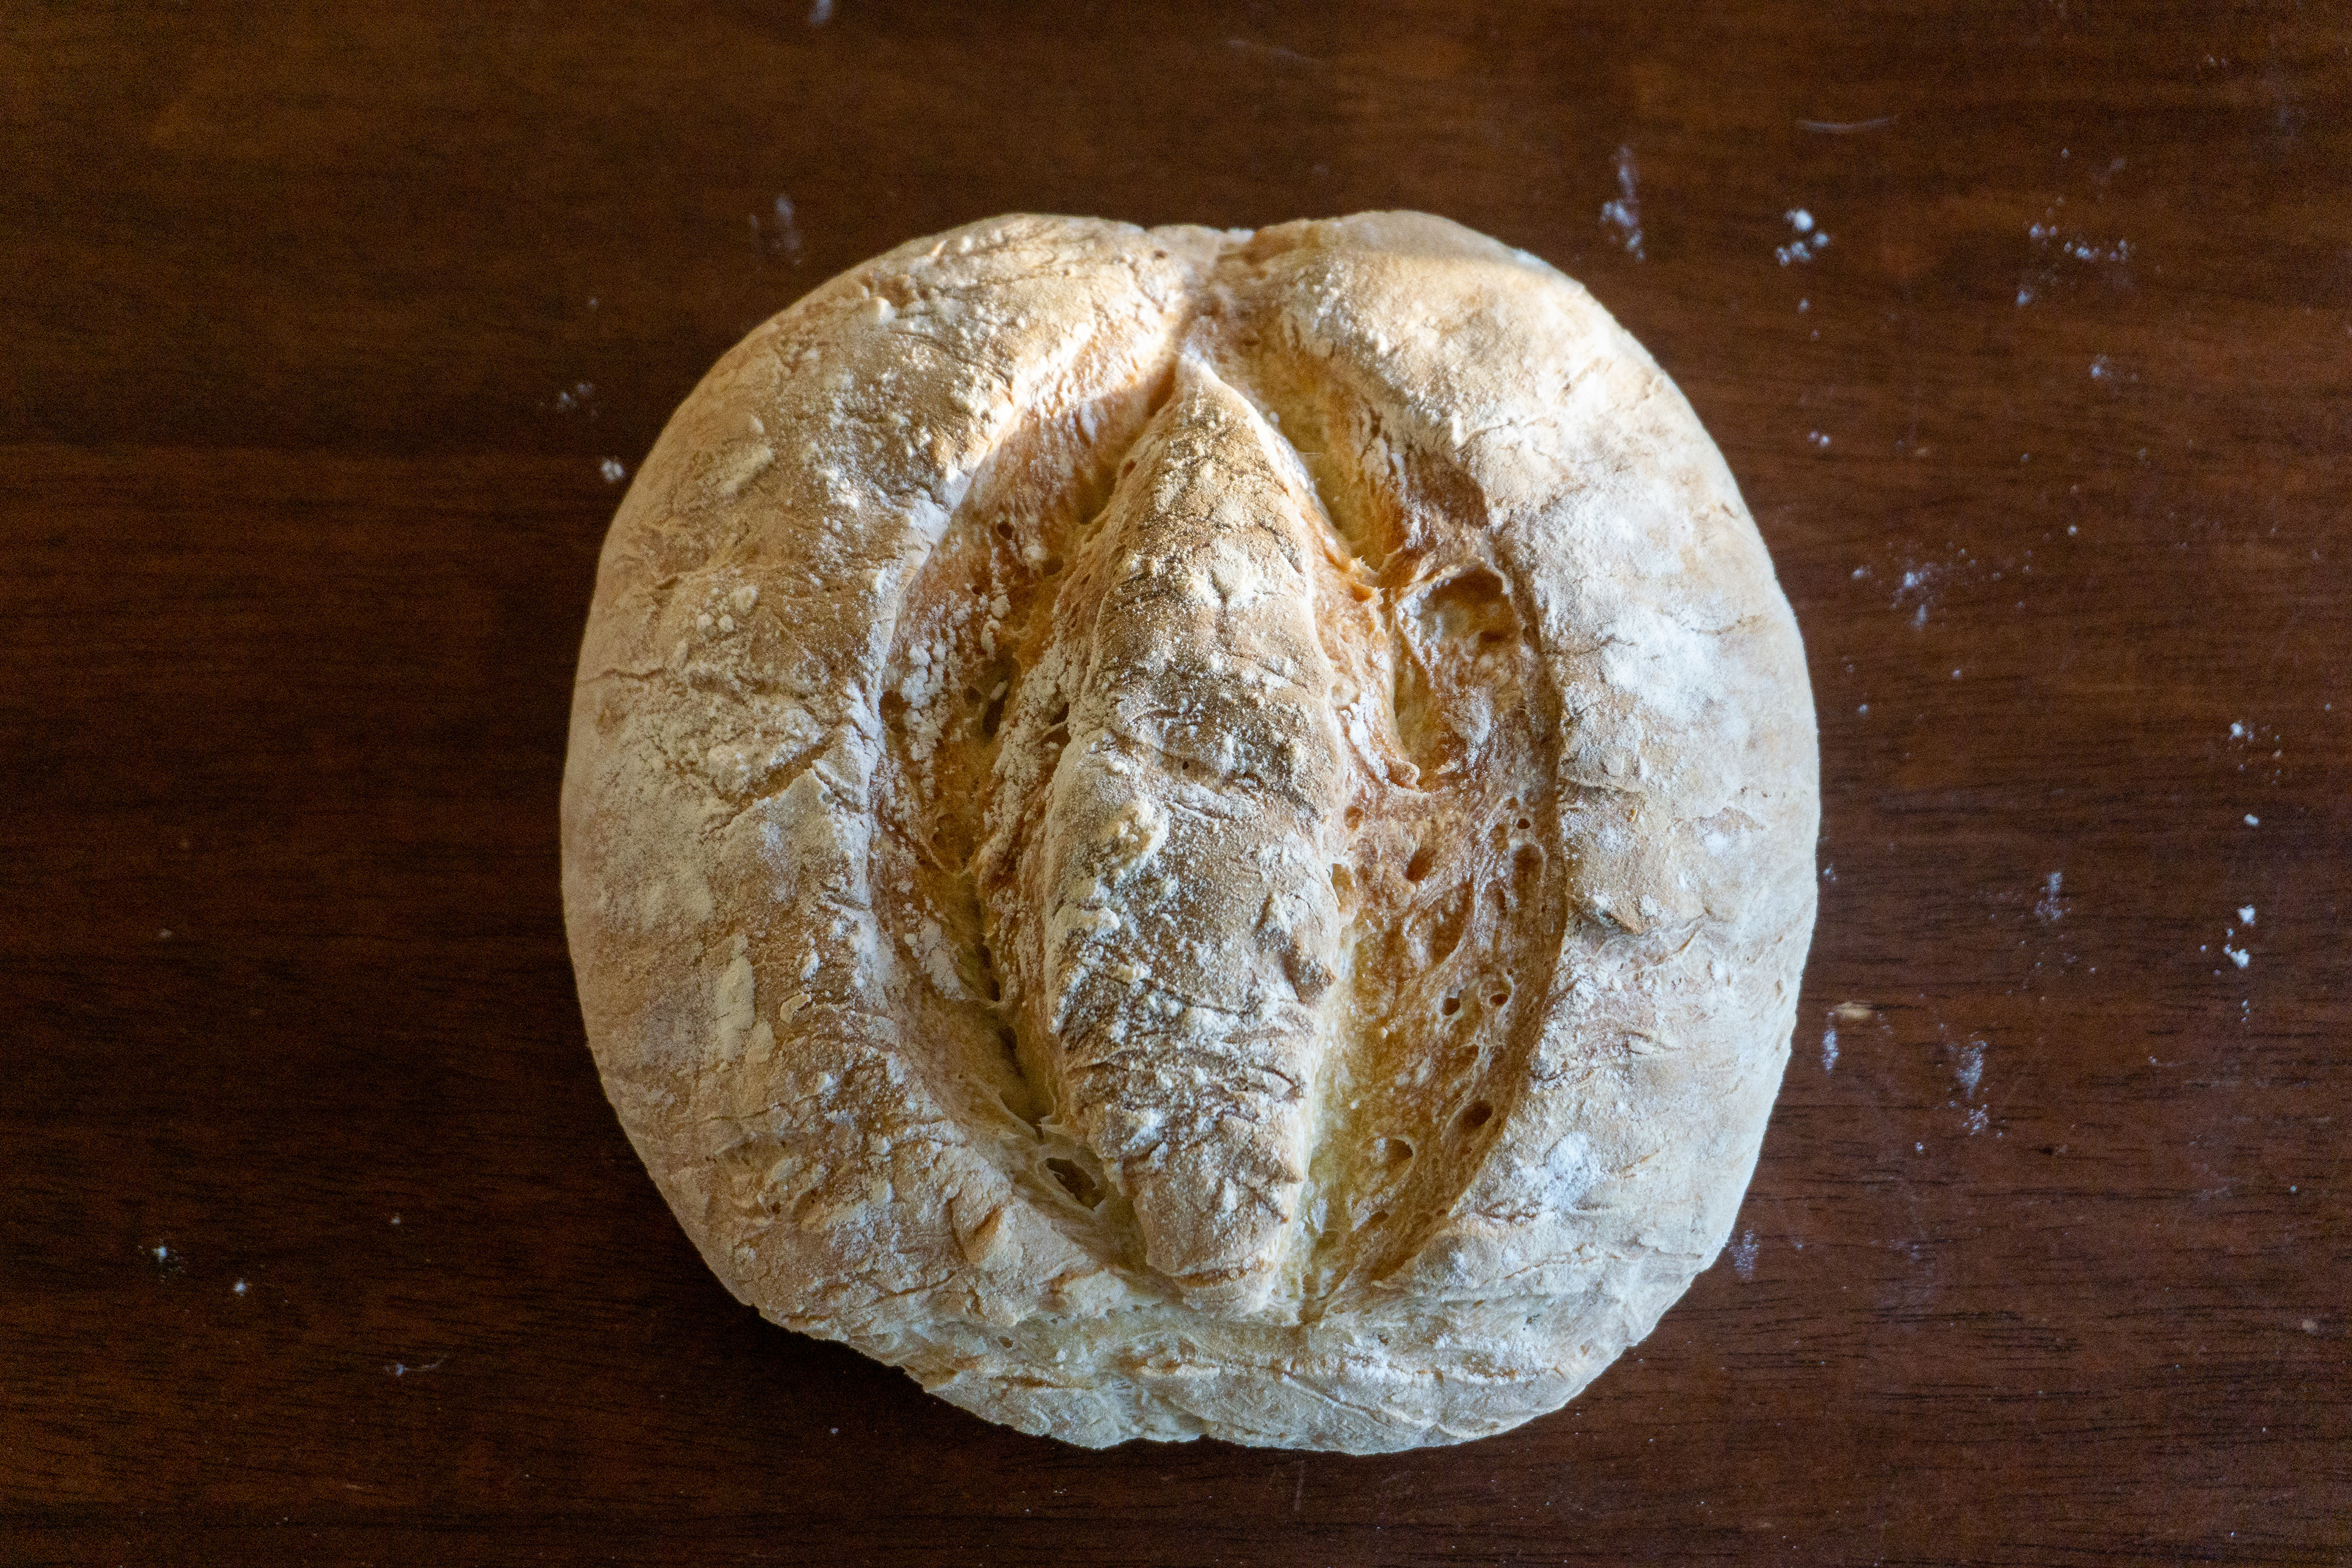
2021
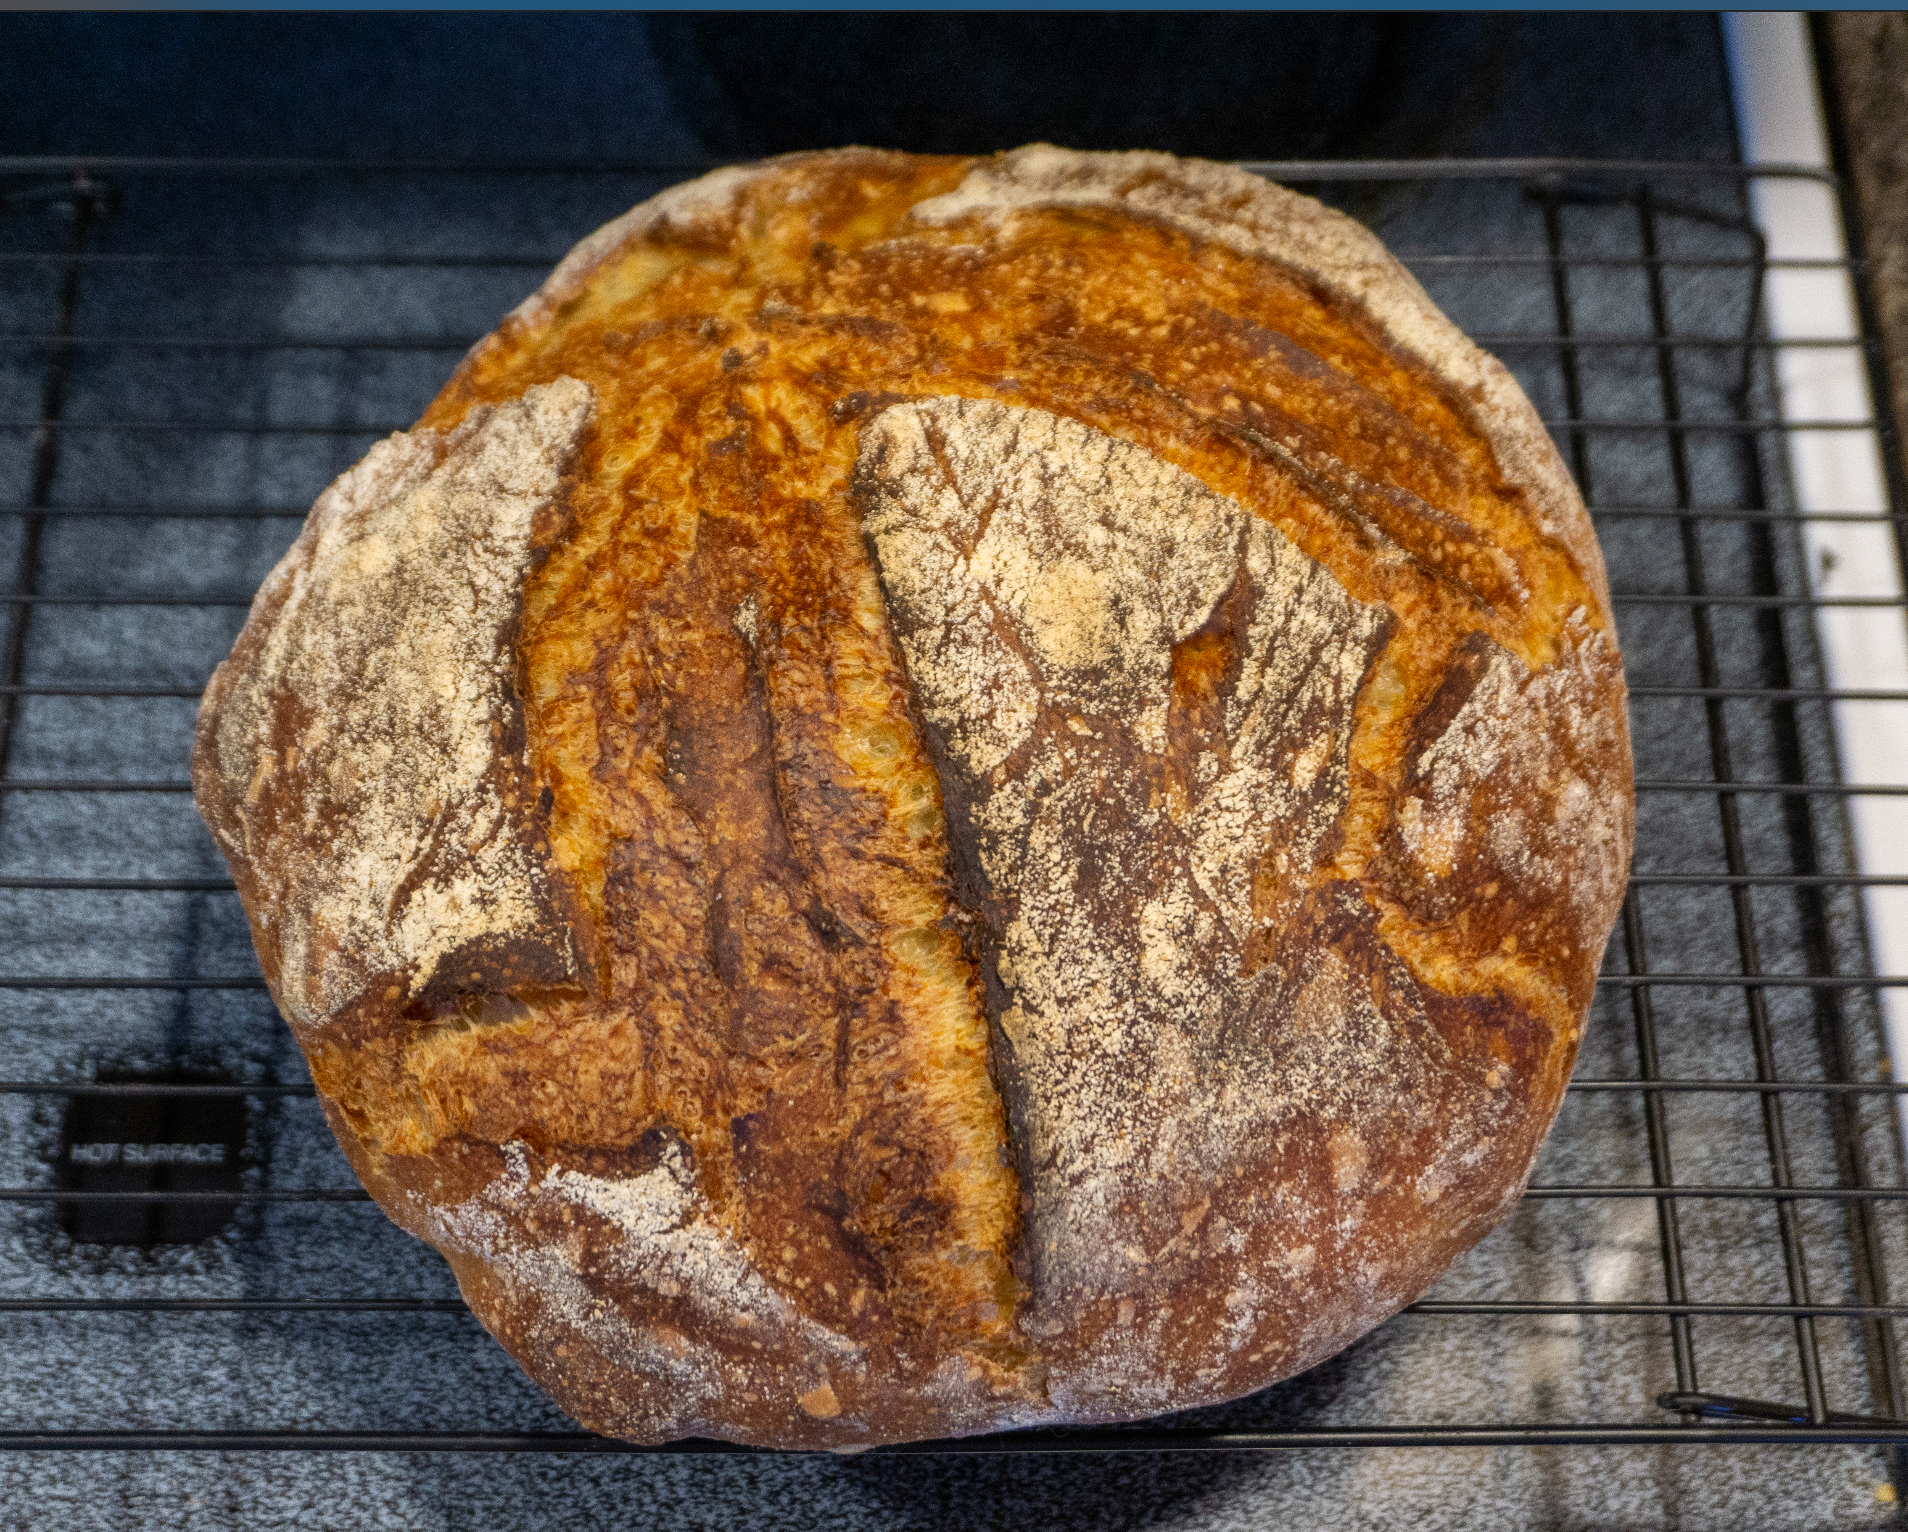
2024
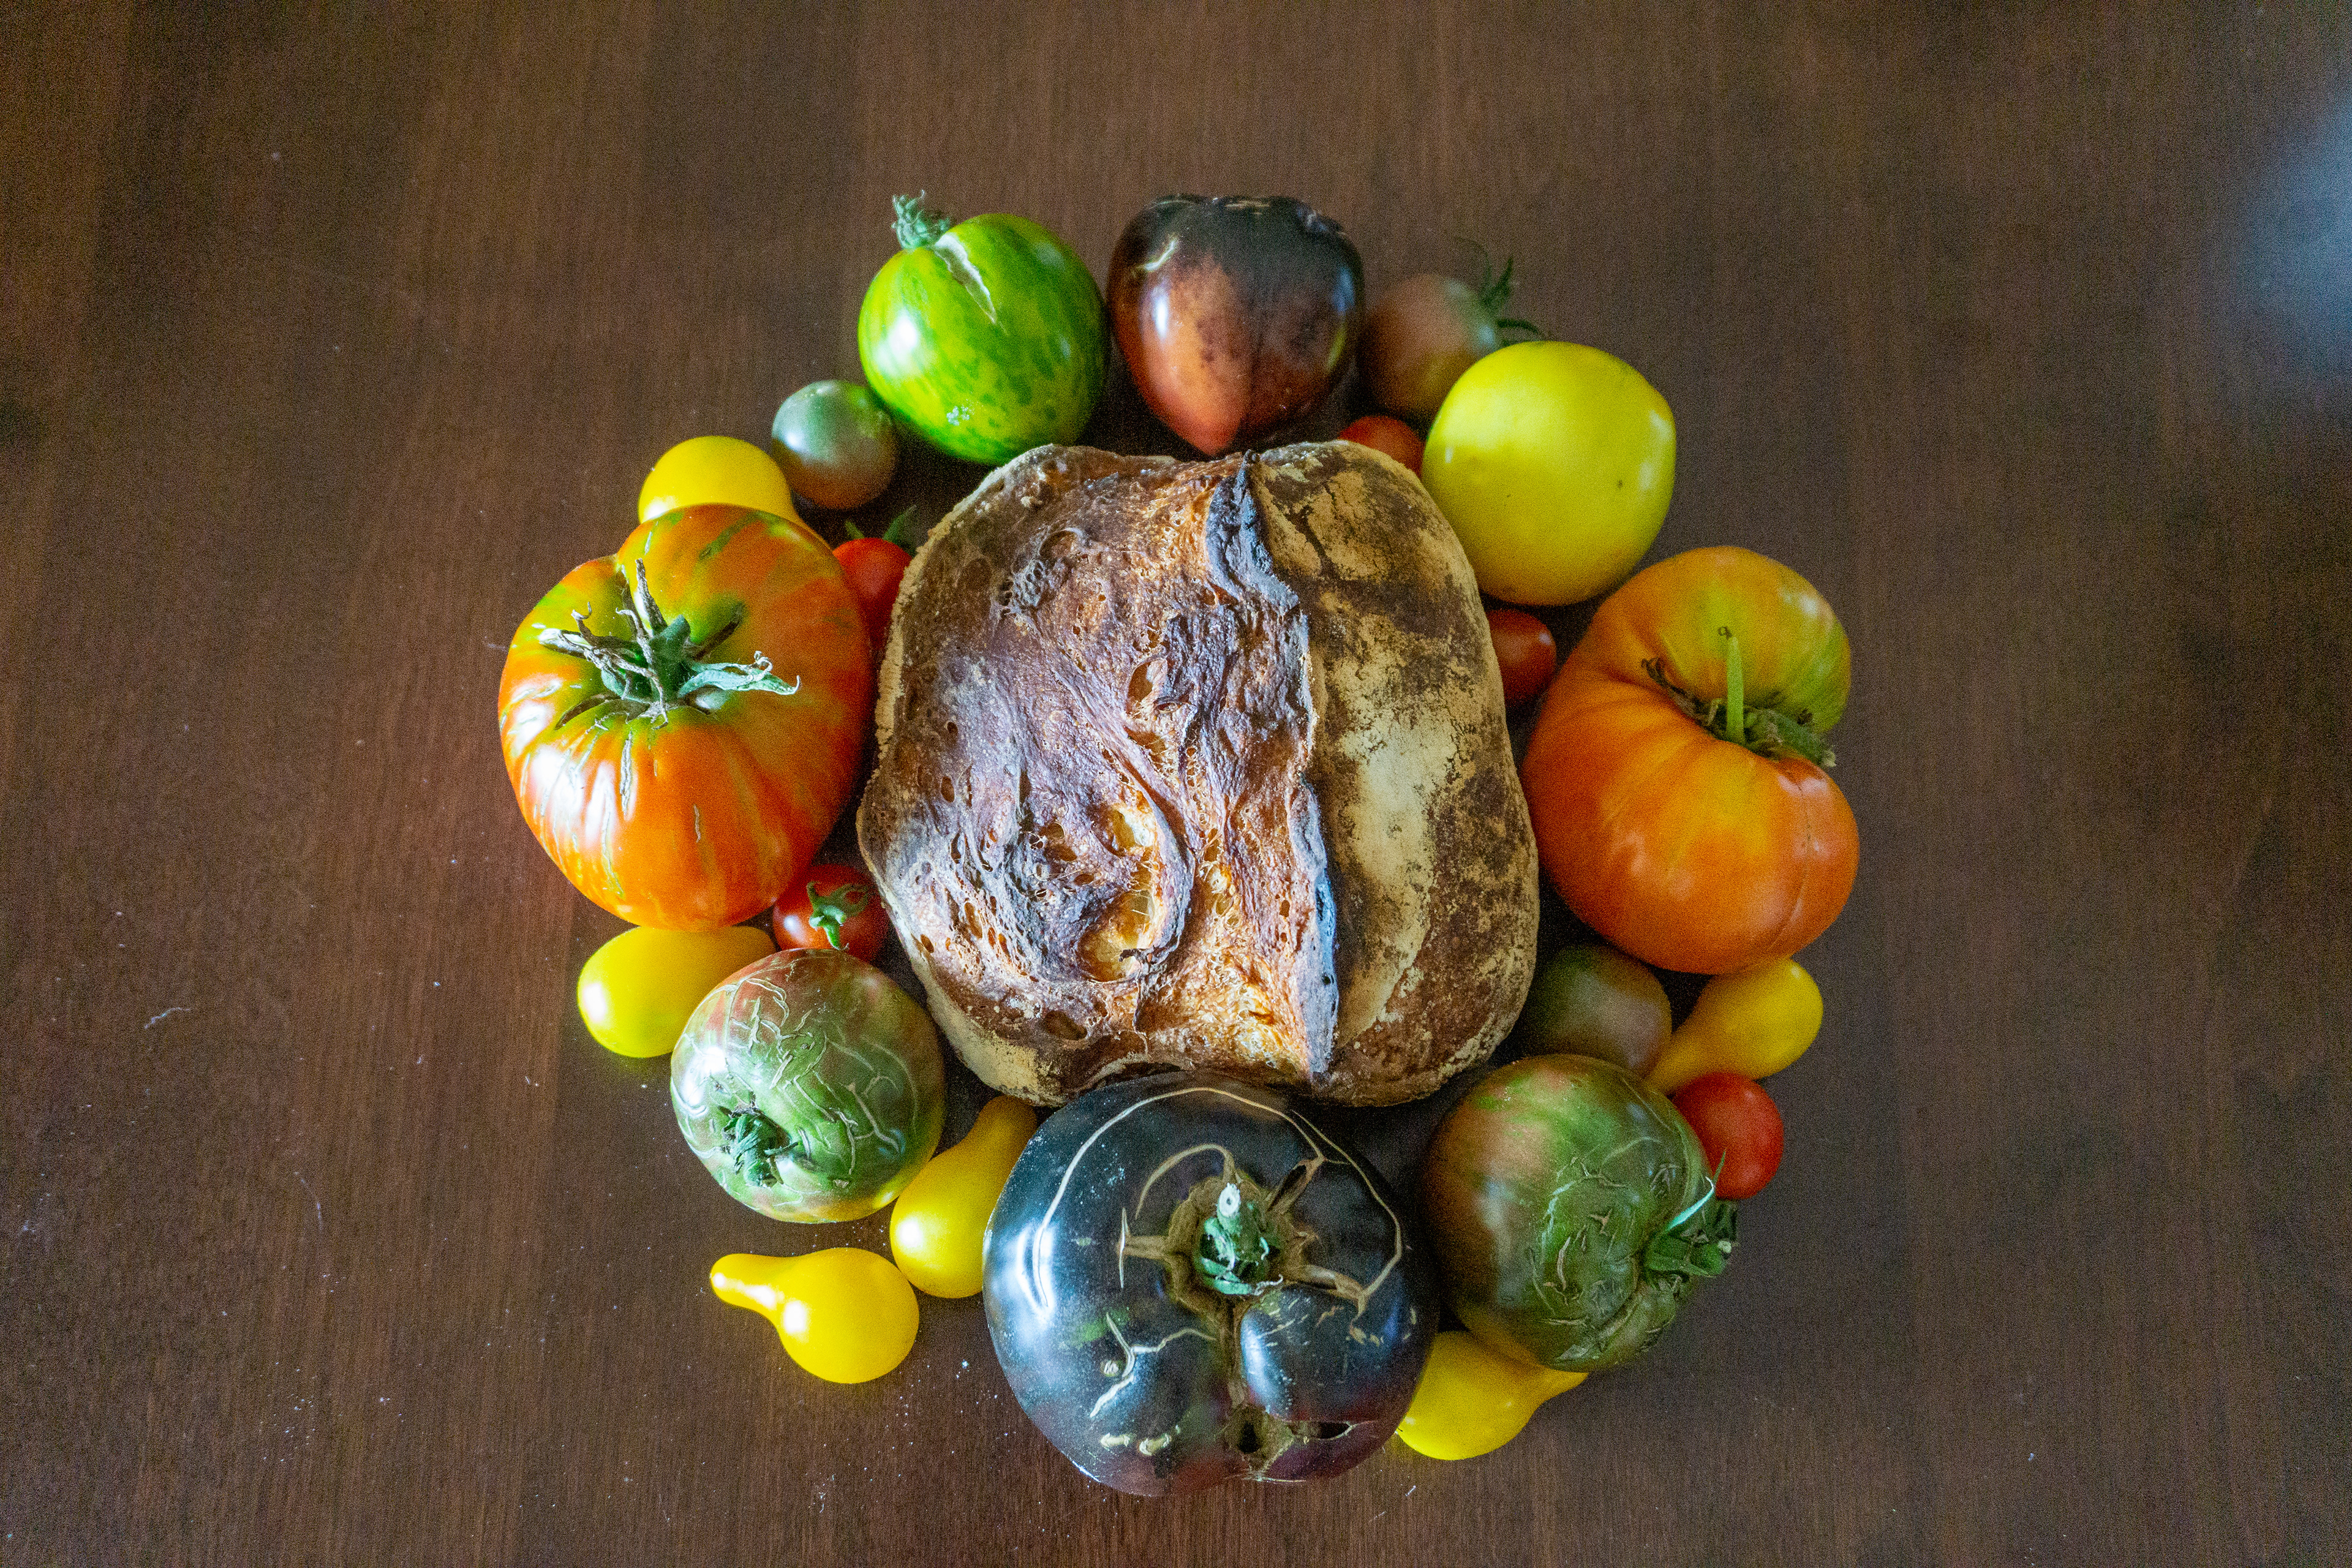
The same way I decided I wanted to start gardening and growing mostly tomatoes, a switch was recently flipped and the bread research and baking has begun. I used the following recipe as a base, and I will track the process or ingredient modifications here.
9/5 - Instead of wheat flour I used 1/4 cup of oat flour, I also used table salt instead of a kosher/coarse salt. I'll be looking for different (better) quality ingredients as well, so I just want to make sure its all noted. It says you can let the starter (poolish?) sit for as little as 2 hours, but it prefers over night. I let it sit for about 7 hours before mixing in the rest of the ingredients for the dough. Believe it or not I was too excited to let the starter sit longer before kneading, proofing, and forming. Next time I'd like for this to sit a little longer before progressing, but it was a good first attempt. Kneading and forming was pretty straight forward, and I scored both loaves intending to bake them at the same time, but ended up doing them one at a time. Going forward I will score the loaf right before it goes into the oven. These loaves were also baked on a sheet rather than a stone, and next time I plan to leverage the stone (pre heated) as well. The first loaf went almost 40 minutes and the second loaf 33 and let cool overnight before trying them. The flavor is lovely, and the consistency on the inside of the loaf was pretty dense with a nice crispy outer crust. I would like for this to proof longer for a more airy interior, but we'll see how that goes with the next attempt.
9/7 - This next starter I used the recommended 1/4 cup of wheat flour, and I let this starter sit overnight (19 hours). I also ensured to knead for 10 minutes, halved the loaves, then let the dough proof for about 90 minutes, rising larger than what our first two loaves were. I let the overheat preheat to 475 with the stone in it, and this time I'll be transitioning the loaf on the parchment paper to the stone rather than on a cold baking sheet. I also put a tray of water (heated up in the kettle before going into the oven) beneath the stone with the loaf to try and generate more steam without having to open and close the oven. Dial down to 450 7 minutes in. Both loaves came out at 38 minutes. These rose slightly more than the first two loaves, but aren't noticeably more airy.
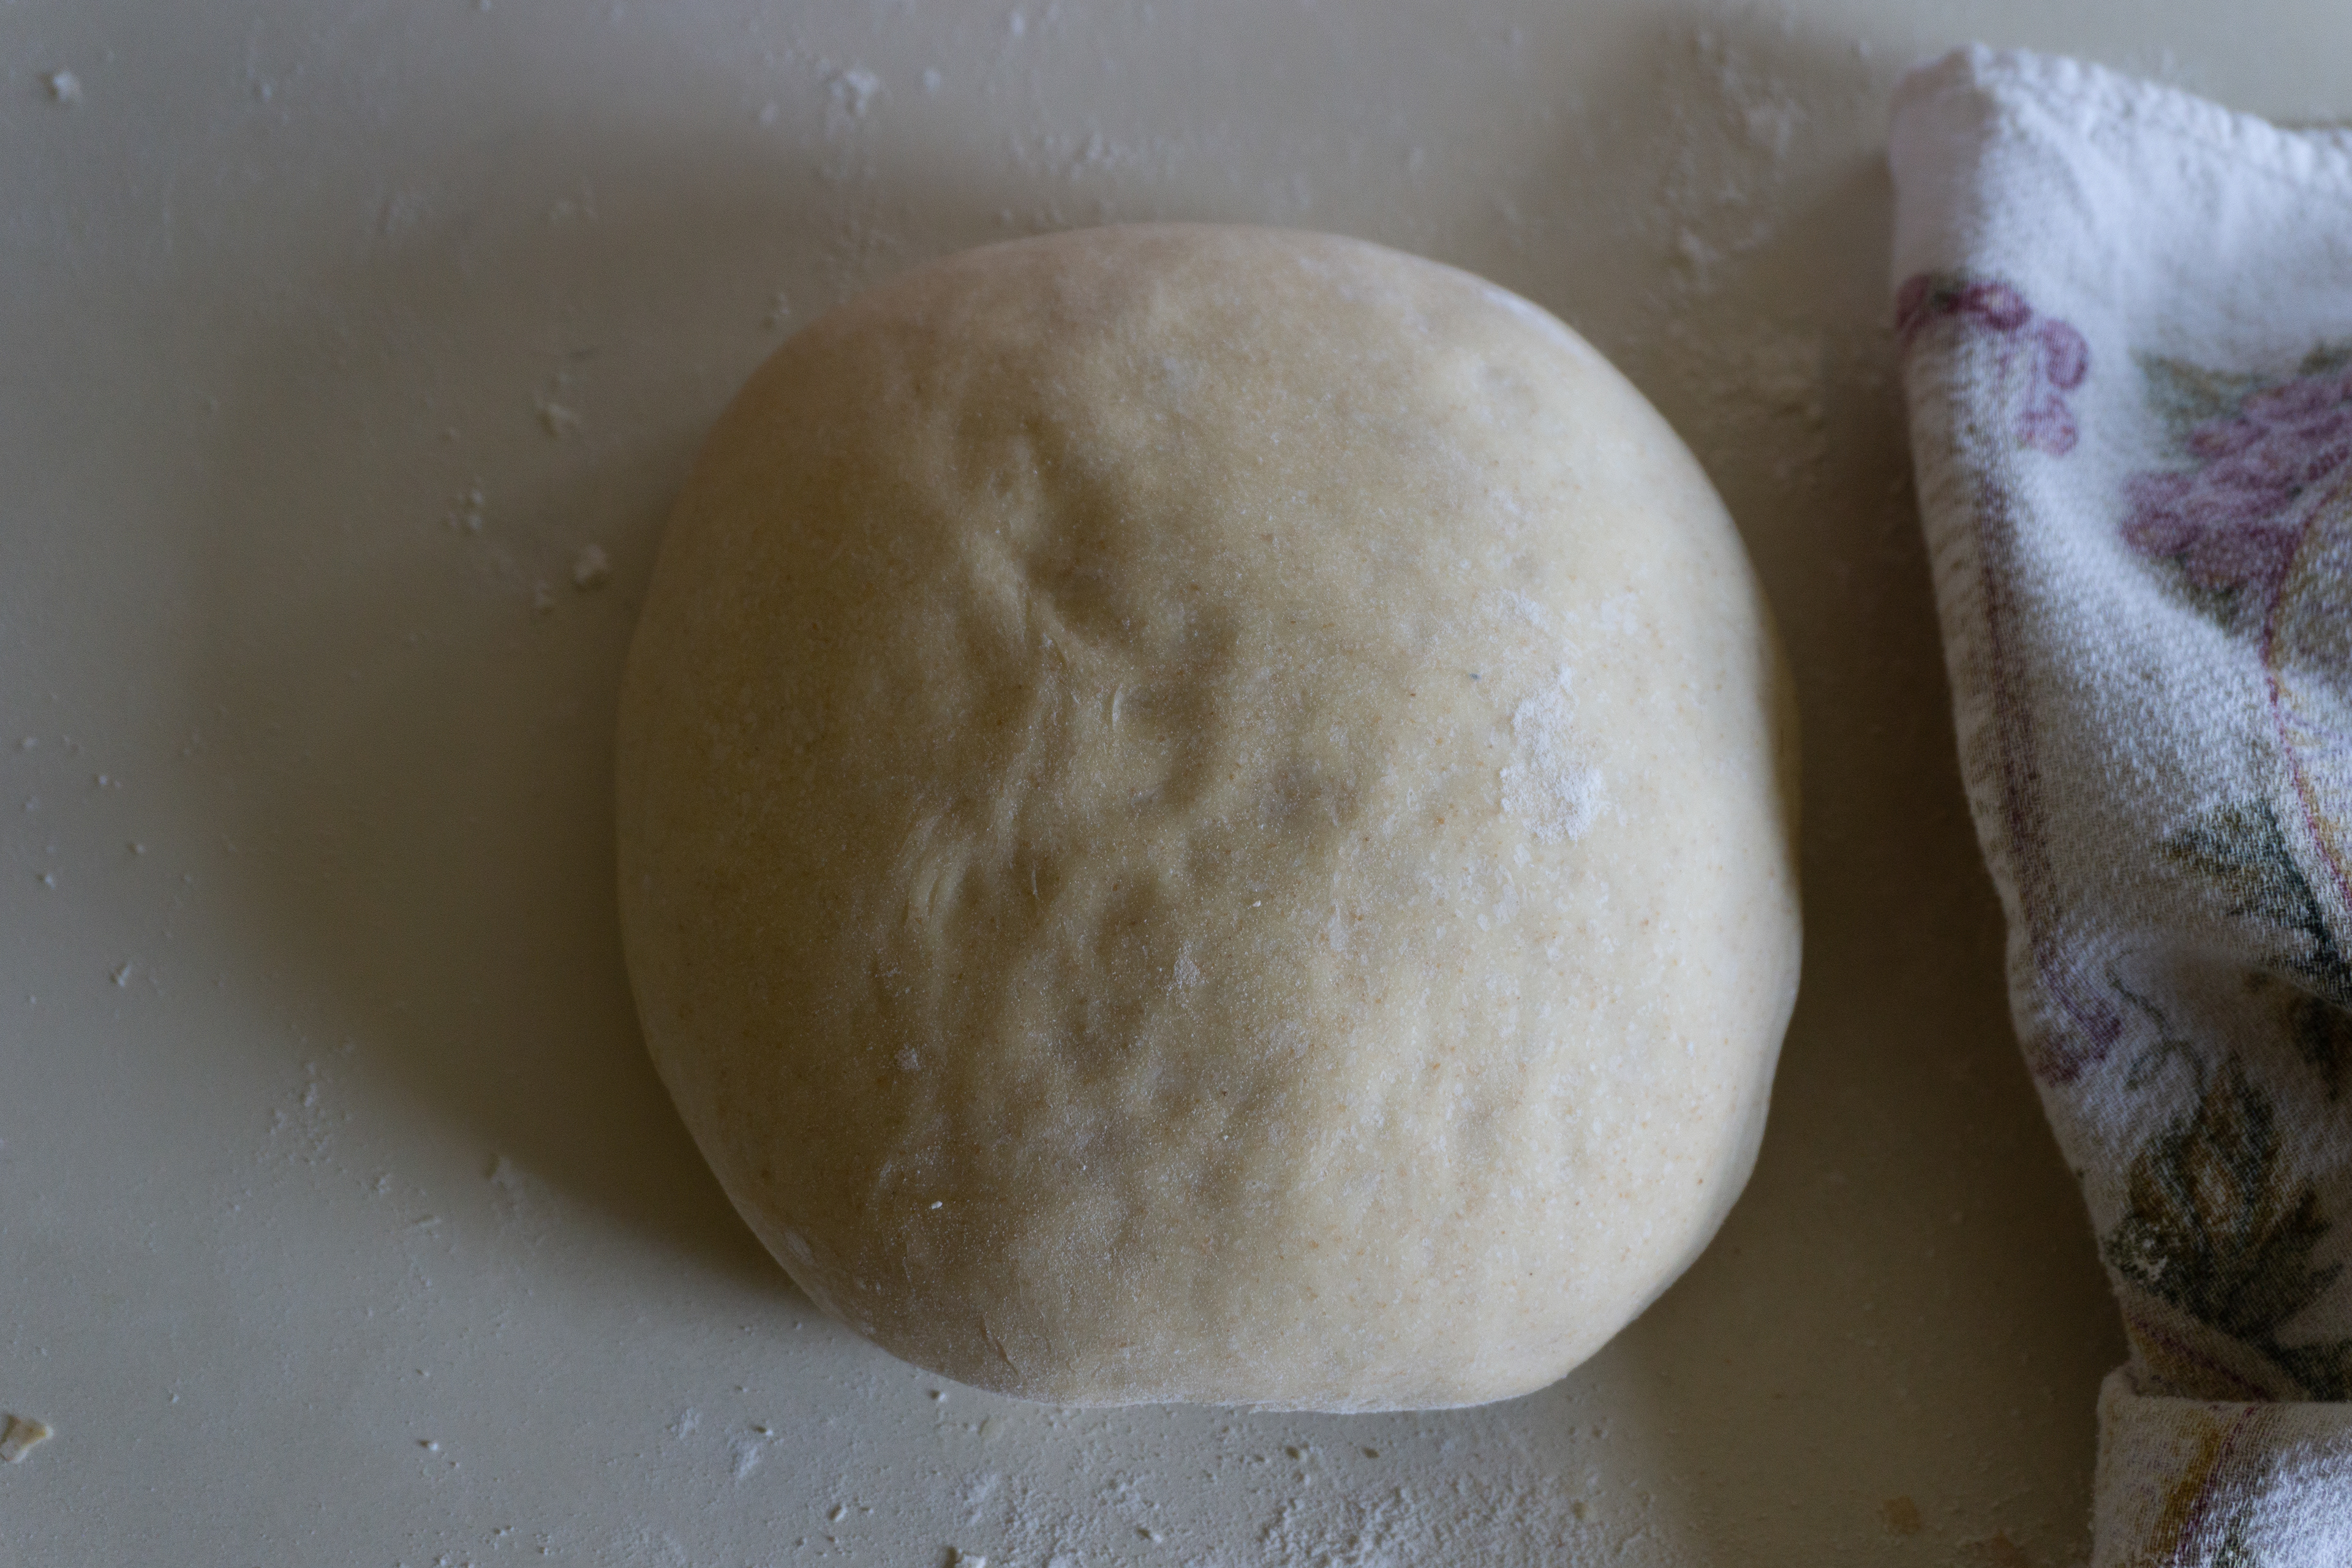
9/13 - With this starter I mixed all of the dry ingredients and then slowly poured the water into the center, stirring in the mix while adding water. Finished the starter at 11:30 and planning to let sit until tomorrow. Increased salt from 1 1/2 teaspoons to 2 teaspoons, and this time included 1 tablespoon of sugar (which I have somehow been missing from all the earlier attempts). Letting the dough rest for 15 minutes here. I also increased the amount of knead time for this batch. Looking around the 10-12 minutes seems fine if you're using a mixer, which I'm not: knead for at least 20. I went for 23, trying to let gravity help as much as possible and holding the dough up to the window to see the light coming thru consistently before letting it sit. Folded and let rise 2 times over about 4 hours. The dough is noticeably more airy at this point, so fingers crossed we produce an airy crumb. When scoring the dough it was easy to tell we had a much better rise with this loaf. Took this out of the oven after 38 minutes. Crust was fantastic and crisp, there was more give to the loaf when cutting, and overall was a good step forward.


9/17 - Finish the starter at 11 am. I mixed all of the dry ingredients then added water. The big change this time was using bread flour as opposed to all purpose flour, and for the 1/4 cup I went back to oat flour instead of wheat. Let sit 21 hours then add the rest of the ingredients to start the dough. Knead for 25 minutes, and it feels potentially easier to manage with bread flour, or because this is the 4th time doing so. Let the dough rise for about 6 hours, baked for 30 minutes (both batches).

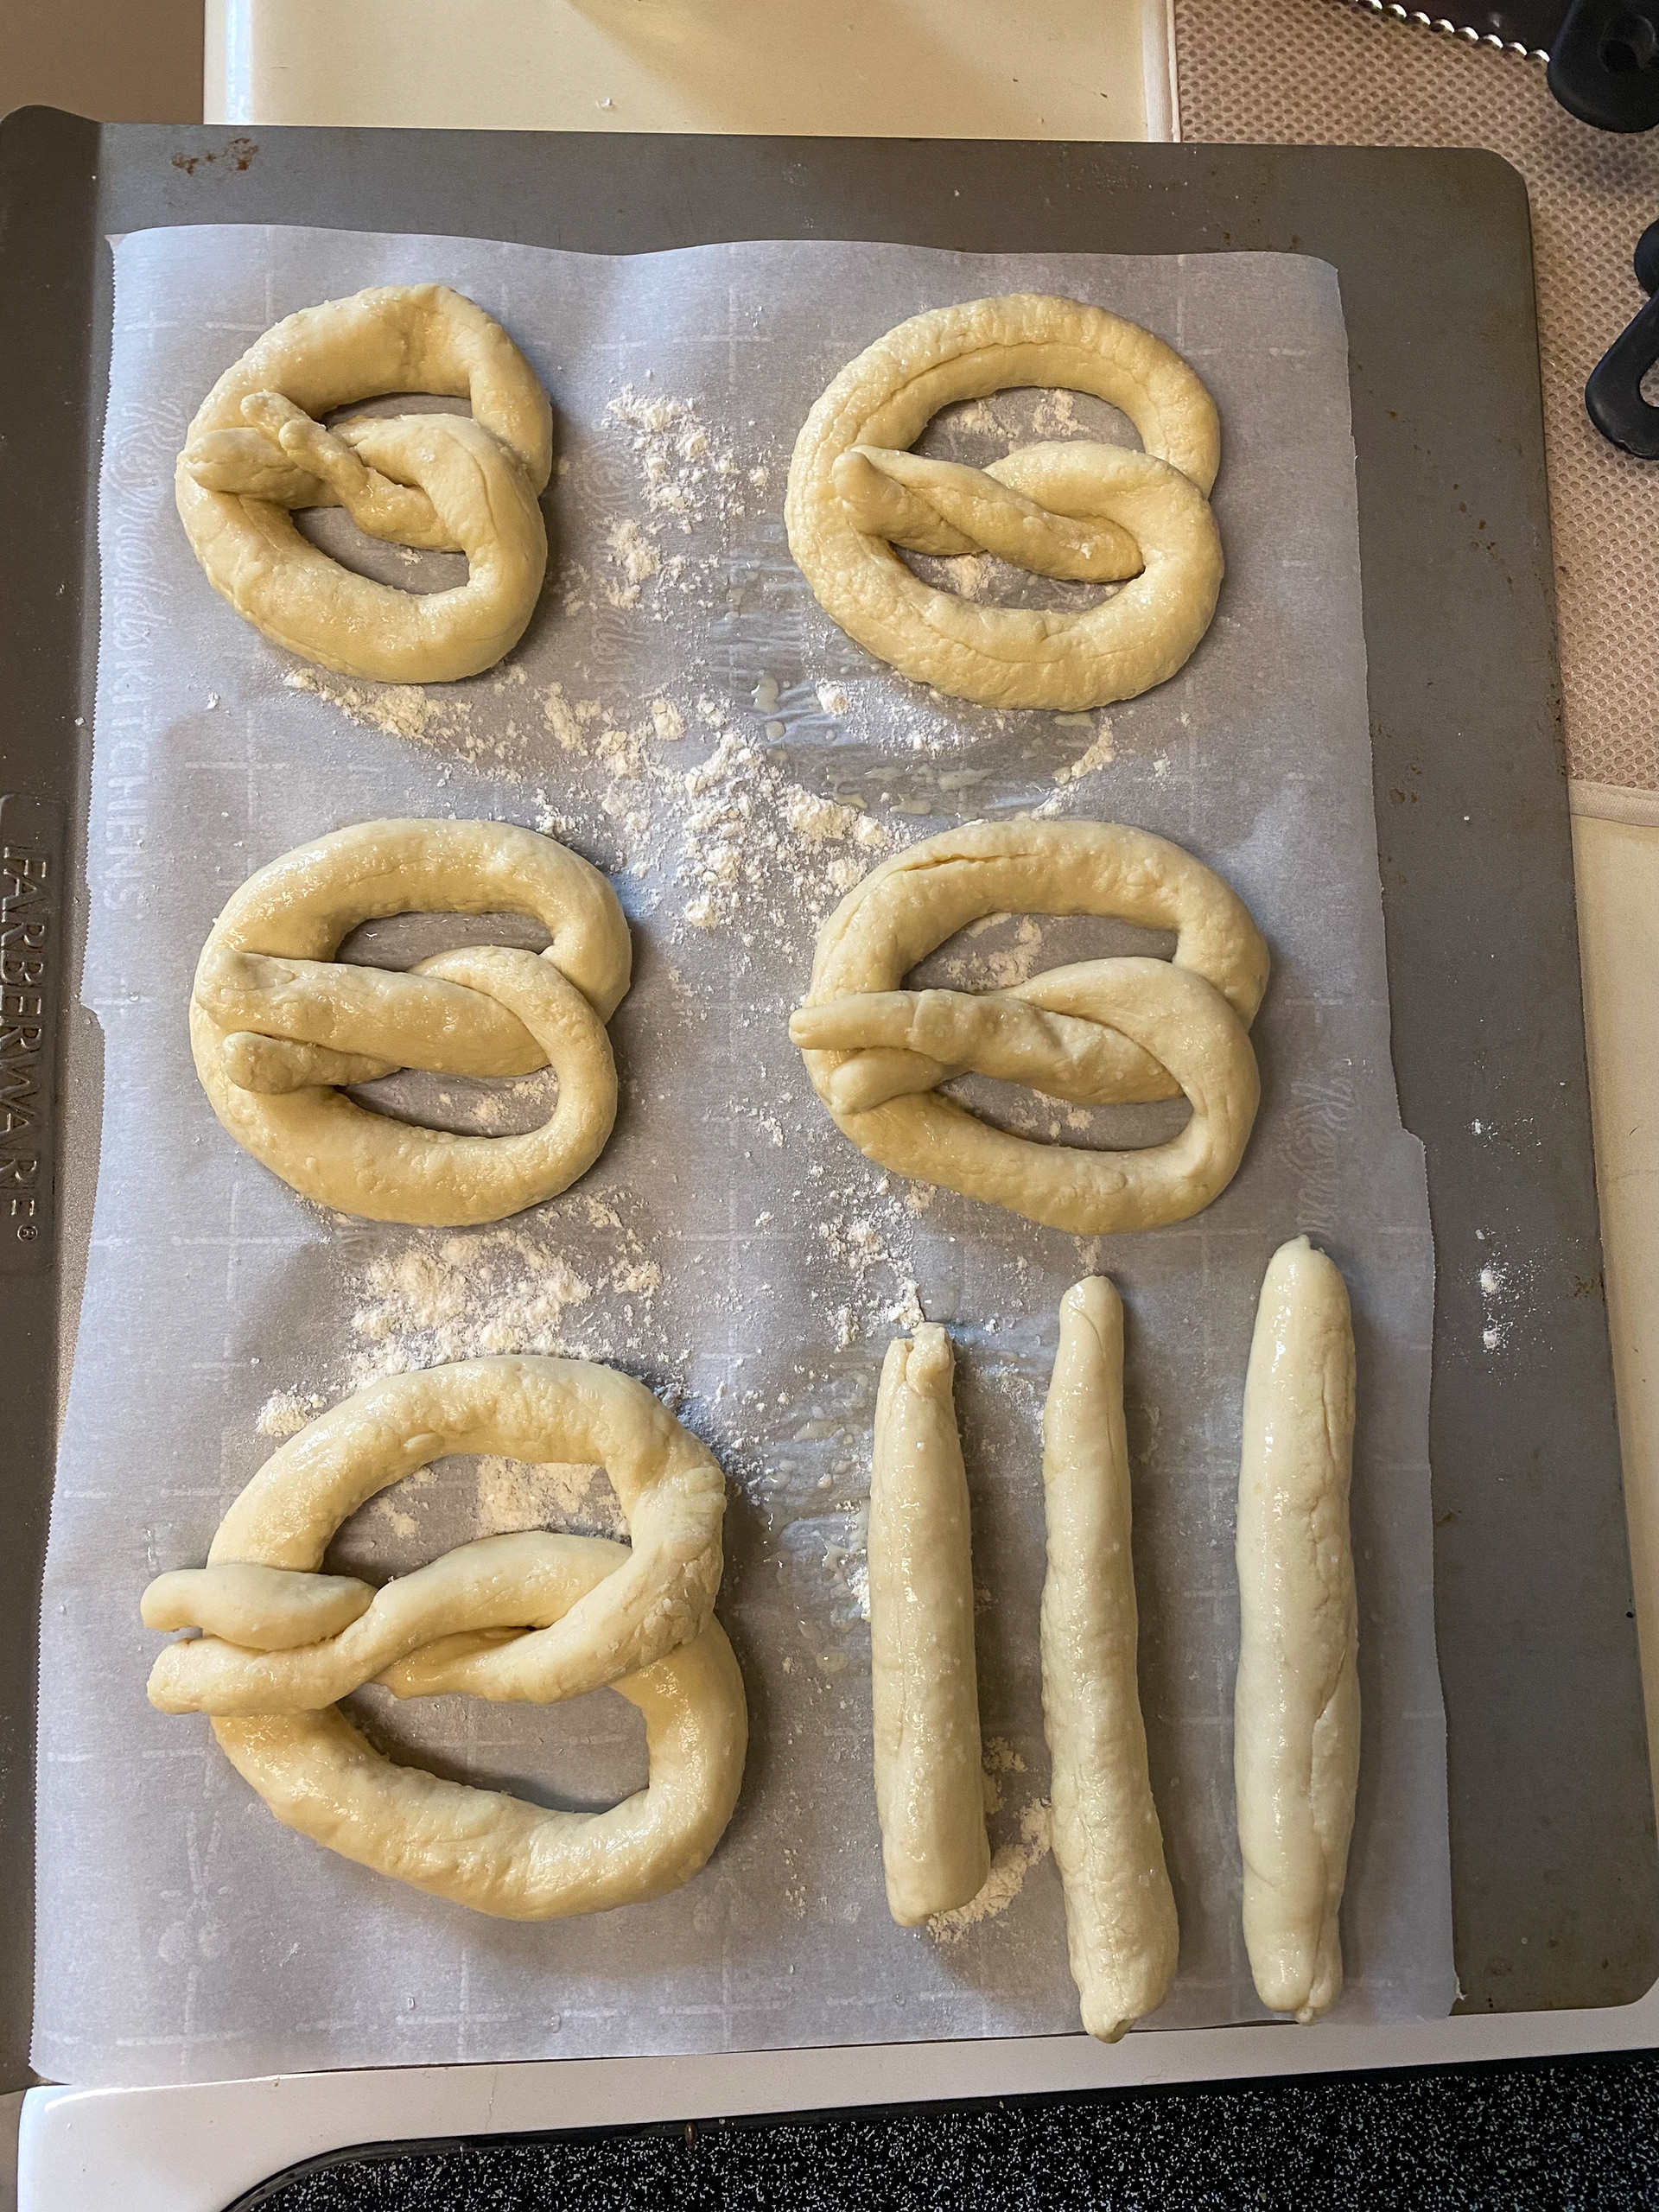
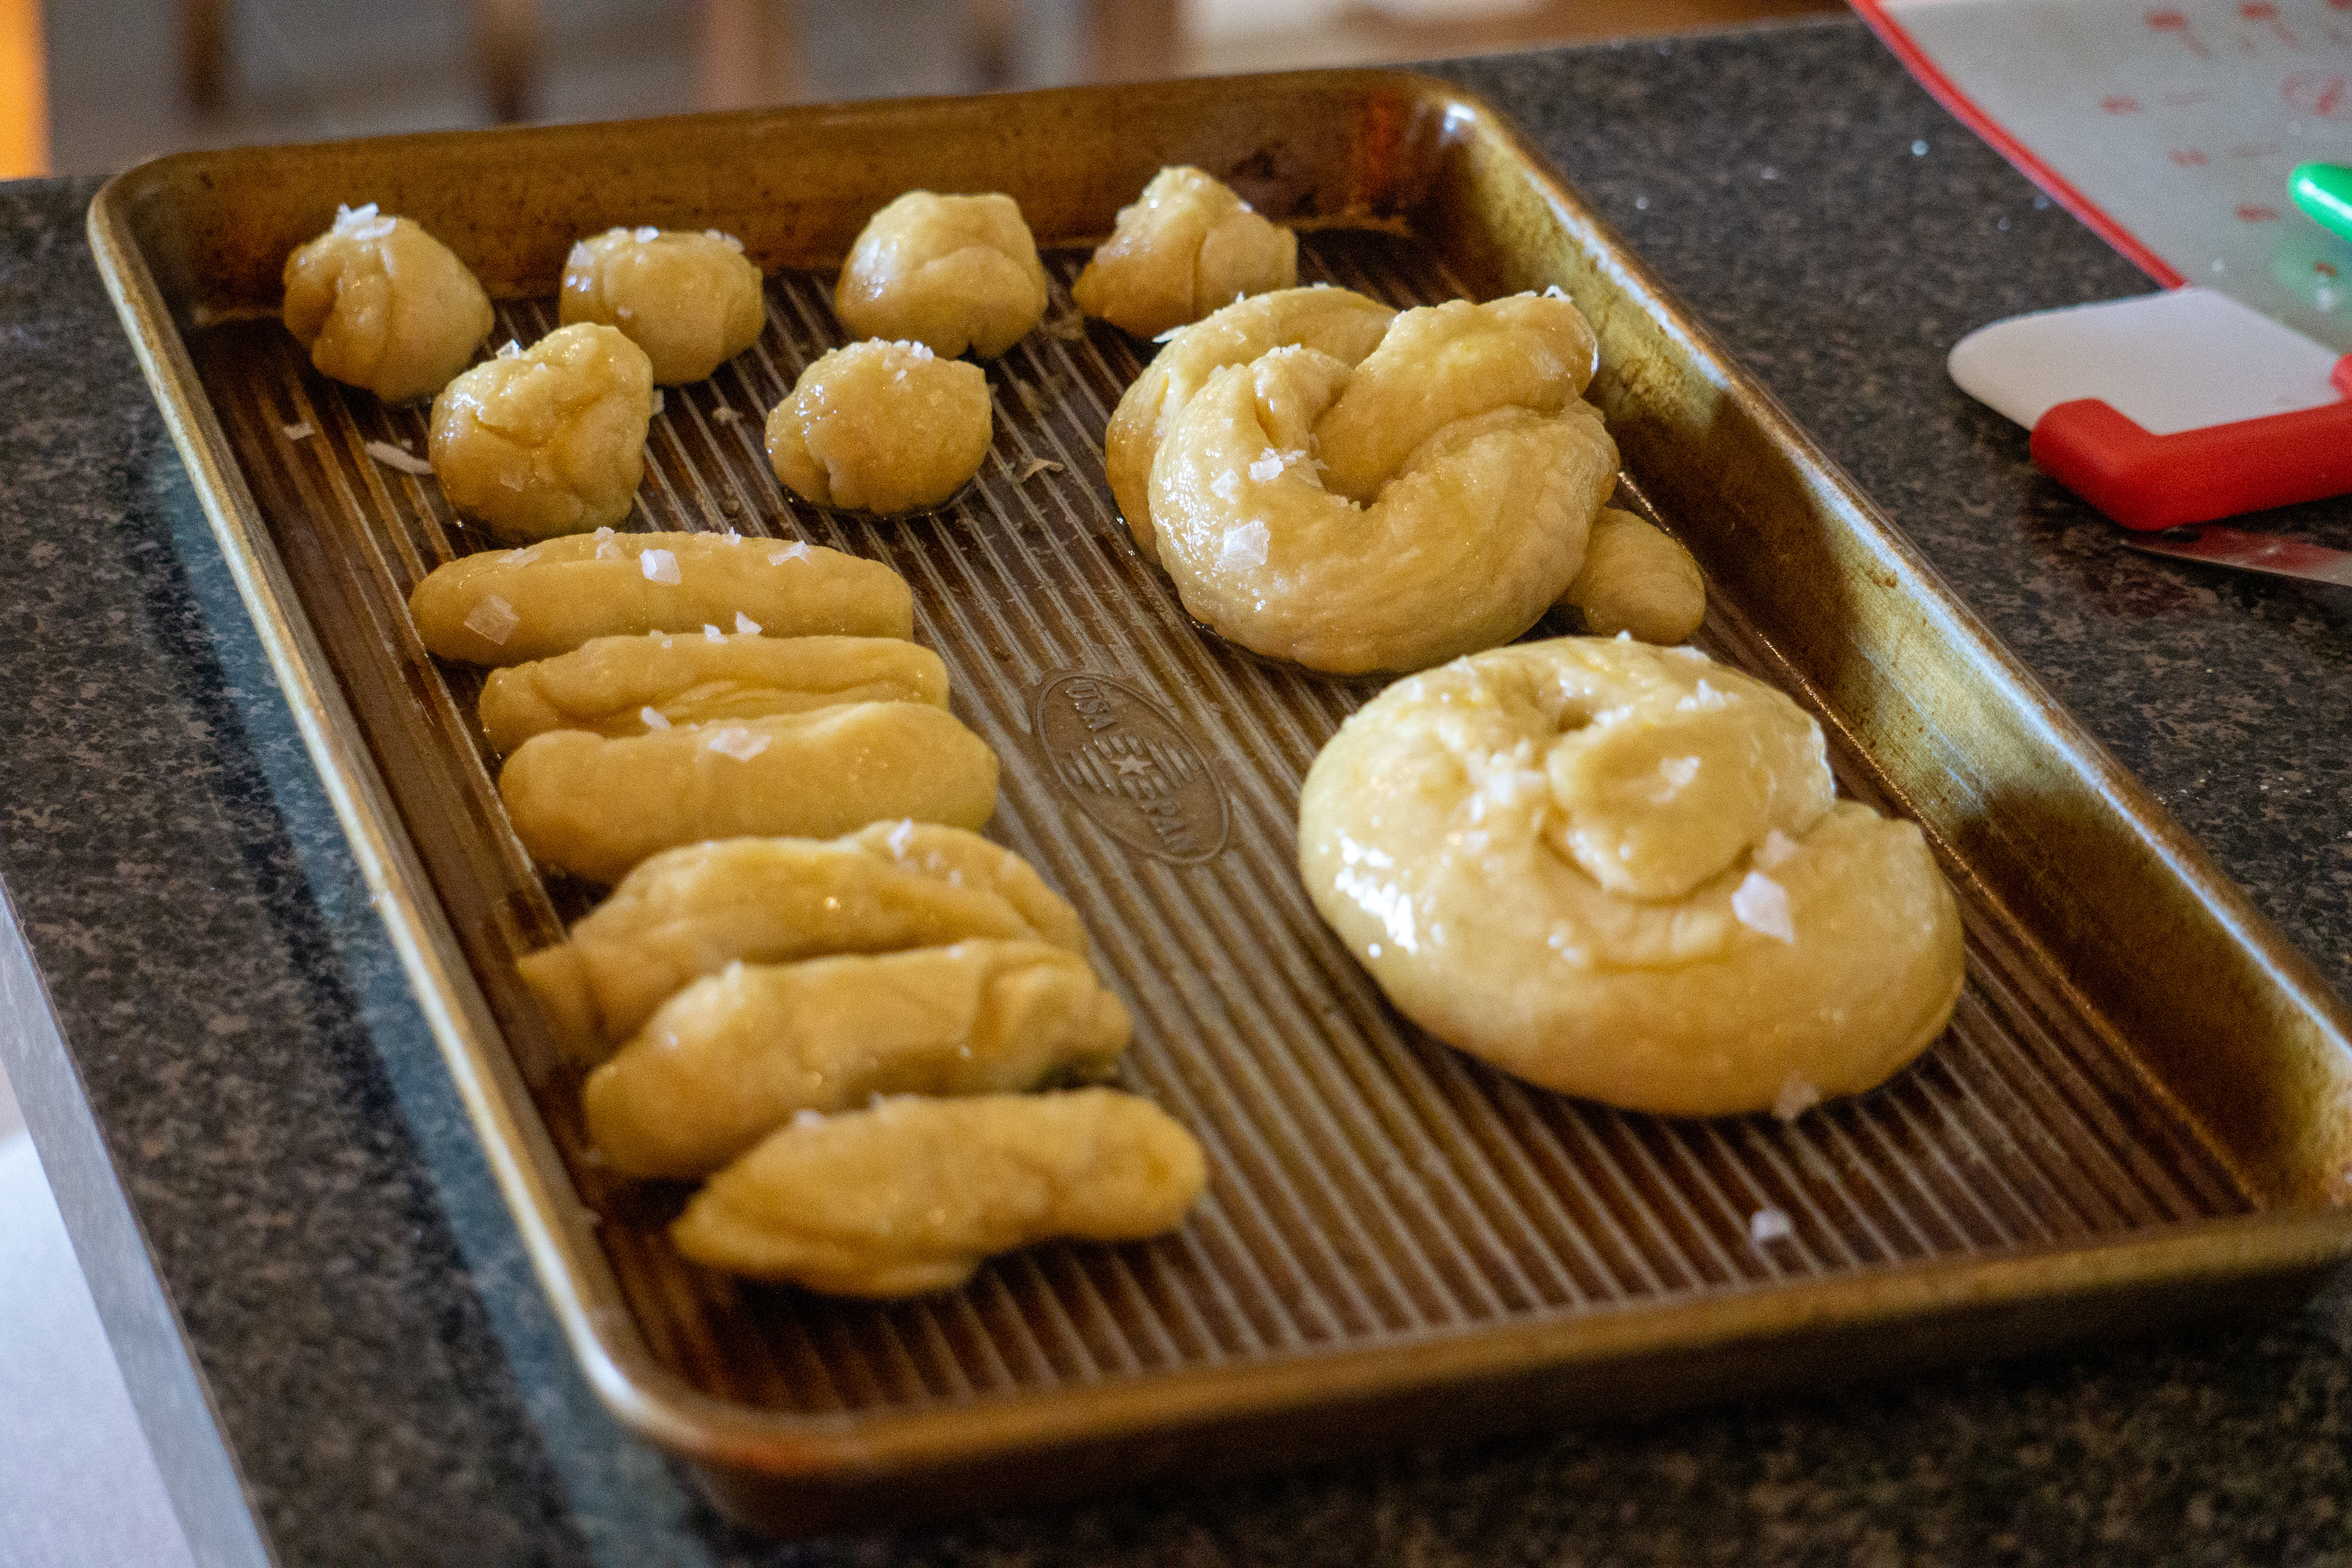
9/20 - Another round of the same with oat flour. Knead for 25 minutes and let sit starting at 8:30 am. Sprinkle with all purpose instead of bread flour when working with it to save the precious flour. Rotate each loaf at 15 minutes then take out at 30. These turned out by far the best and with a better airy crumb. Today I also tried a pretzel recipe for the first time. It for sure tasted like a pretzel and was nice with how quick they could be done in comparison to the country loaf.

9/27 - First shot at a quick focaccia. The tweaks I made for this recipe were a touch of sugar with the honey, then halved cherry tomatoes and 2 tablespoons of butter before baking. The bake took a little longer than the expected, about 25 minutes to be that golden brown. This turned out good but not great. It definitely looked better than it tasted.
10/17 - First sourdough starter: 1/4 cup of all purpose bread flour and 1/4 cup of water. The plan will be to feed the same amount daily for a week. Daily until 10/24 we added 1/4 cup of bread flour and a 1/4 cup of water. Today we took out 1 1/4 cup of the starter, and added 3 cups of flour, 1 cup of water, then 1 tablespoon of sugar and 2 teaspoons of salt. Knead for 15 minutes and let rise. Refill the starter with 1 cup of starter and 1 cup of water.
The sourdough has done well and held up thru the middle of November with consistent results. It has been airy with a better crust, and I get the best results letting the dough proof overnight. I recently attempted a gluten free recipe where I just swapped the flour and that went very poorly. Next time around we'll have to include something to keep the bread together and hopefully keep the flavor decent as well.
12/3 - I've moved on from 5 pound bags of flour to 50 since it seems like this will be something that continues to keep my attention for at least a period of time.
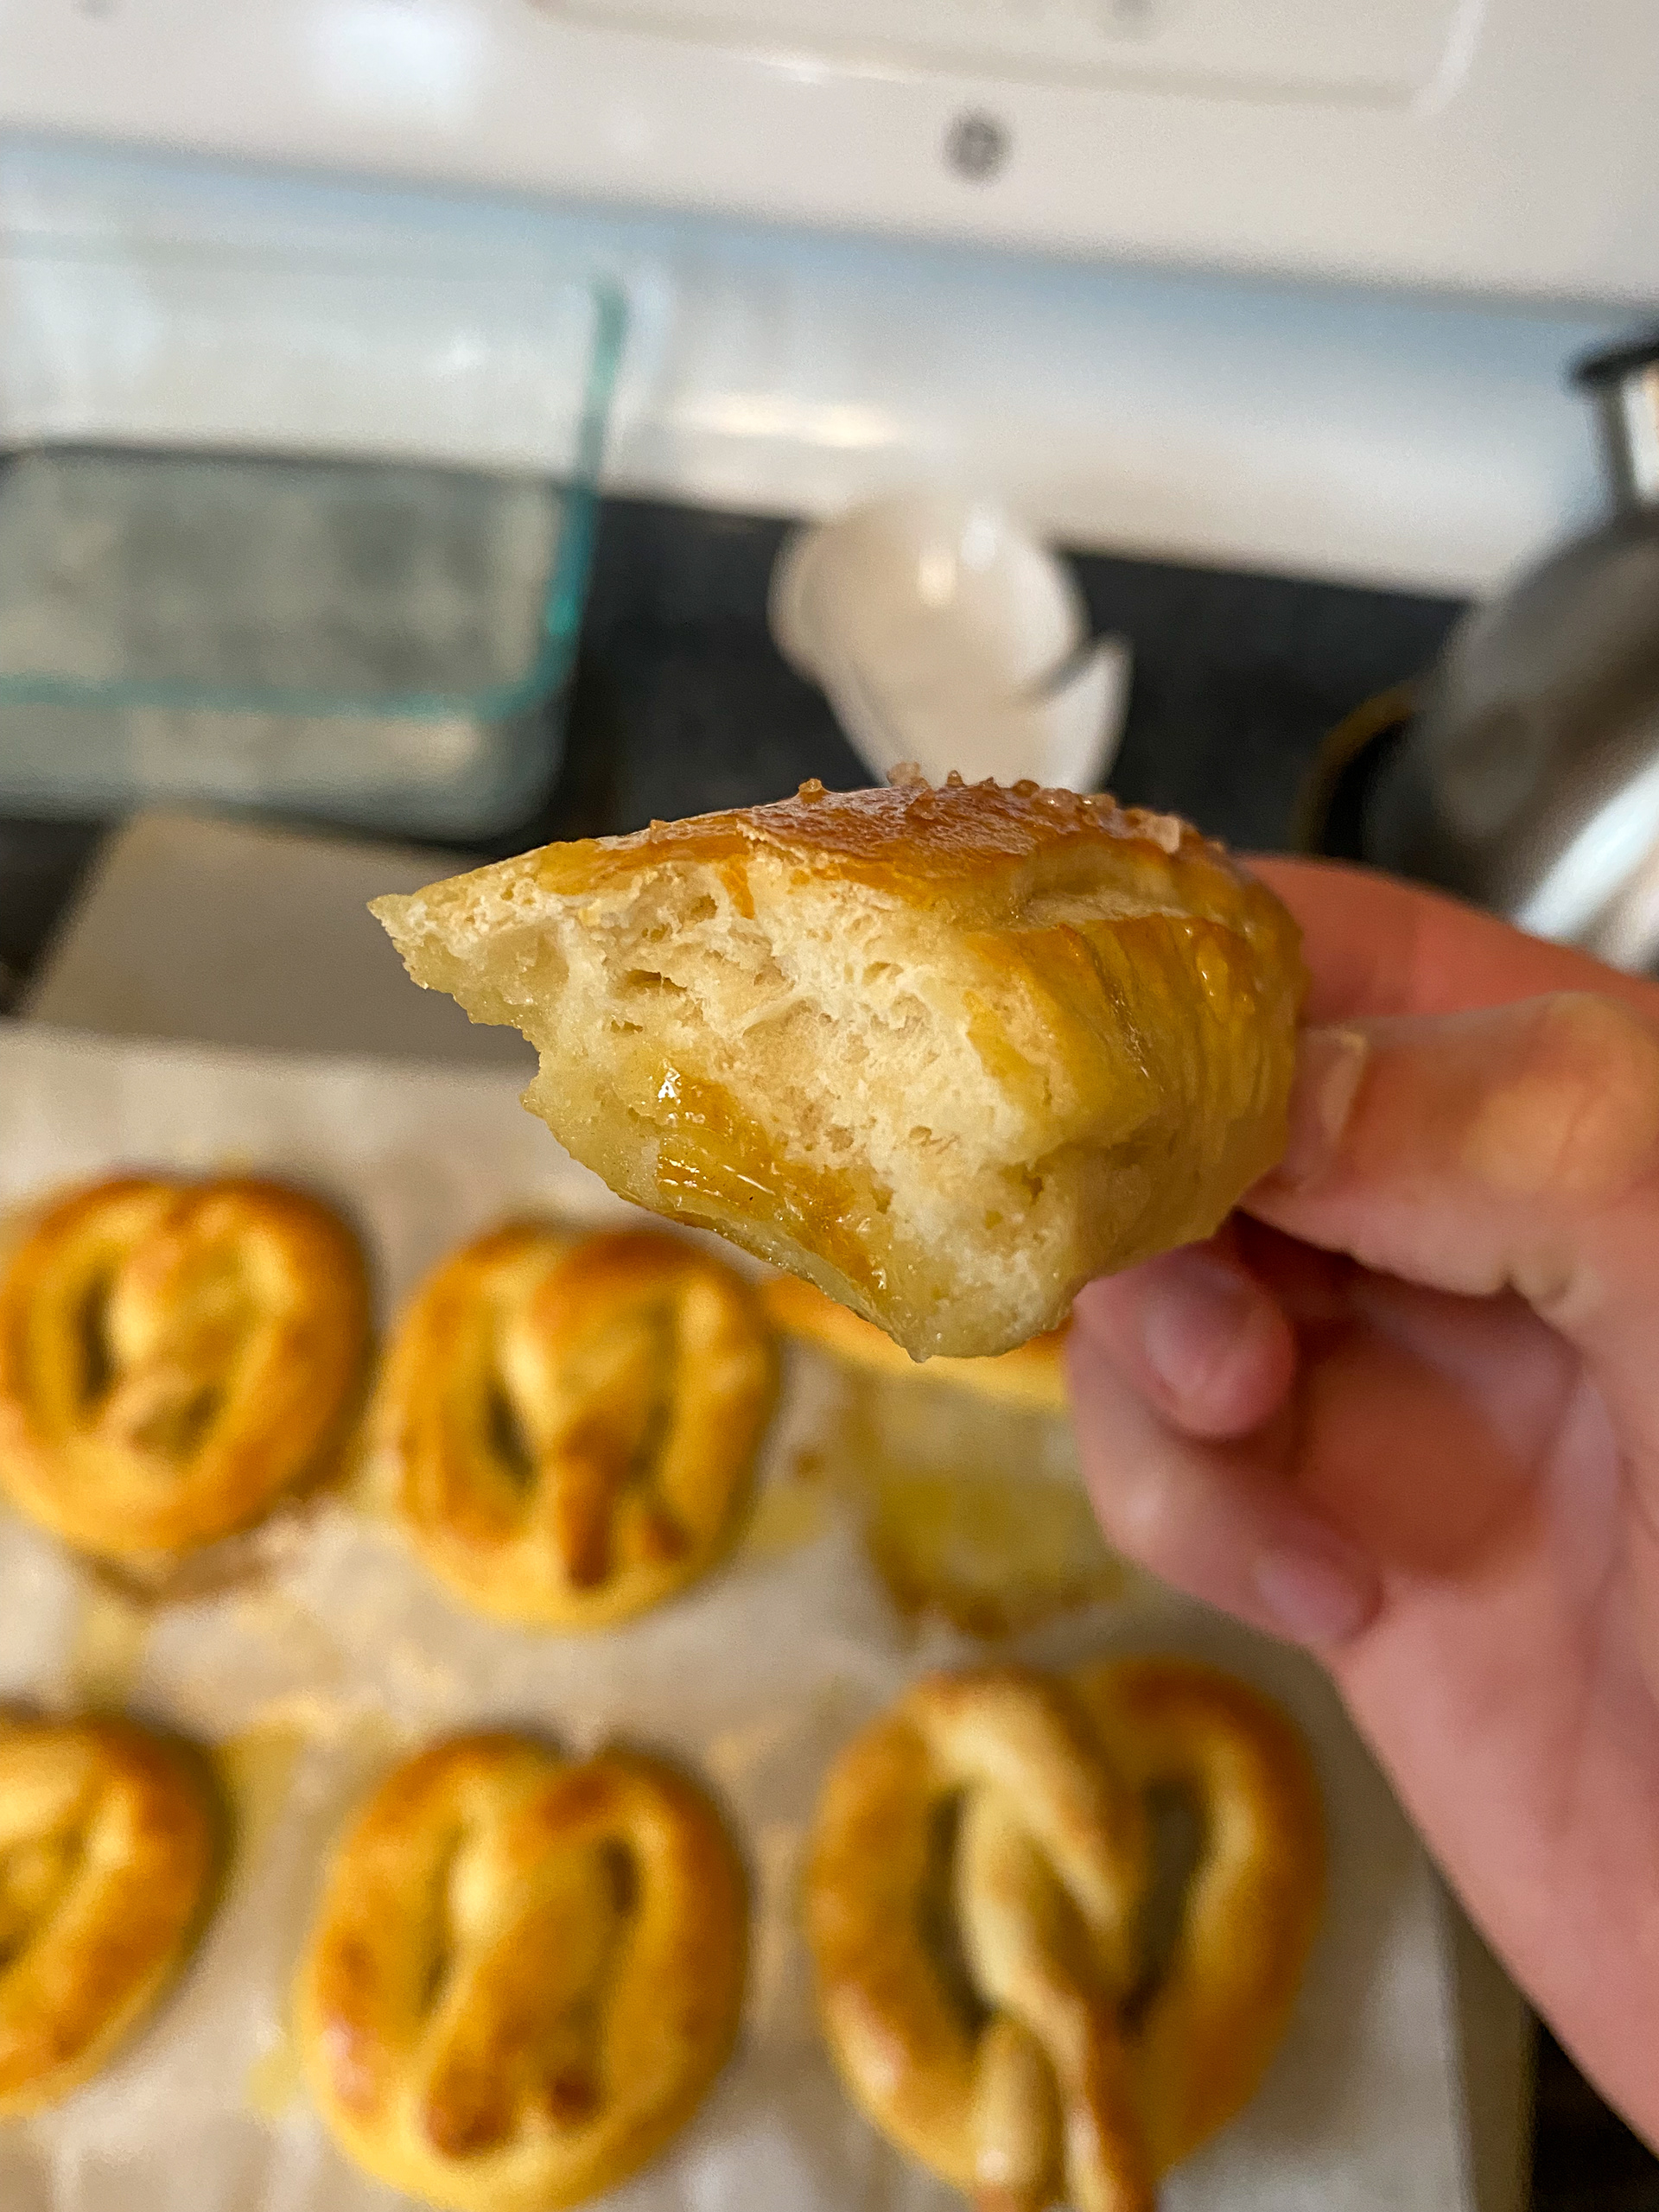
1/9 - We've had a couple relatively solid breakthroughs as far as the process goes. For pretzels the two things are to boil the pretzel and perform an egg wash before it goes into the oven. This is much better than allowing the baking soda/water mixture to cool first. For the bread, the big improvement was allowing the portion of the starter you'll be making dough with to come up to room temperature before mixing in the dry ingredients. Before I had always taken it straight from the fridge, but no more.
1/19 - With the move the new challenge has been baking bread in a different oven. The new one gets up to temperature much quicker and seems to bake a little more evenly. We've done 2 batches so far and now I can pretty much do each loaf for 24 minutes at 500 rotating it halfway thru the bake.

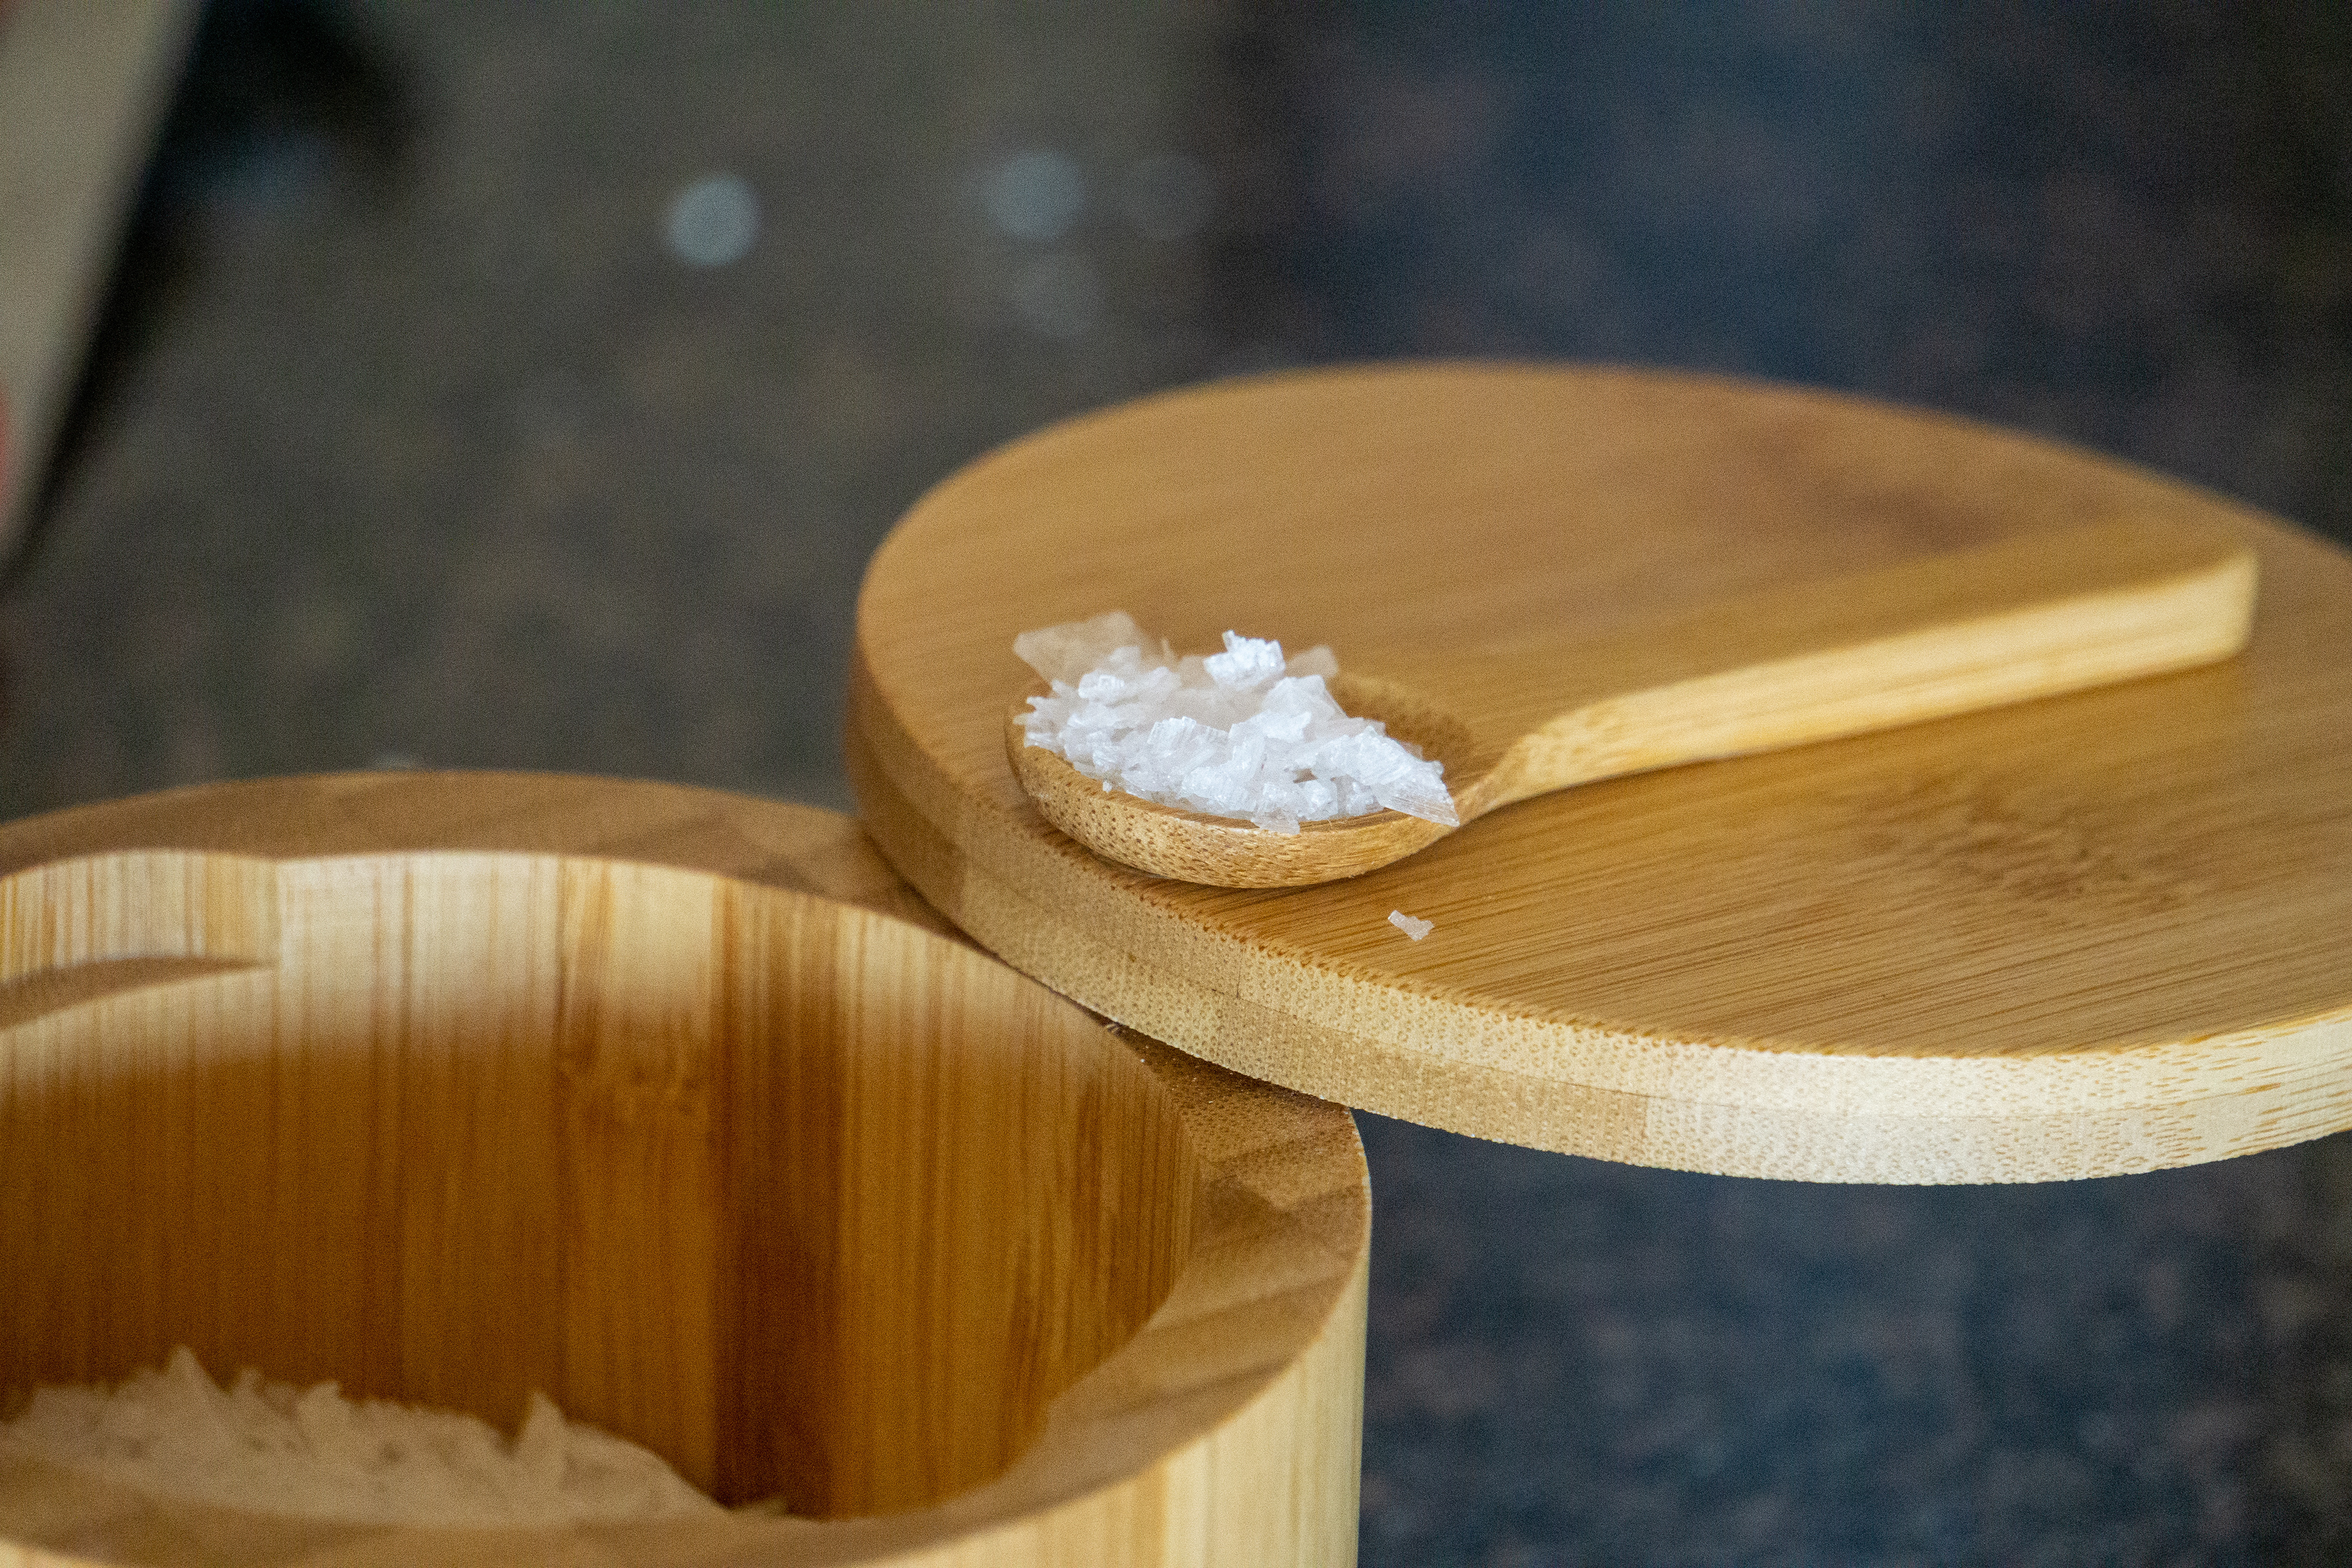
1/31 - This morning we did another round of pretzels, and the quality here is certainly improving. They still look a little ugly, but they taste great. Doubled the baking soda in the boil to two table spoons, but I will probably start looking at a food grade lye. Still did an egg/butter wash after the boil and this time we used the Maldon salt to top these before baking.
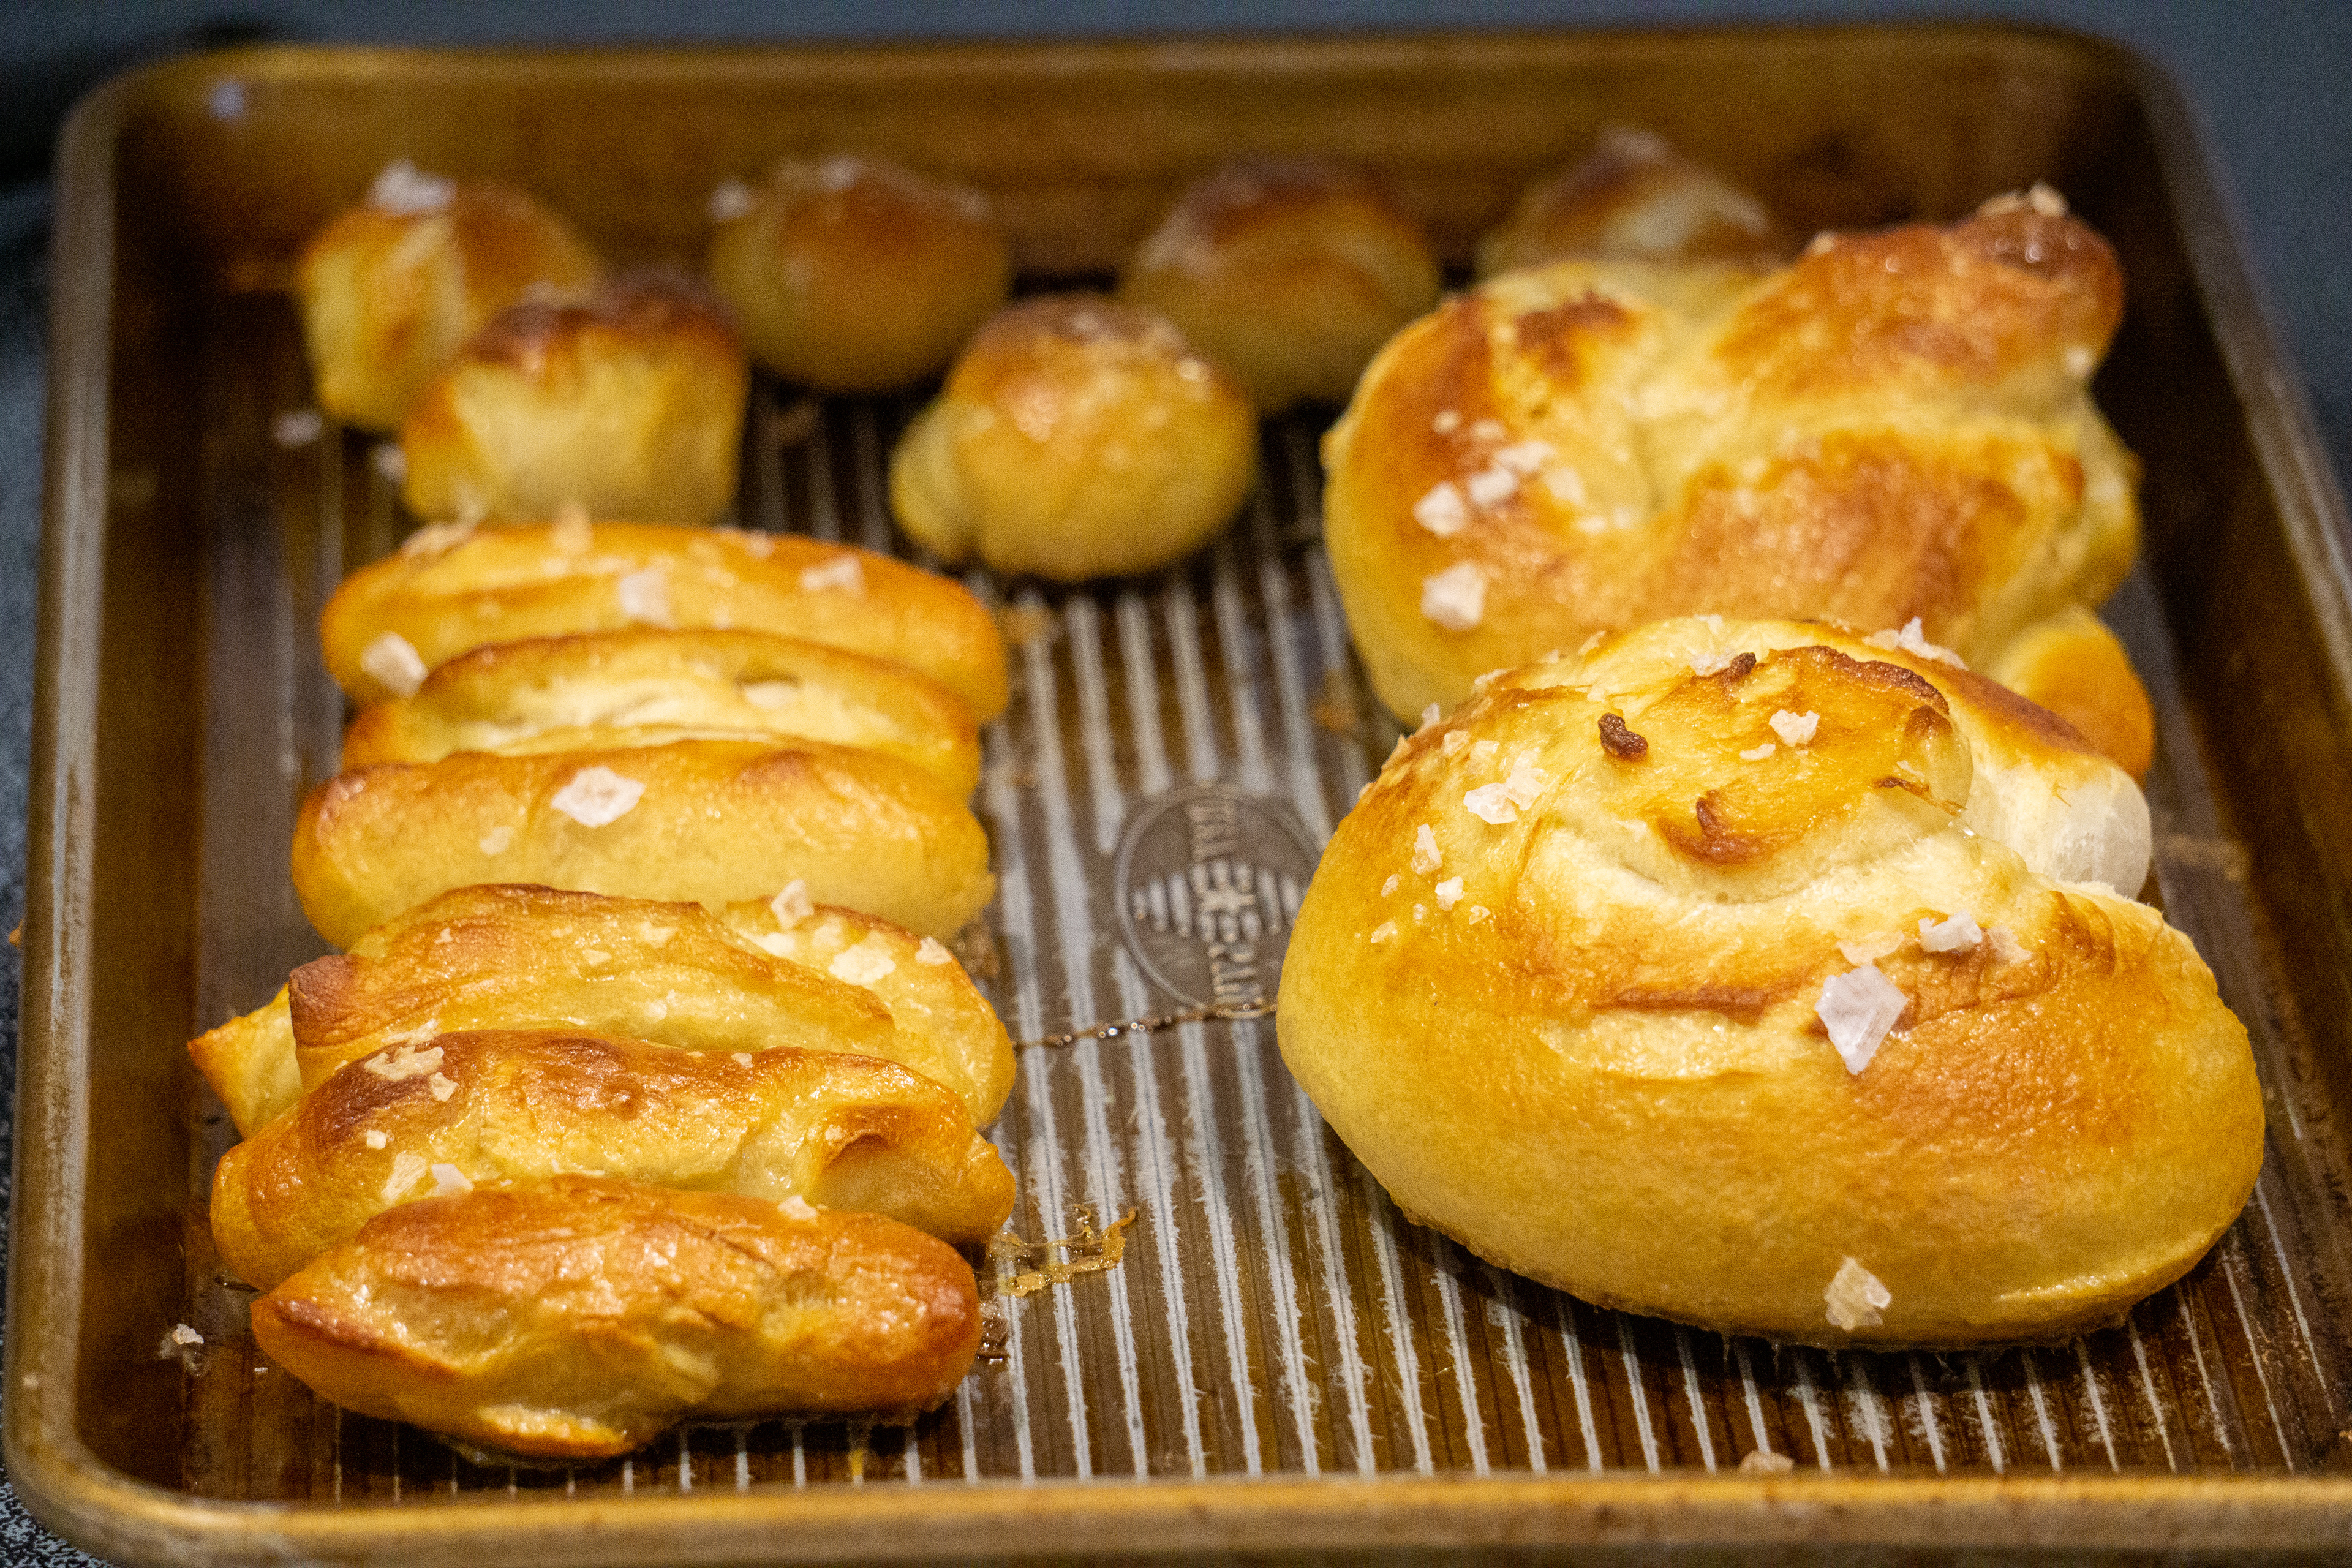
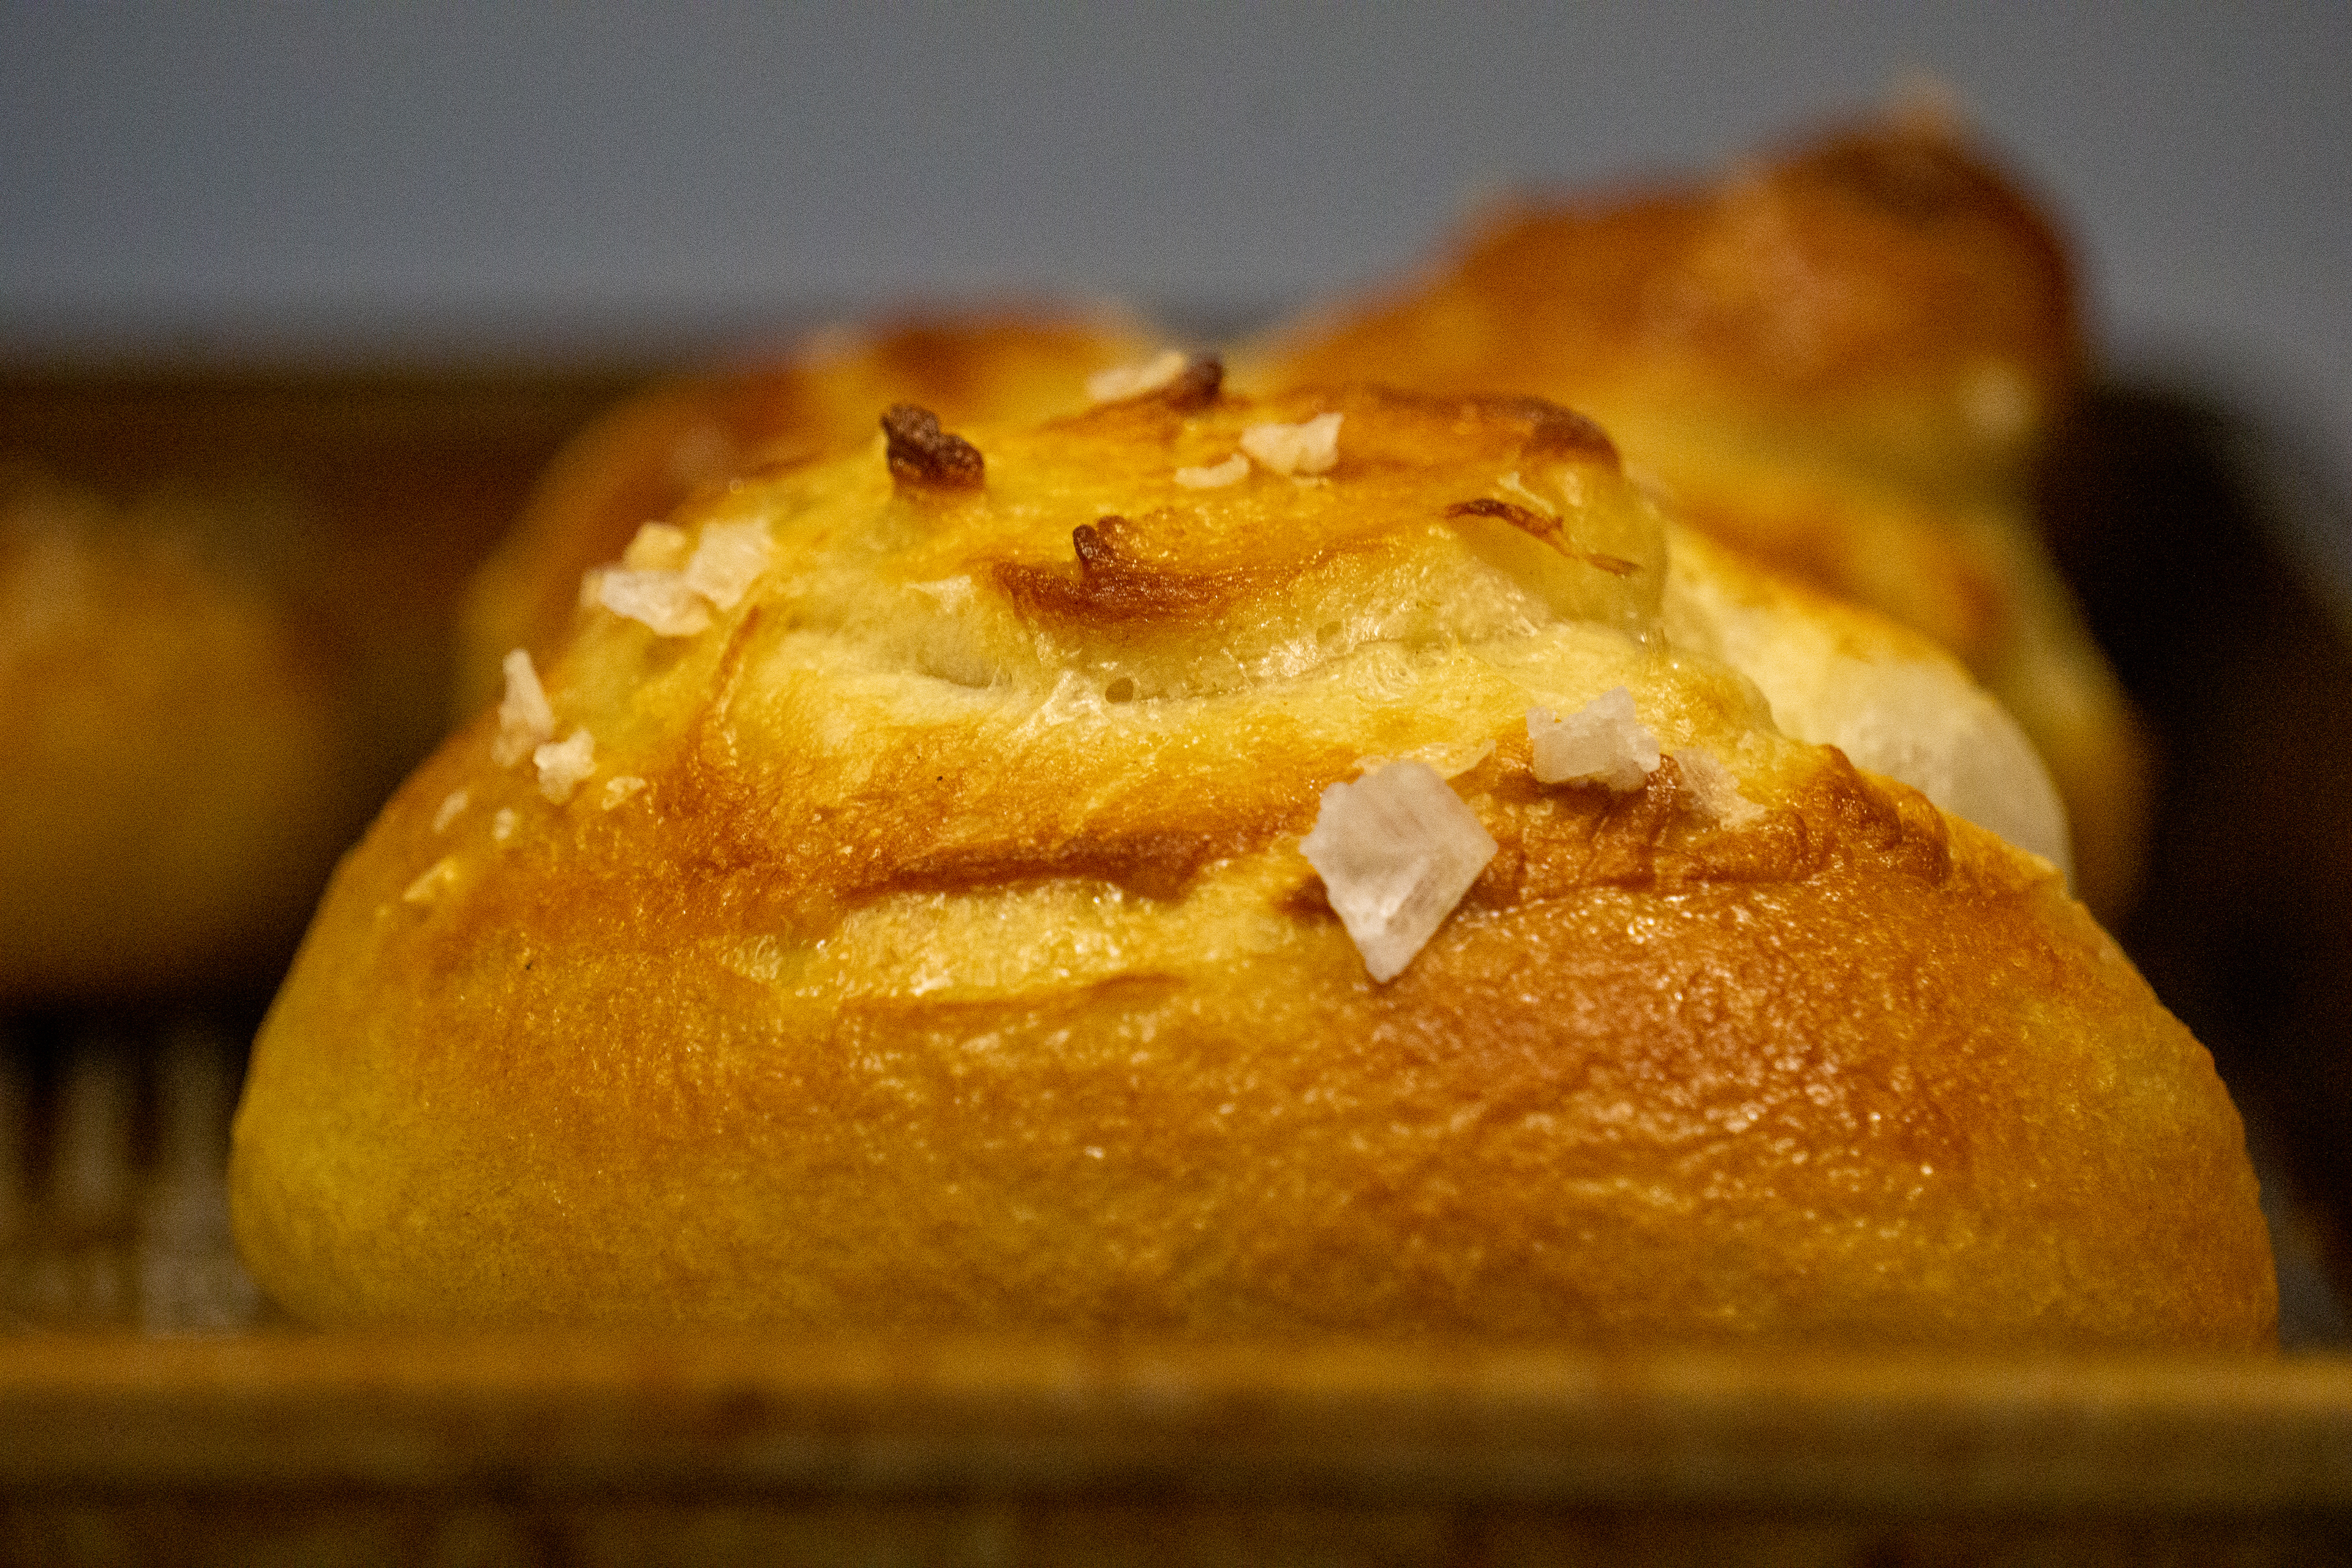
2/13 - The quick pretzel update is we tried a batch with two tablespoons of baking soda for the boil and used up the remainder of a (very) old box of baking soda. The next batch we used three tablespoons and it was new, those pretzels turned out much darker and of typical pretzel appearance even tho the taste was mostly the same. I have also been using the scale more, and I find it too cumbersome for dry ingredients, but when taking from the starter and feeding it, I have found that to be incredibly helpful. I was getting some excess water that I could pour off the starter pretty much weekly, and it turns out feeding with 1 cup of flour and 1 cup of water was about 50 grams more water than it really needed. The cup of flour is still constant, then I'll add the remainder water to the starter rather than just always using a cup. vor
2/16 - The Central Mills flour has arrived, the first batch of dough is 1 cup of the Sir Gallahad and 2 cups of the Central Mills High Mountain flour. Depending on how this batch goes we'll have to see if that ratio is good, if I can bake exclusively with the High Mountain, or find another preferable ratio.
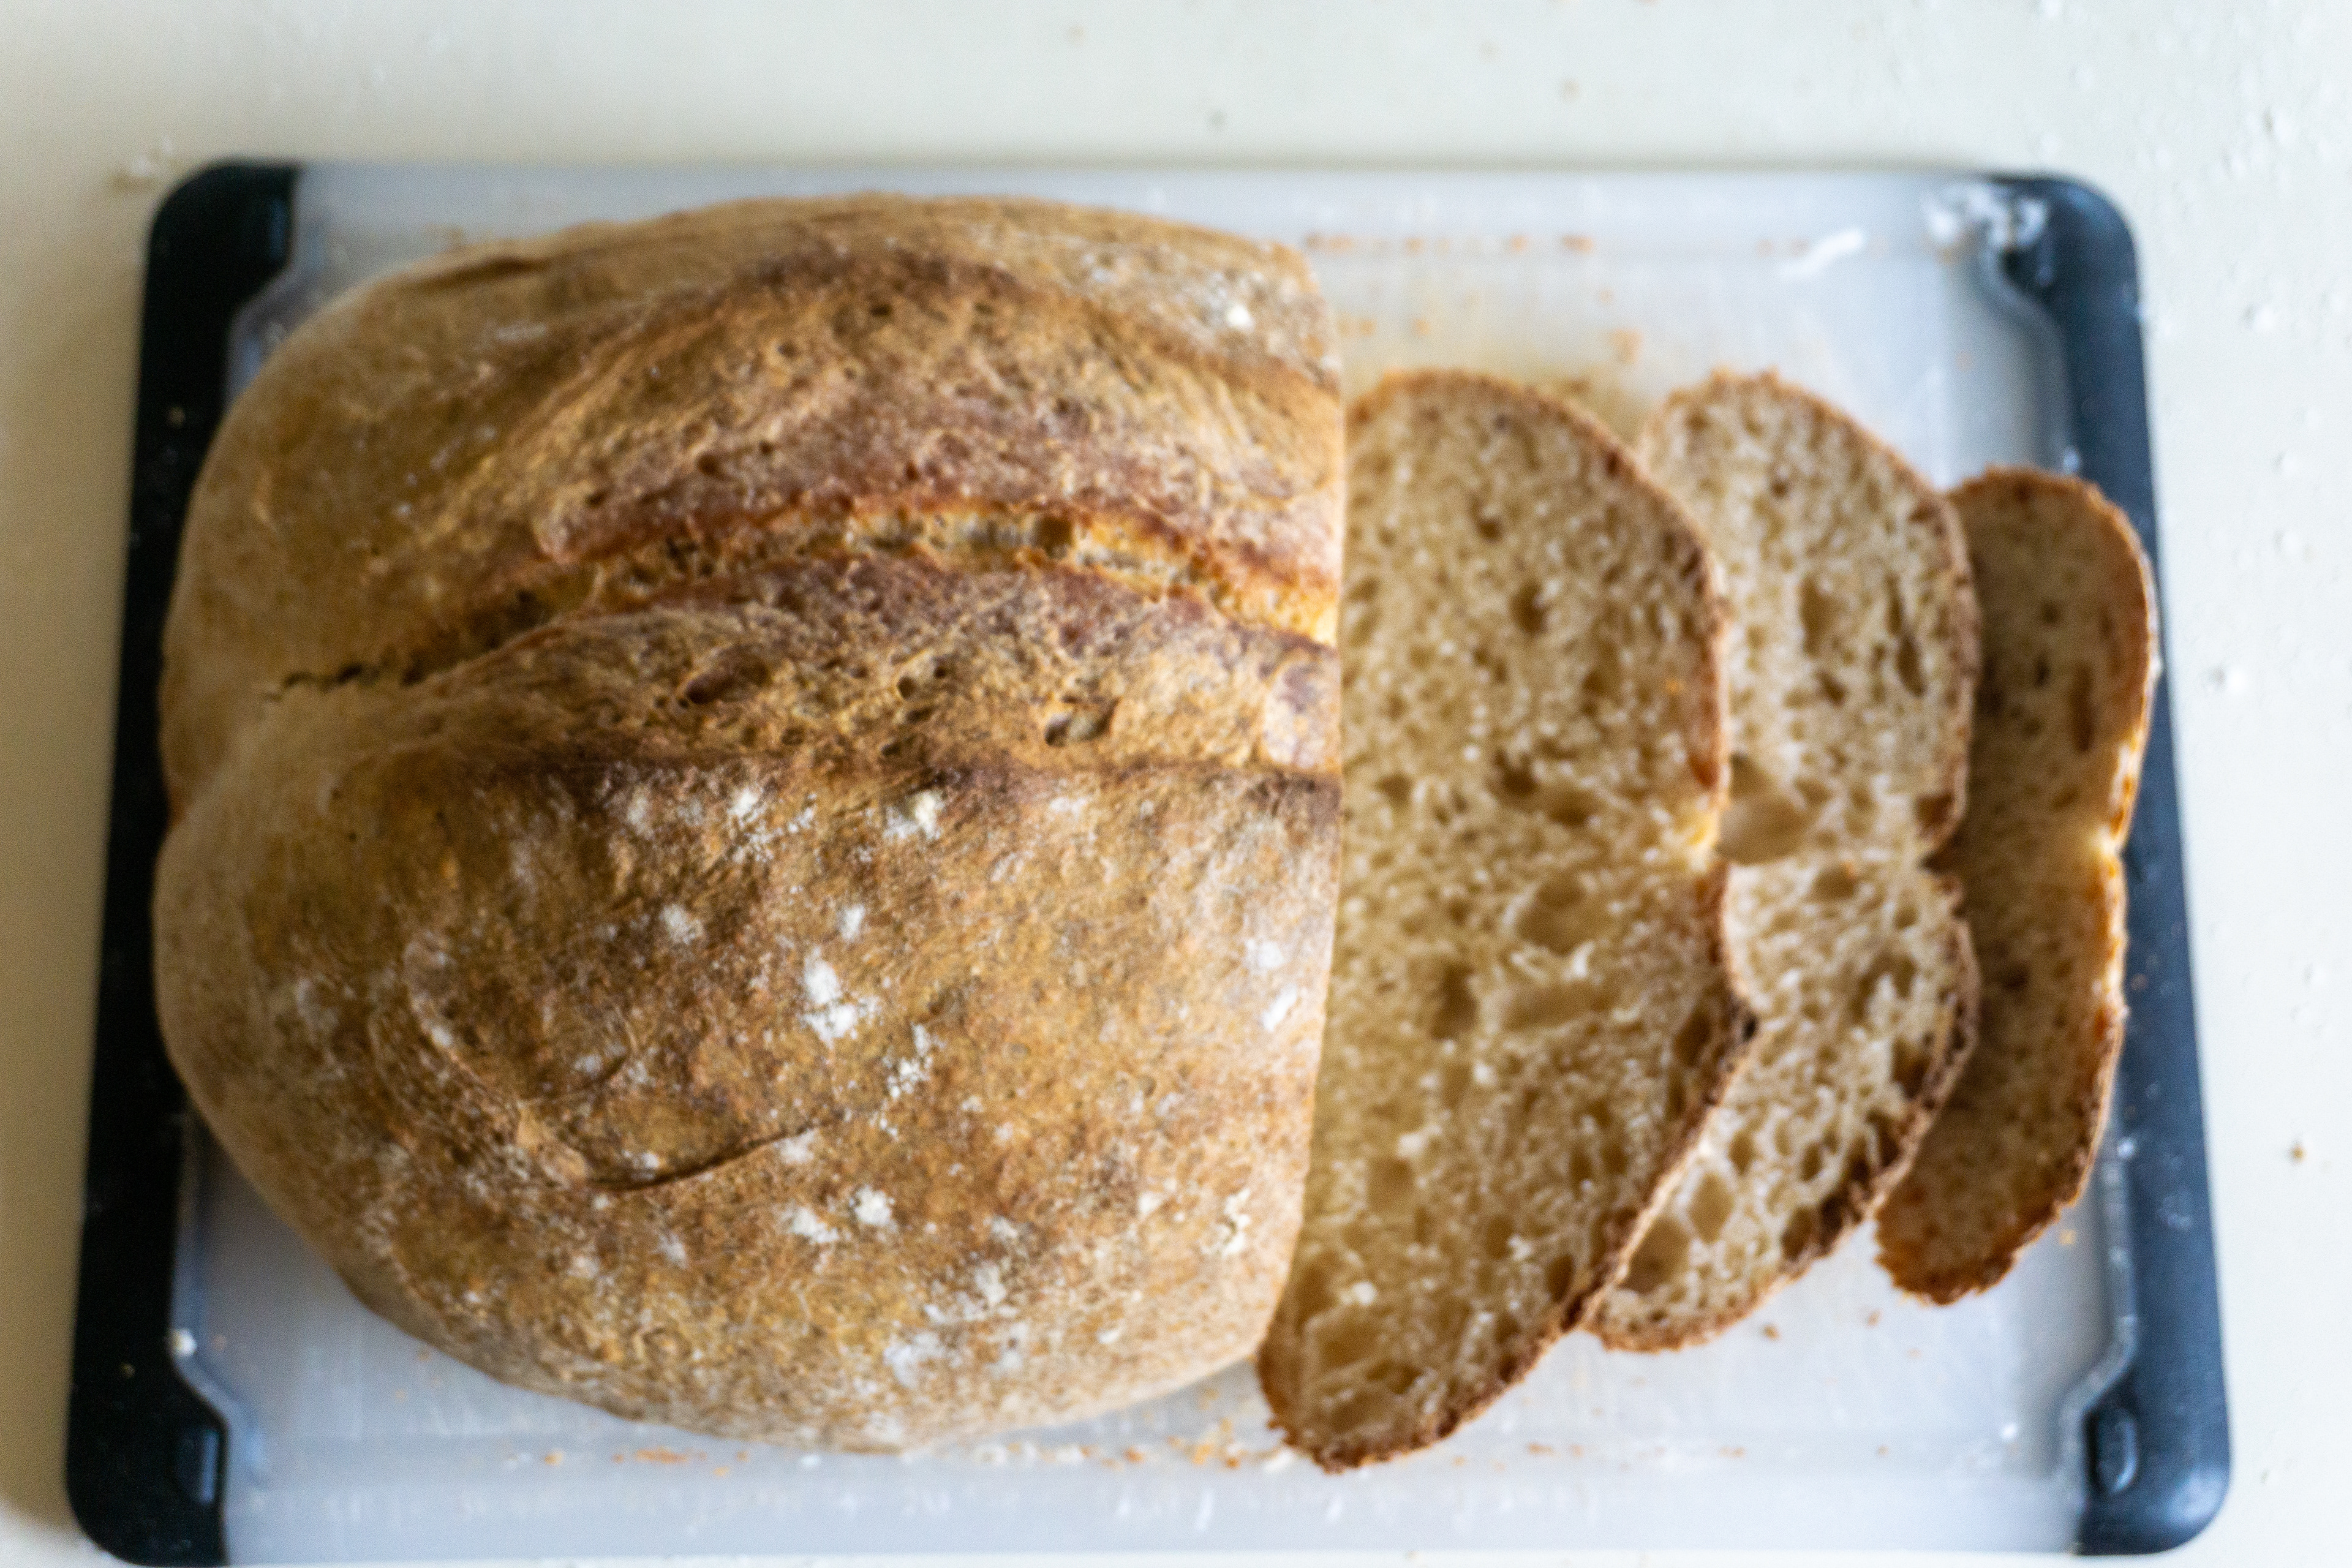
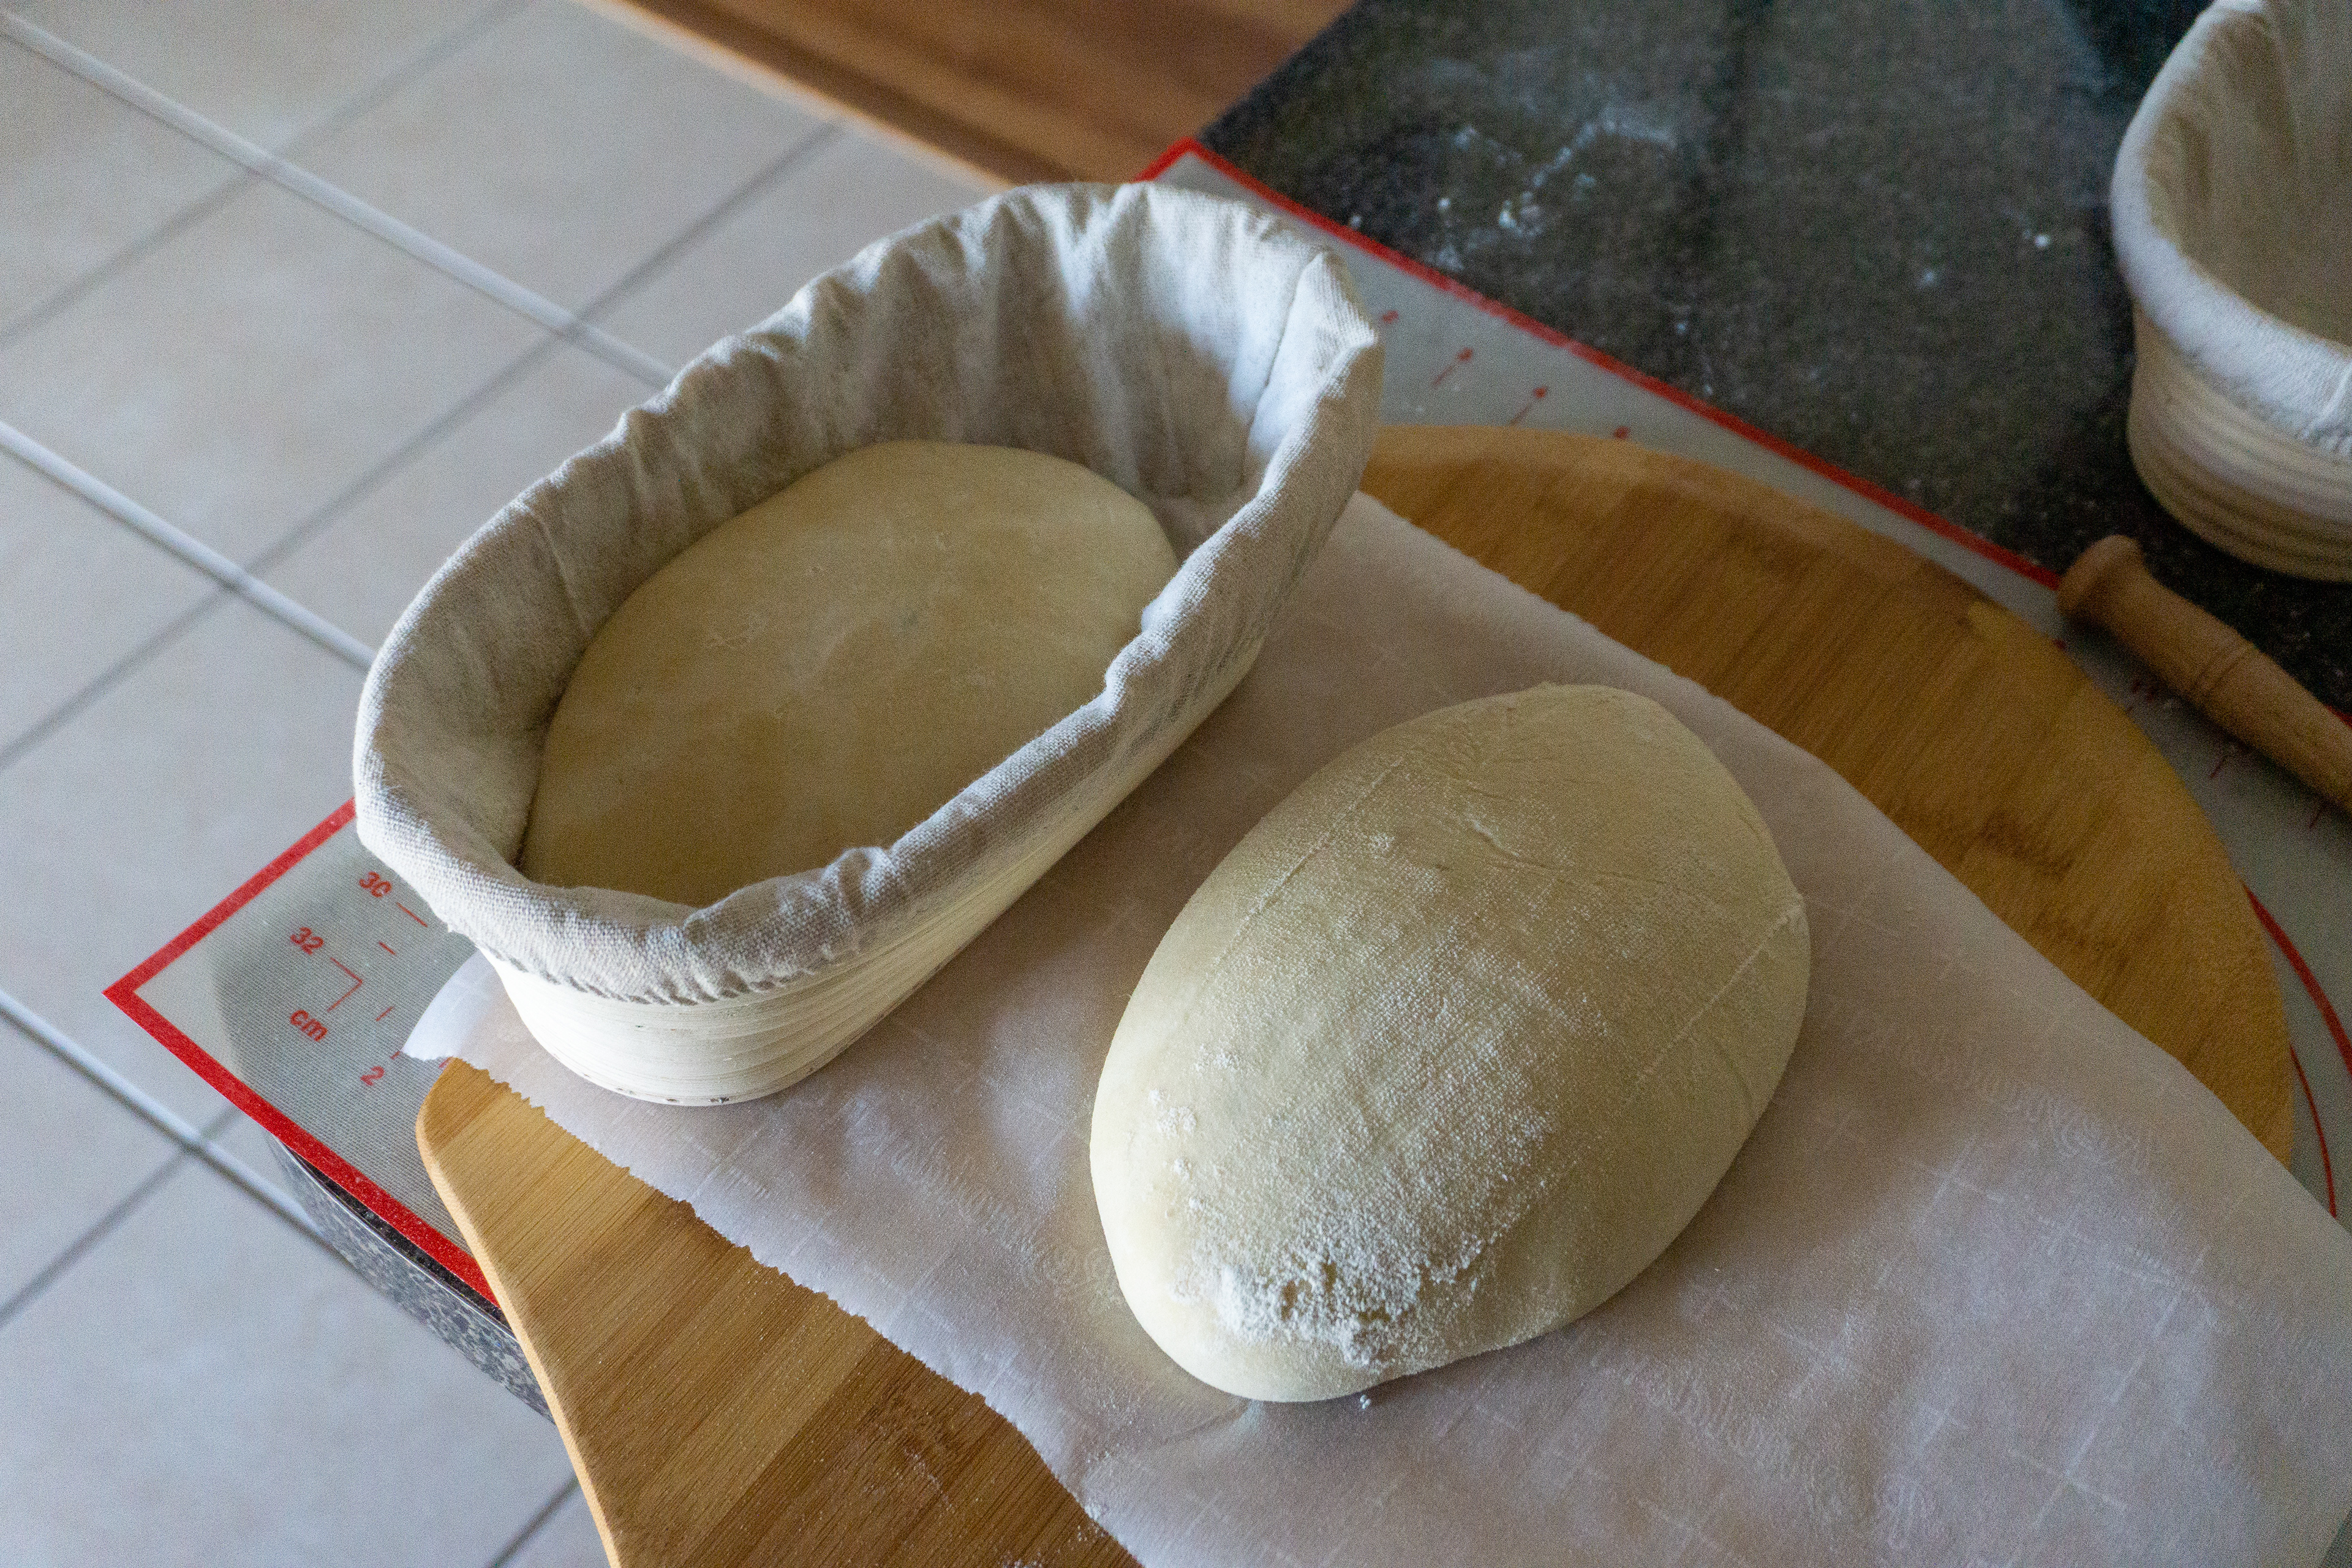
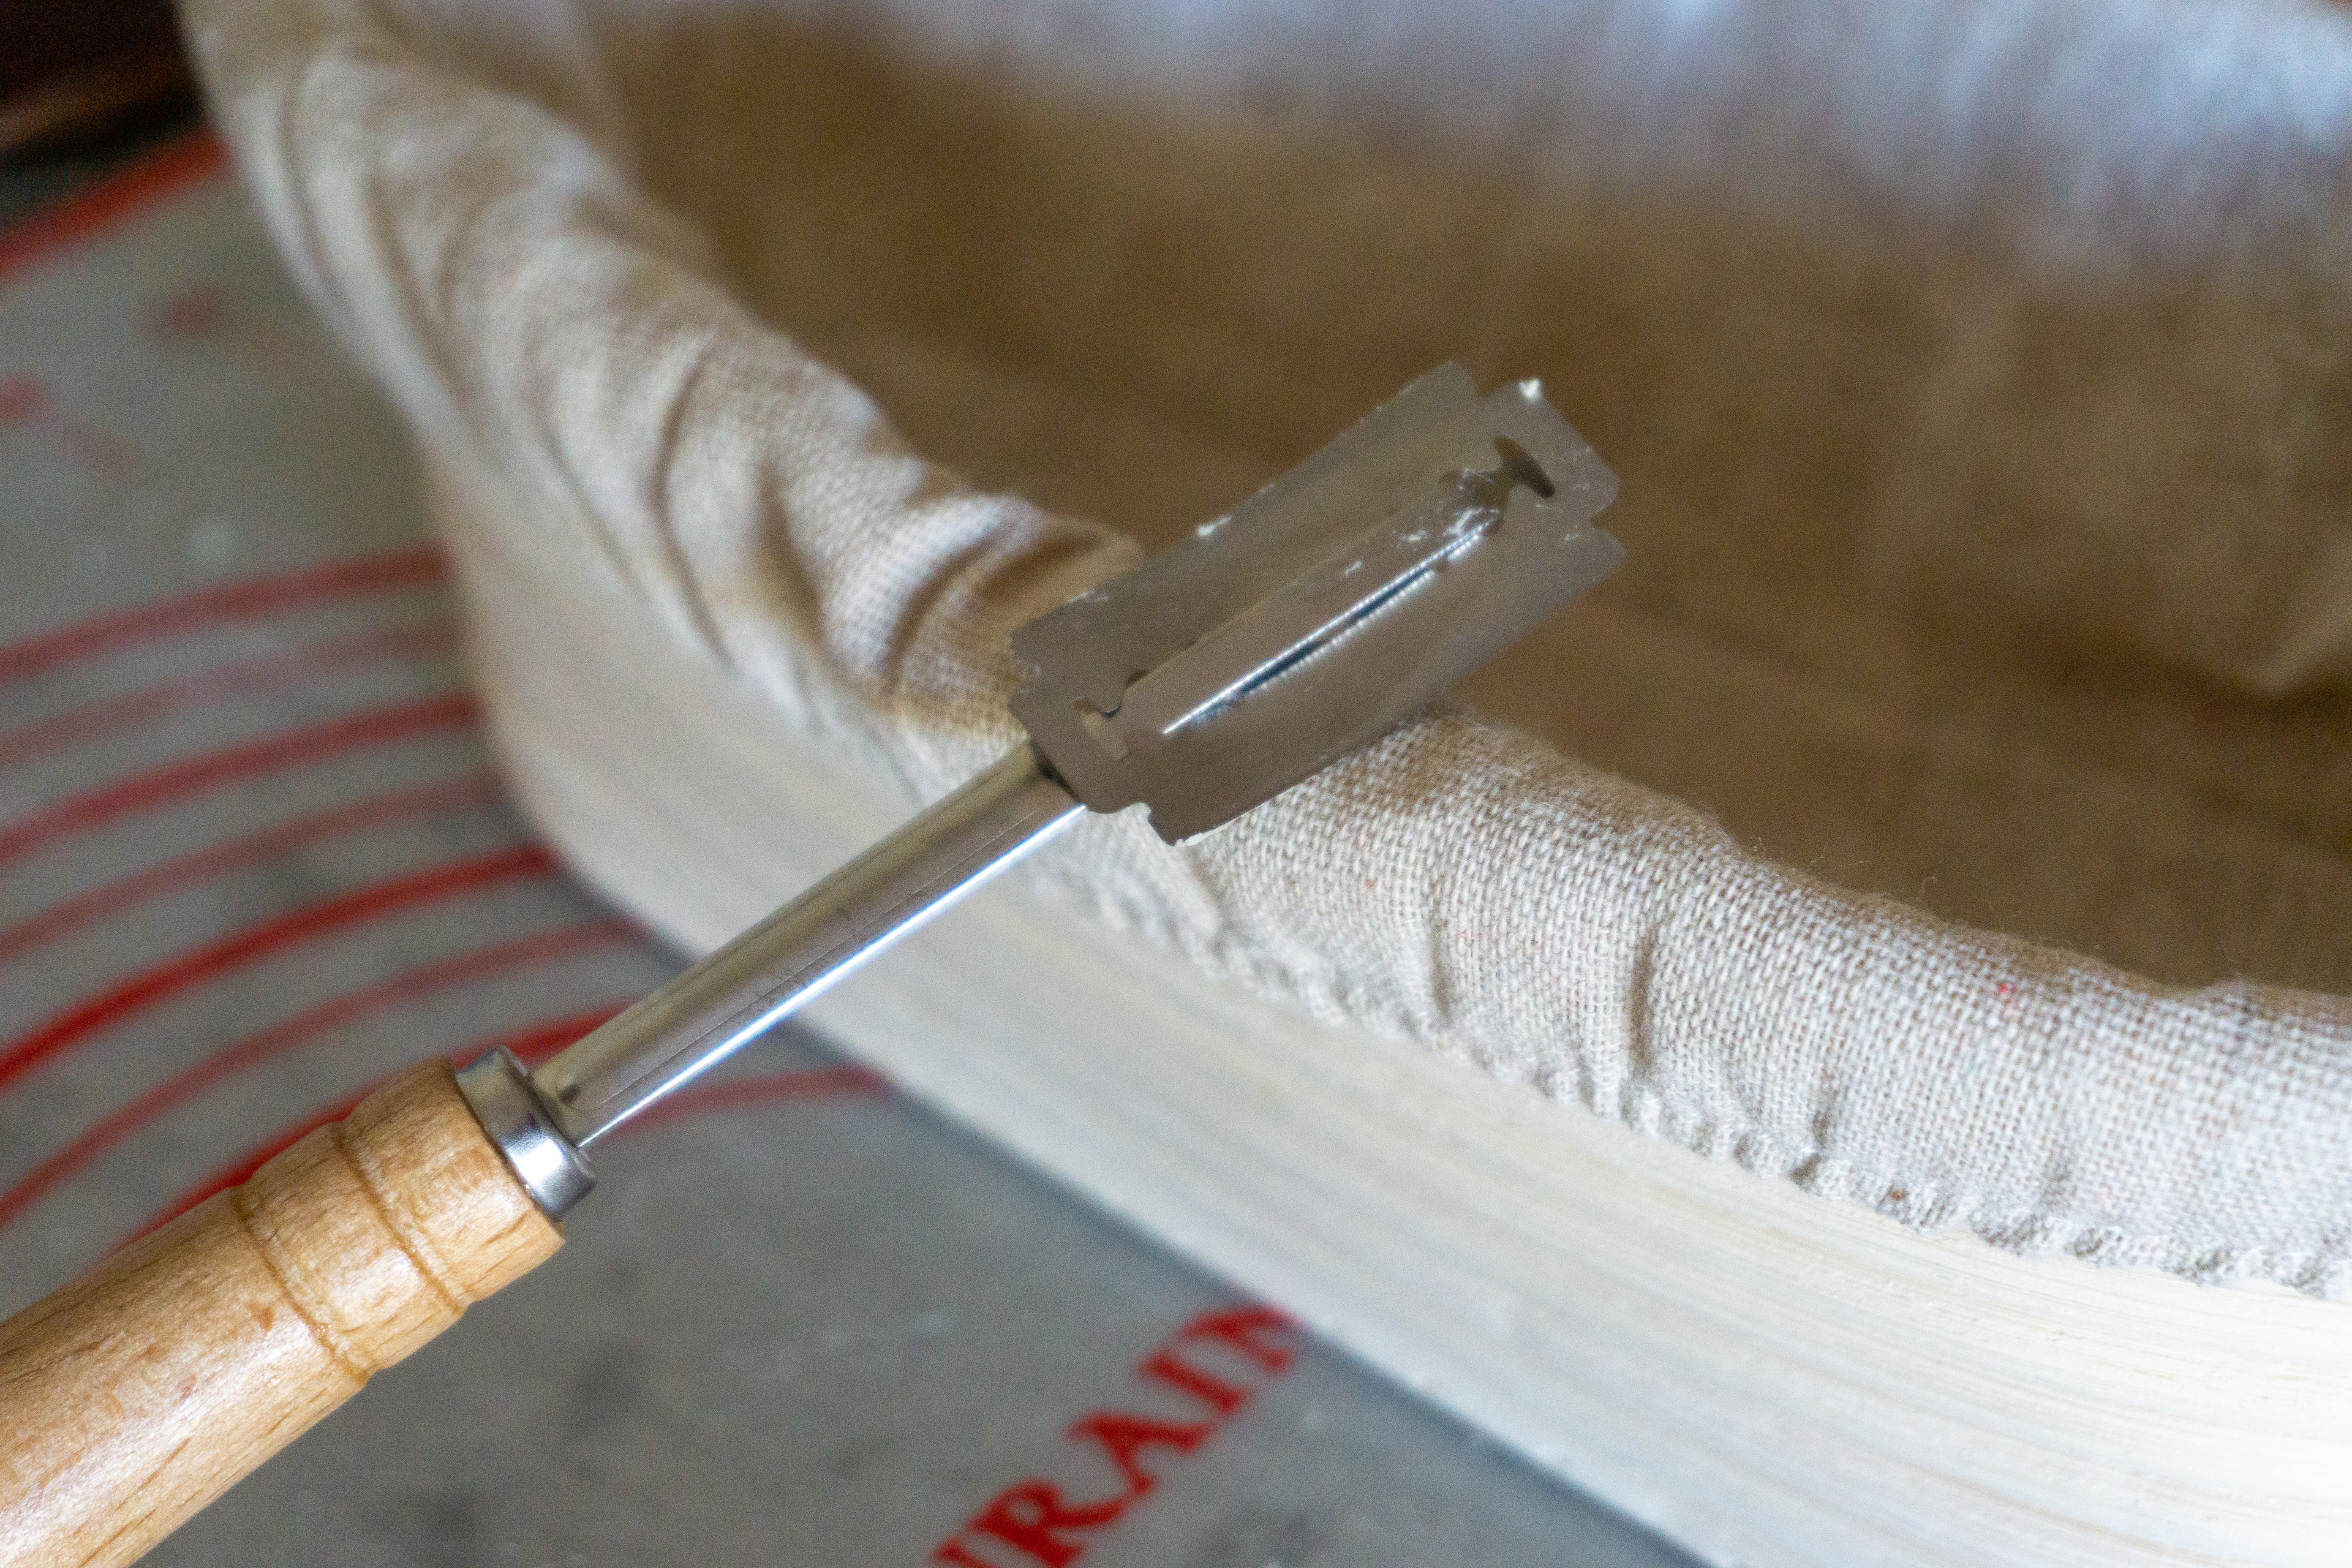
4/9 - To keep a more airy crumb, I've increased the hydration level of the dough, instead of doing a single cup of water, I'll include up to an additional 1/4 cup of water. This does make the dough much more unpleasant to handle initially, but does make for a better end result. The other update as of late is I have finally acquired proofing baskets to make it easier to let the dough rise and not have to shape it after the fact. One of the best outputs that have come here is the bottom of the loaf staying flat and thus making it easier to cut and enjoy.
5/11/22 - This will be the first attempt of two rises, the bulk fermentation then the final proof in the fridge. Bulk fermentation started at 11:30am and the house is at 74 degrees. I'm hoping this gives the dough a good initial rise, then once it has reached about the point of collapsing (in the past) I plan to let it proof in the fridge to make it a little easier to handle prior to going into the oven.
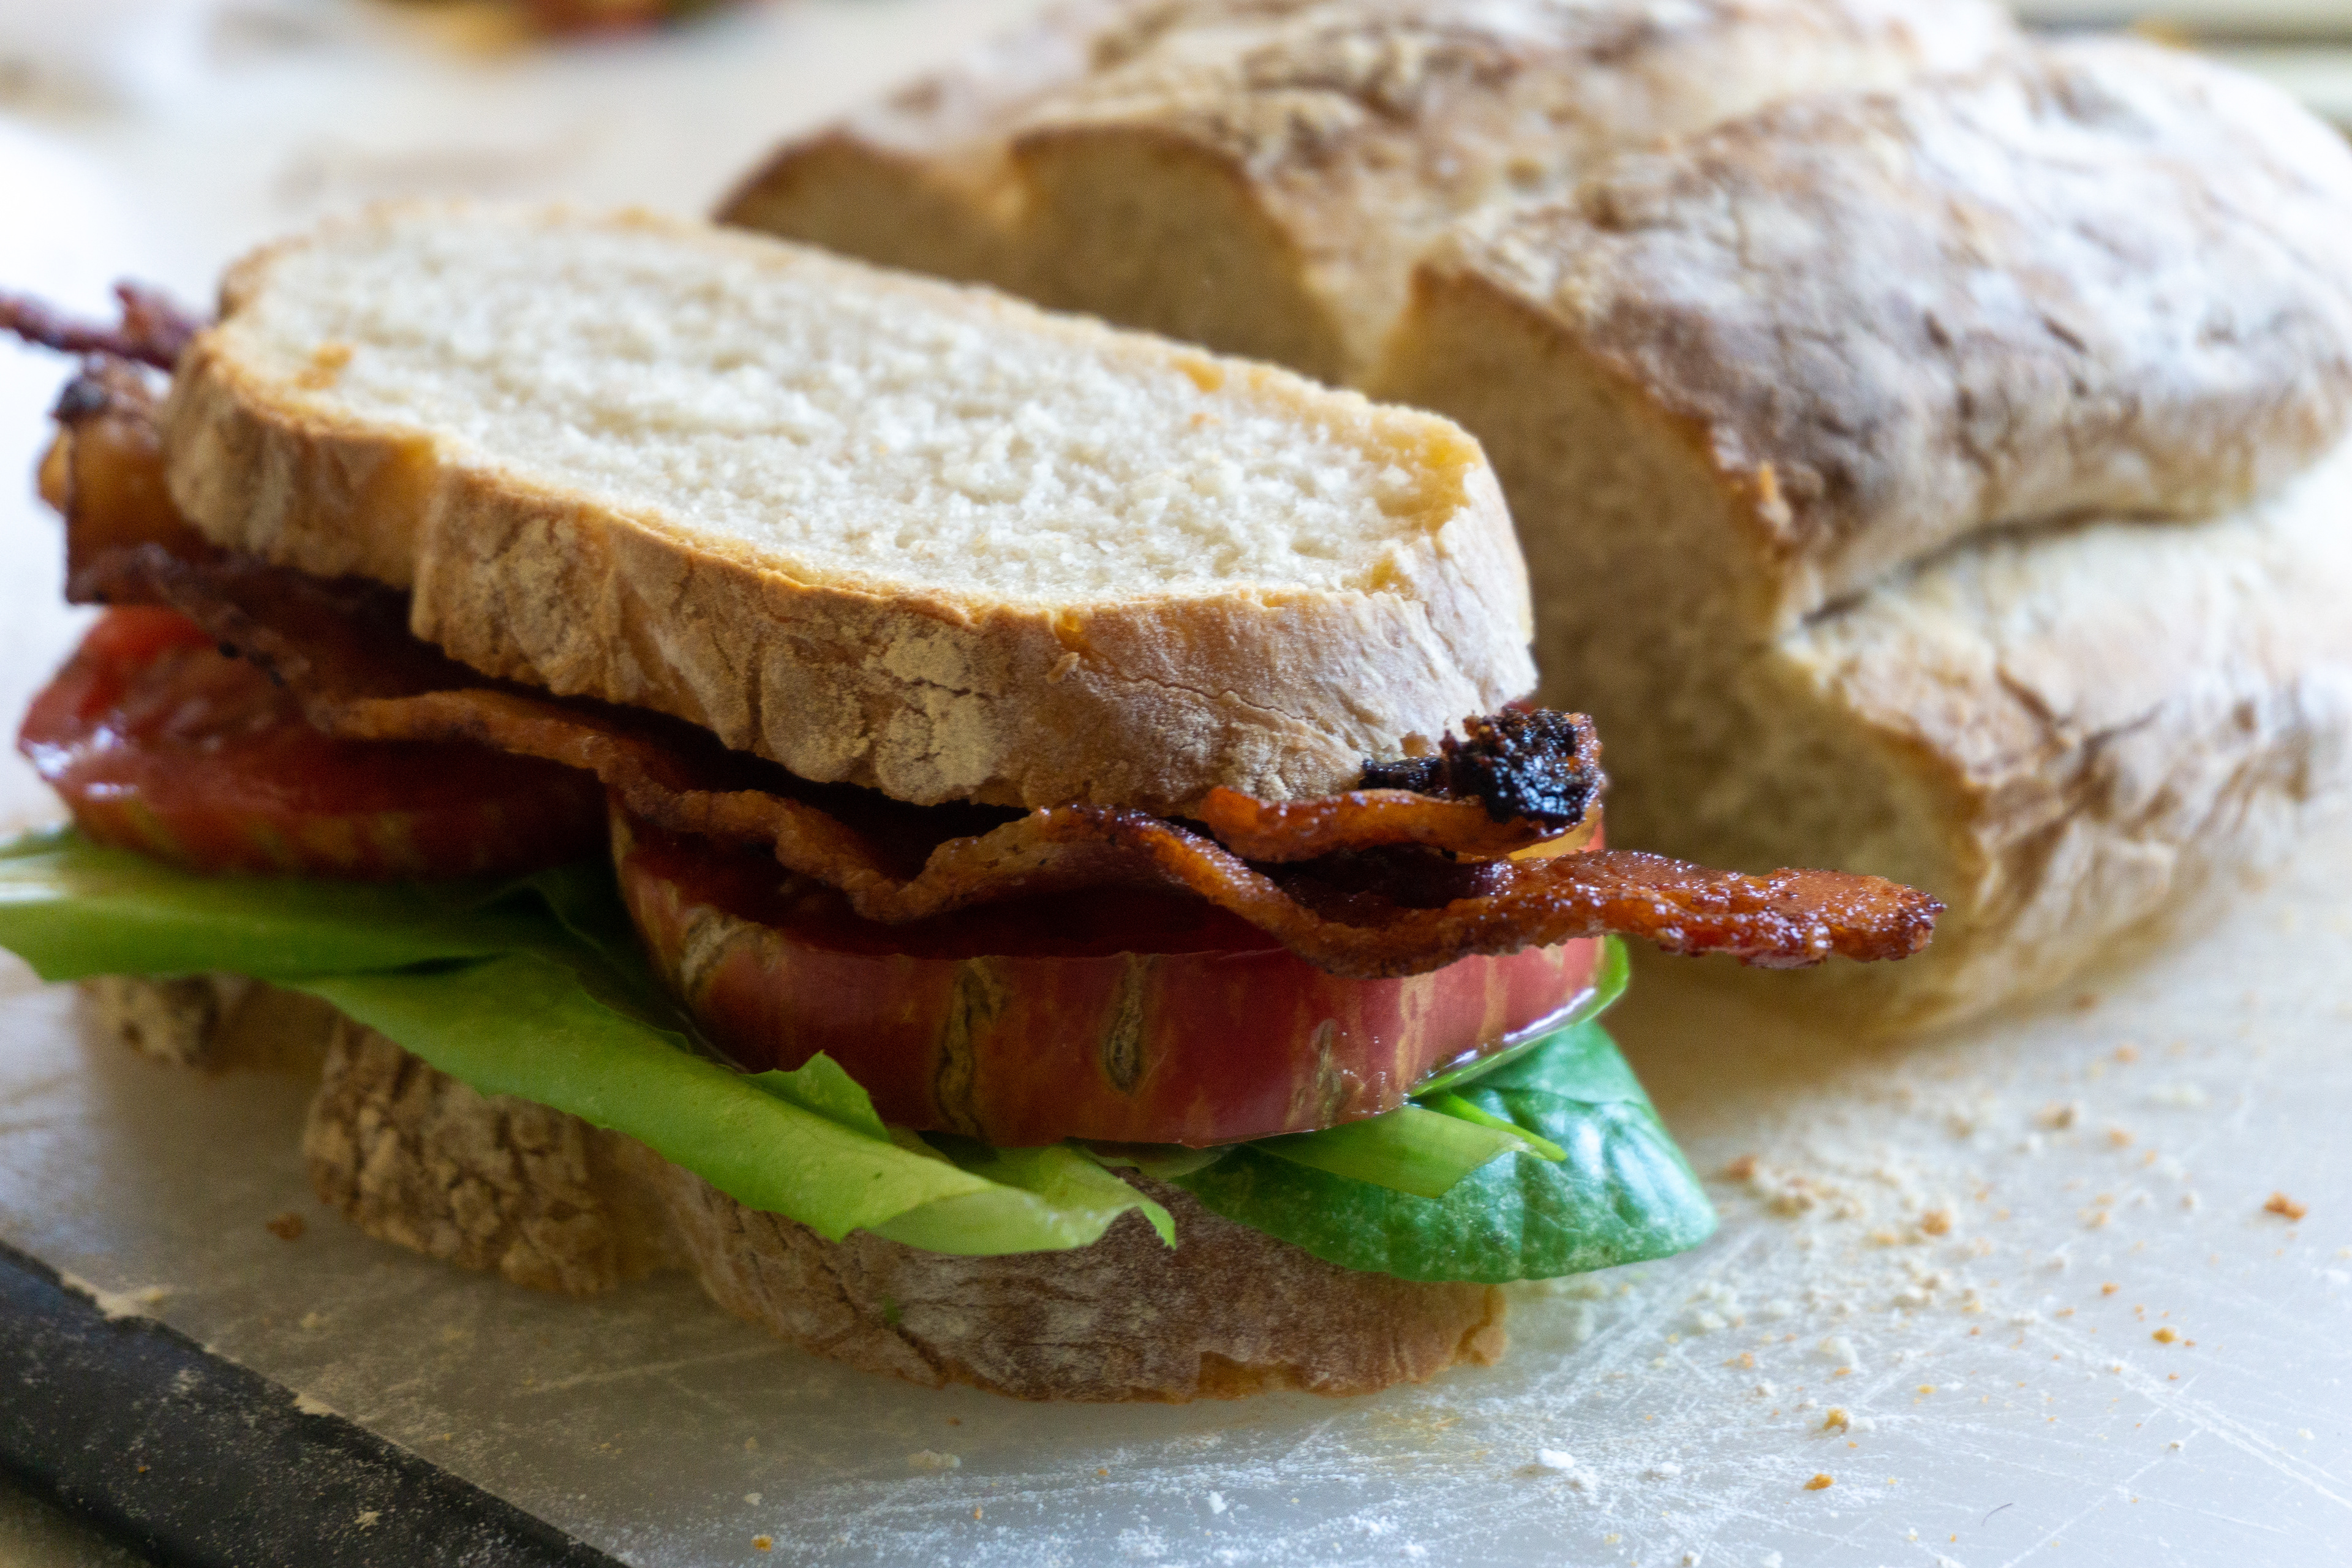
6/8/22 - This batch we included 1/2 a teaspoon of garlic powder and 1/2 a teaspoon of onion powder in the dough, as well as a handful of chopped basil from the garden. This loaf rose super well (slightly less proofing time which I will use going forward) The flavor was surprisingly pleasant and subtle, but made for a great "veggie loaf".
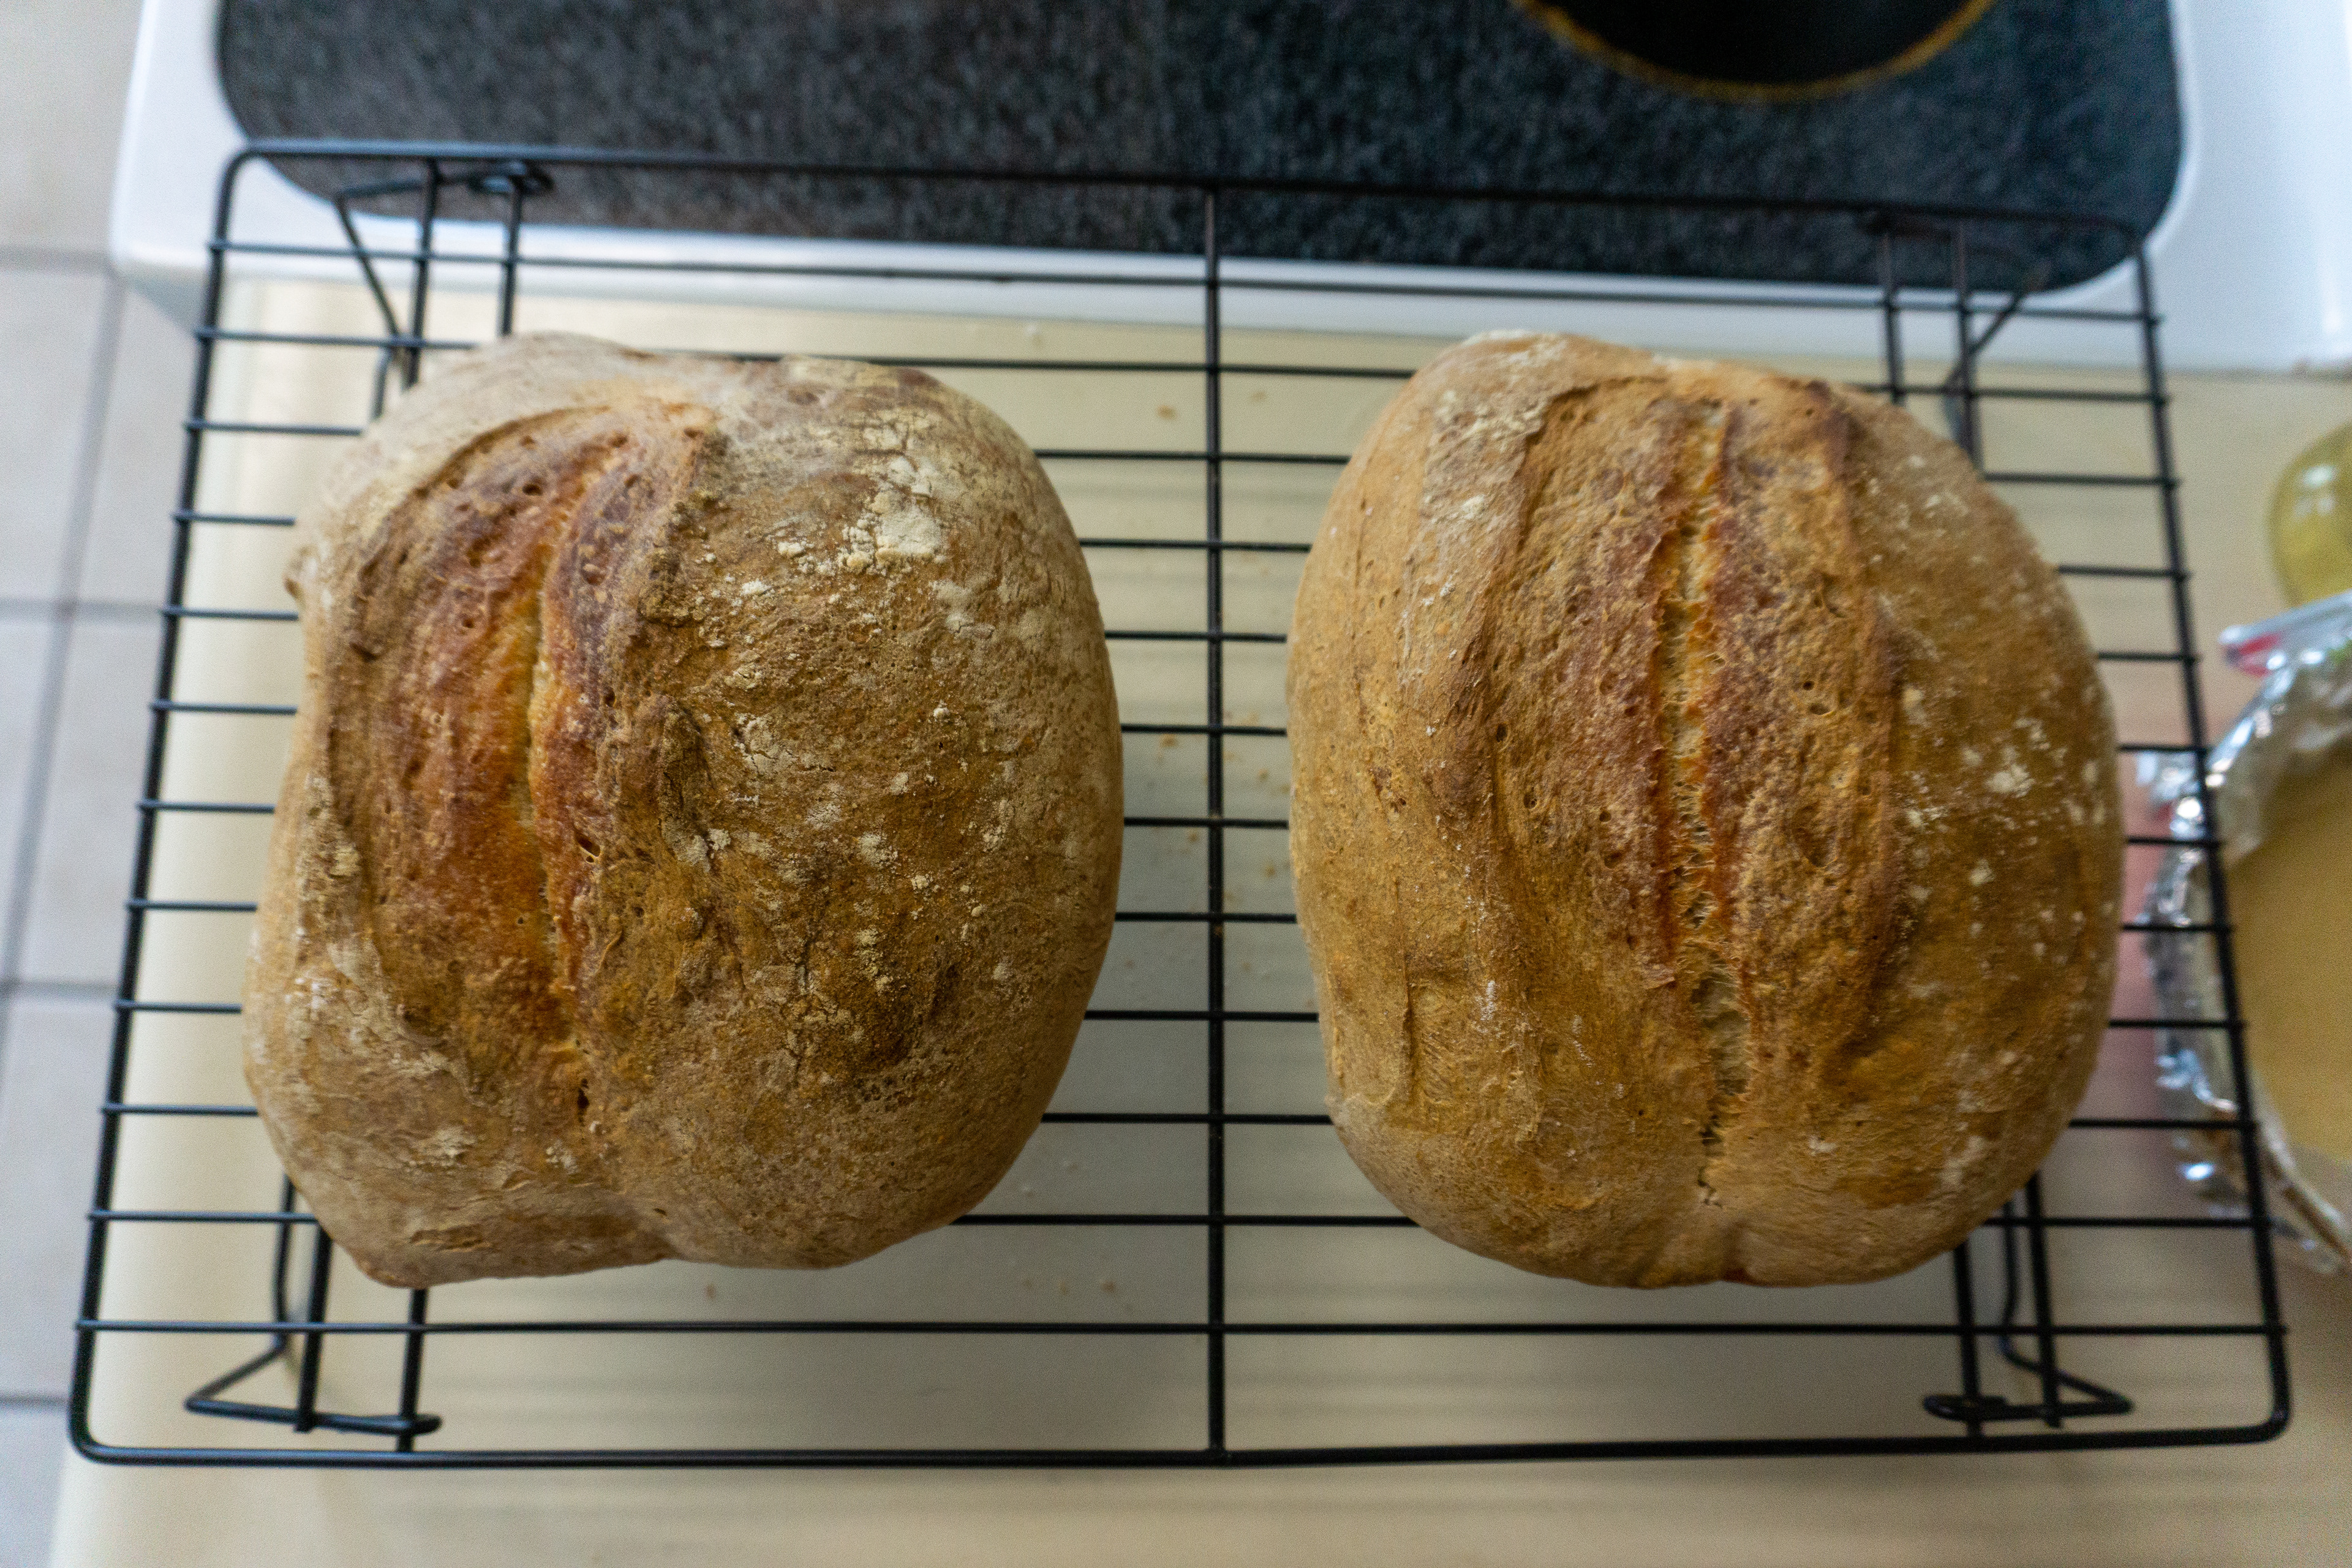
7/2/22 - Now is the time for the big break thru on the actual airy crumb we've been shooting for from the start. Turns out, with kneading the bread you're compressing the dough and removing all of those desirable airy pockets. I have switched to folding the dough instead, and that alone has made a huge difference. This is slightly harder to handle, but keeps the hydration level higher (as you aren't adding flour throughout the kneading process). I'm targeting to stretch fold every 20 minutes or so for 2-2.5 hours, while letting the dough rest at a slightly warmer temp (especially when its nice outside), with the last couple sets of folds being coil folds - holding the dough on both sides in the middle, picking up, laying down, then rotating and repeating.
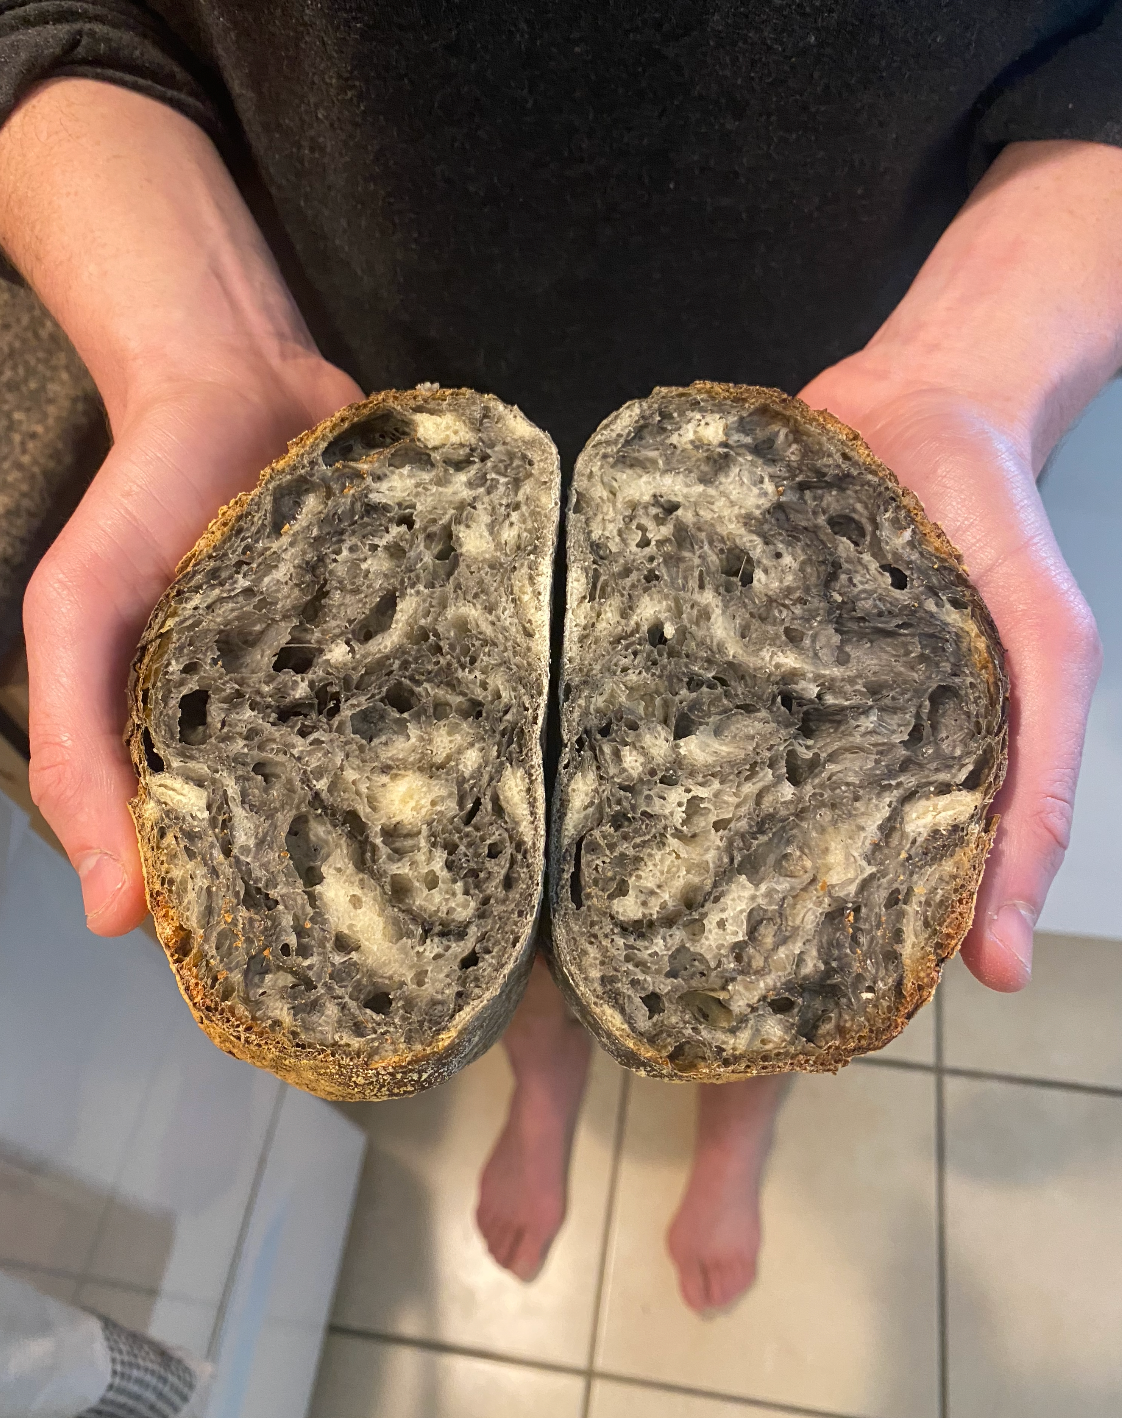
We've also gotten comfortable experimenting a little, most notably below with the black and white marbled loaf using cuttlefish ink for the color.
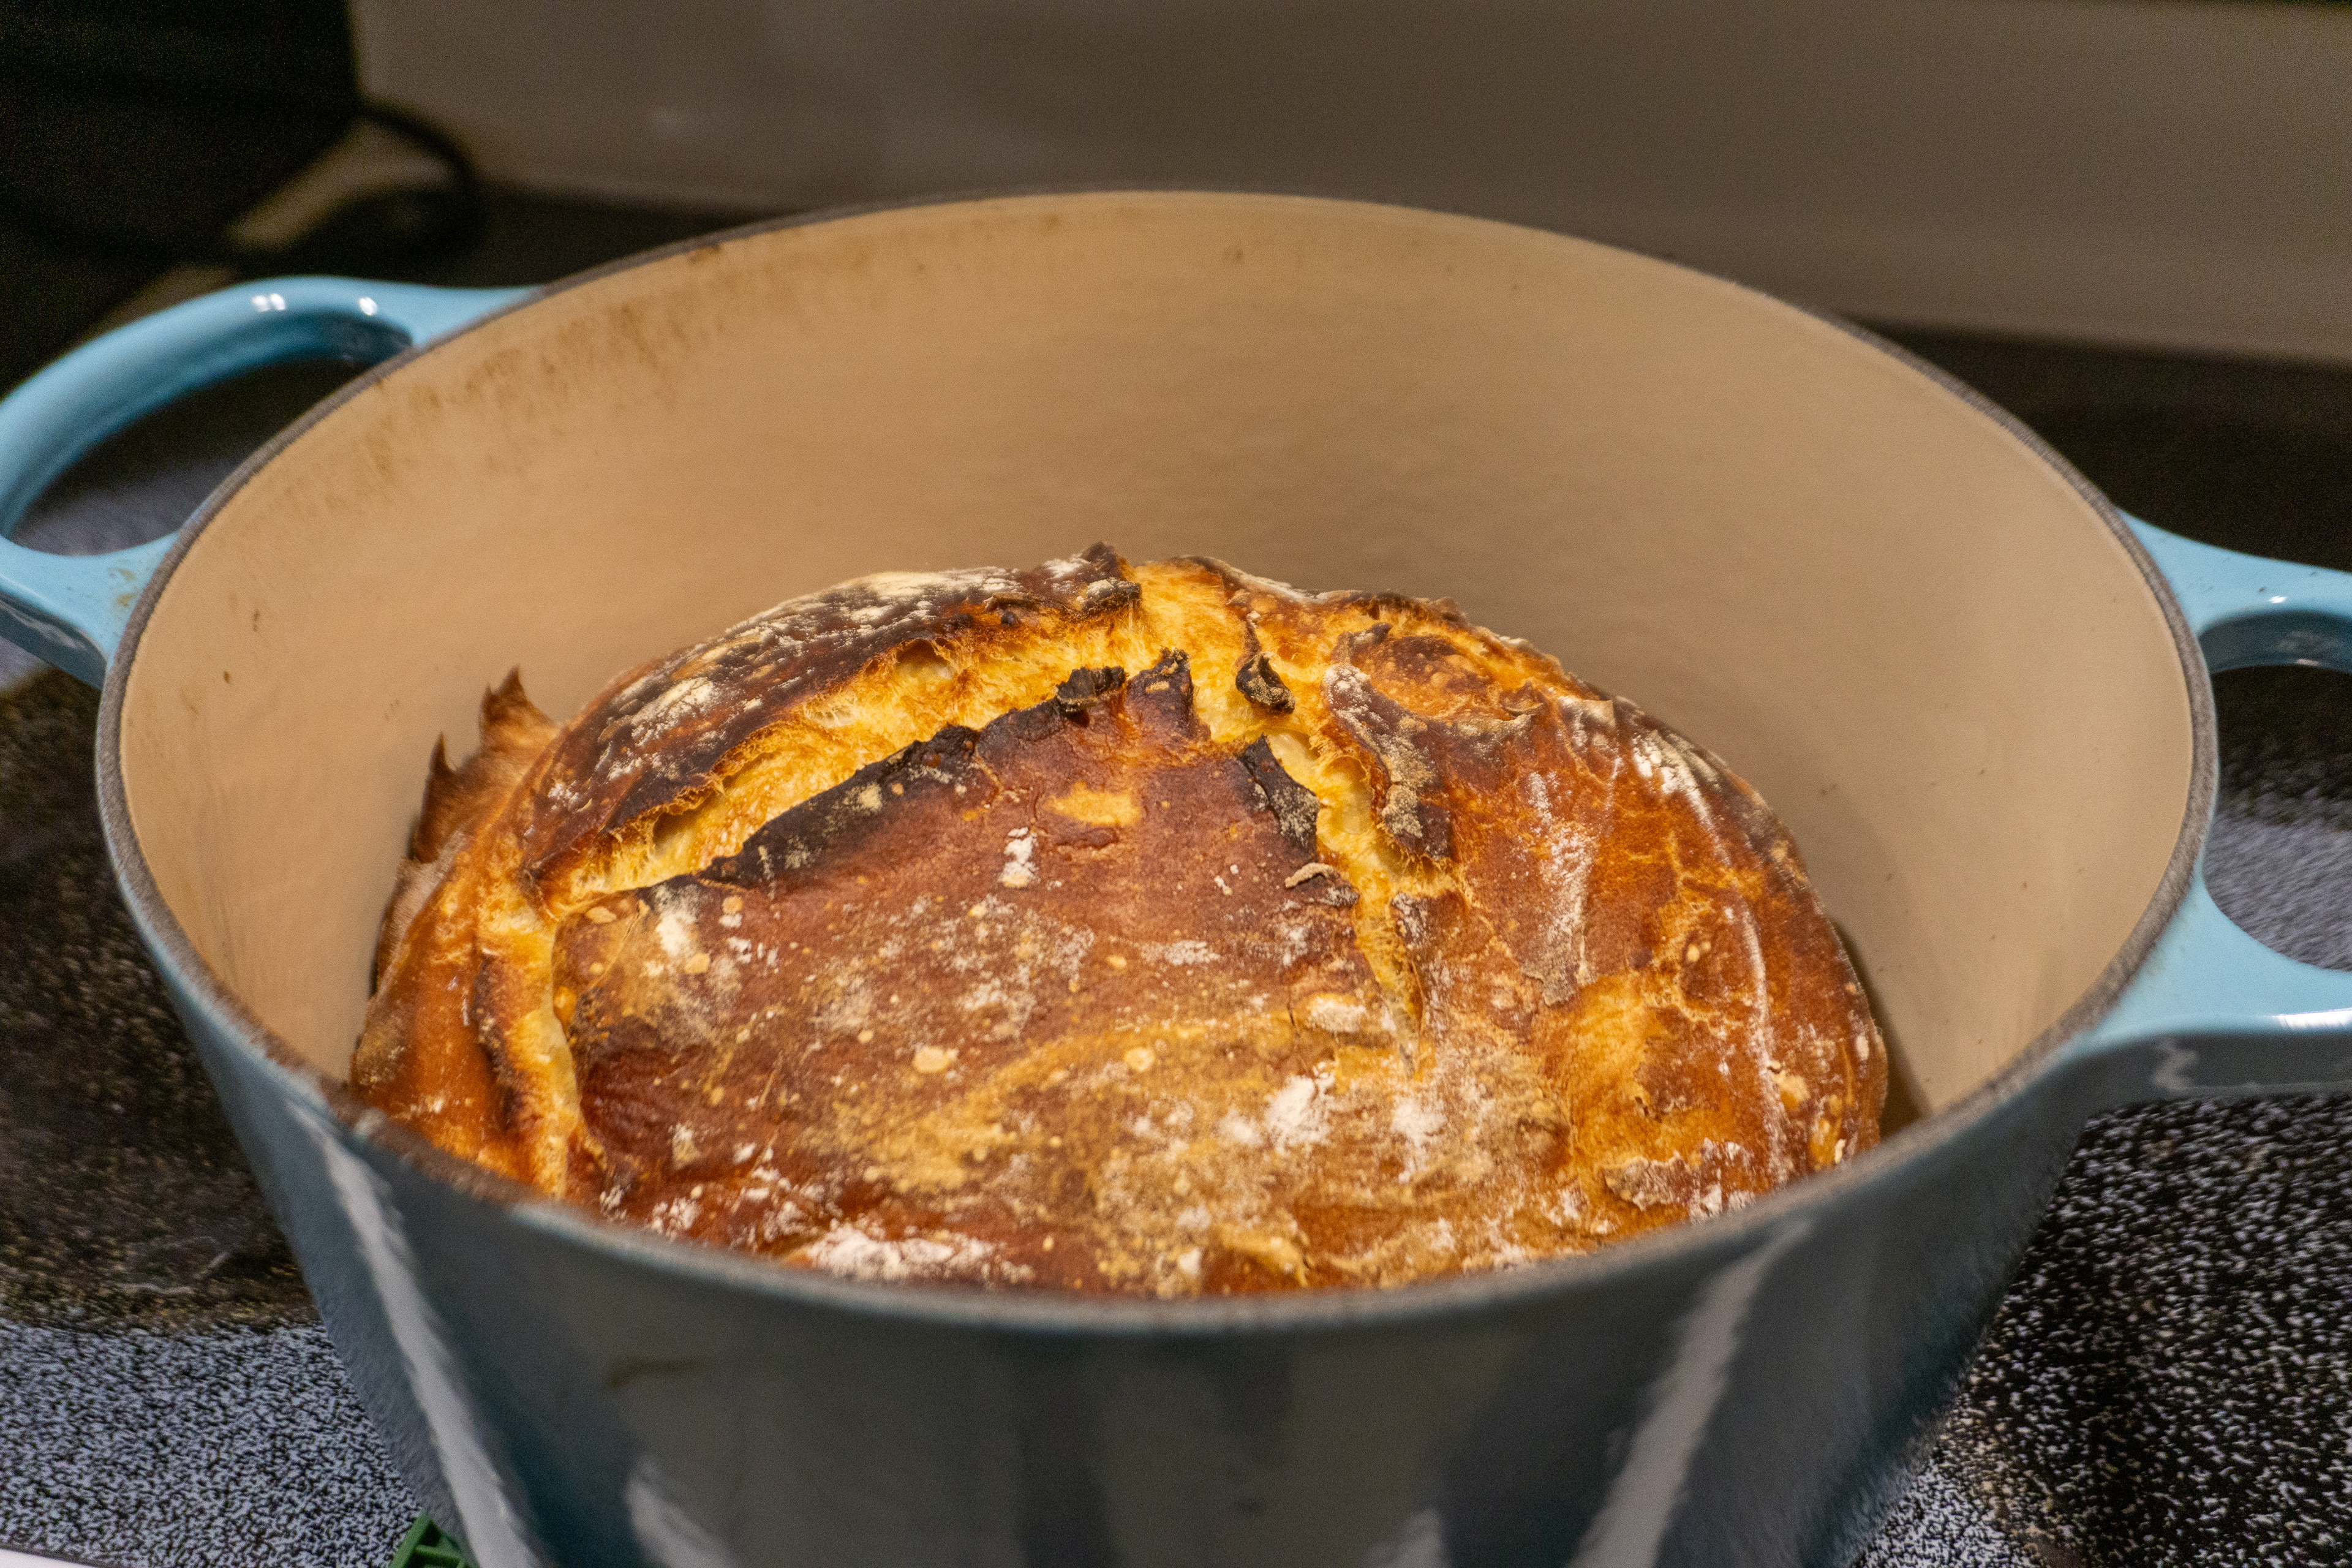
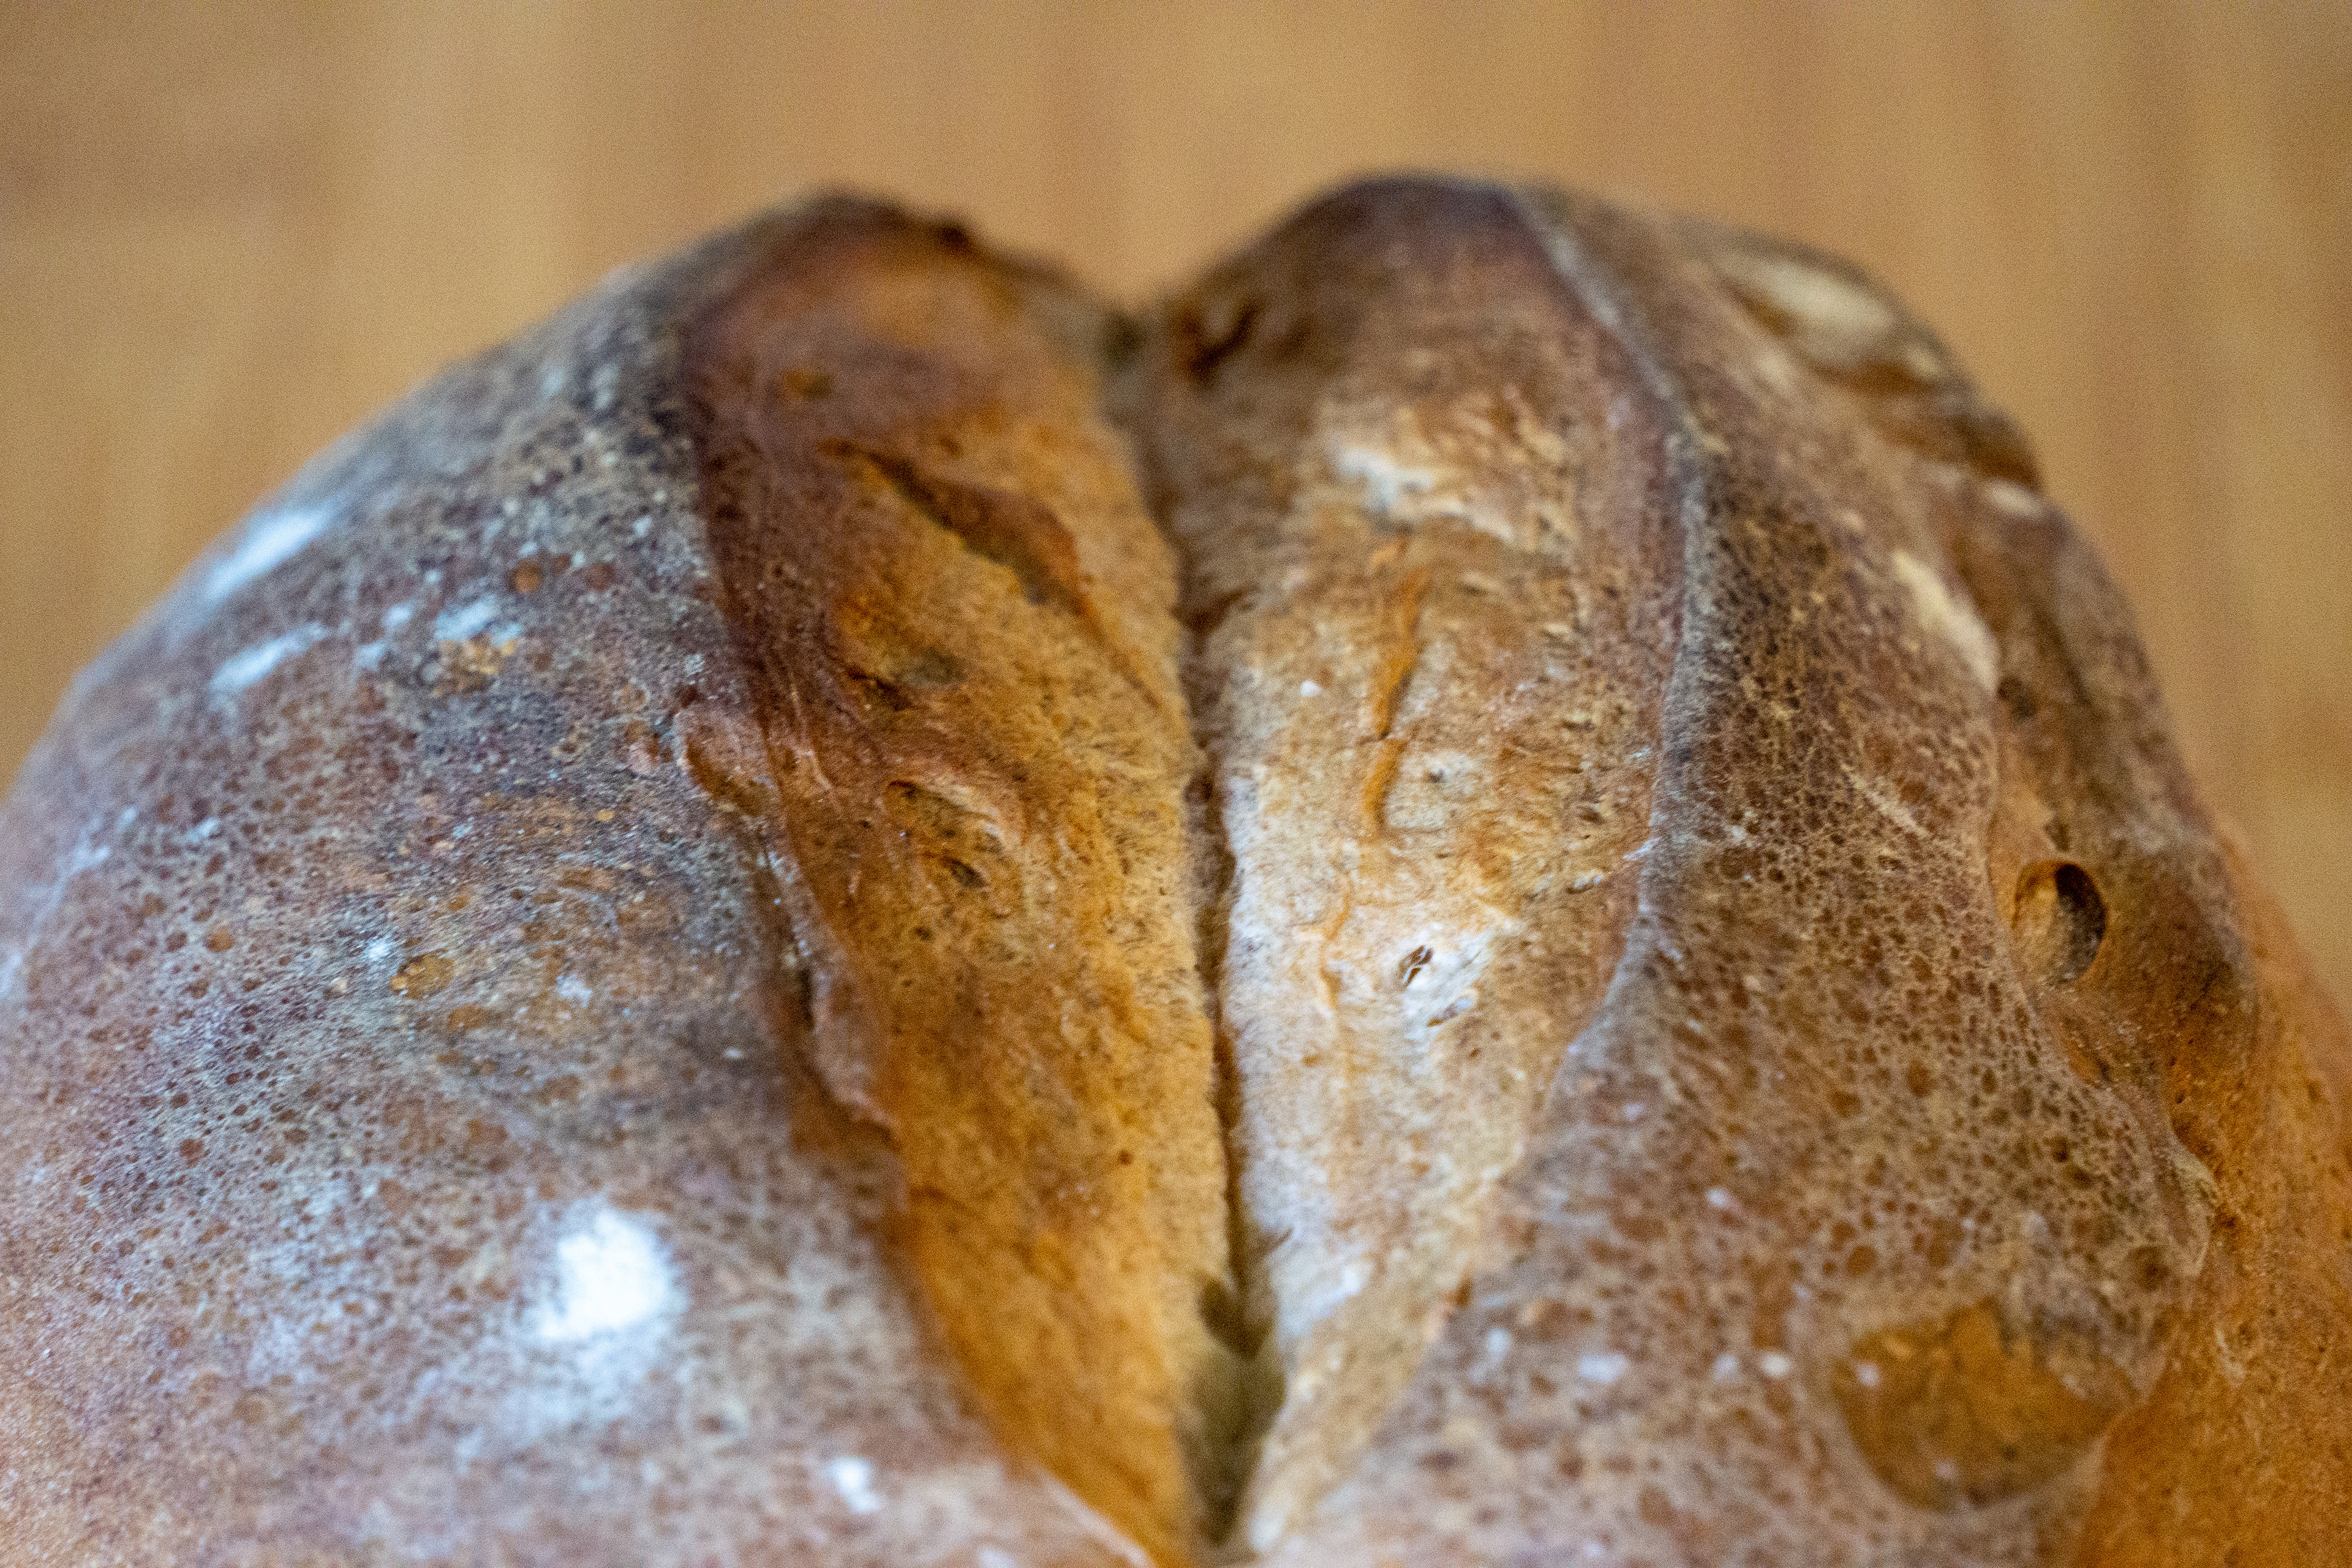
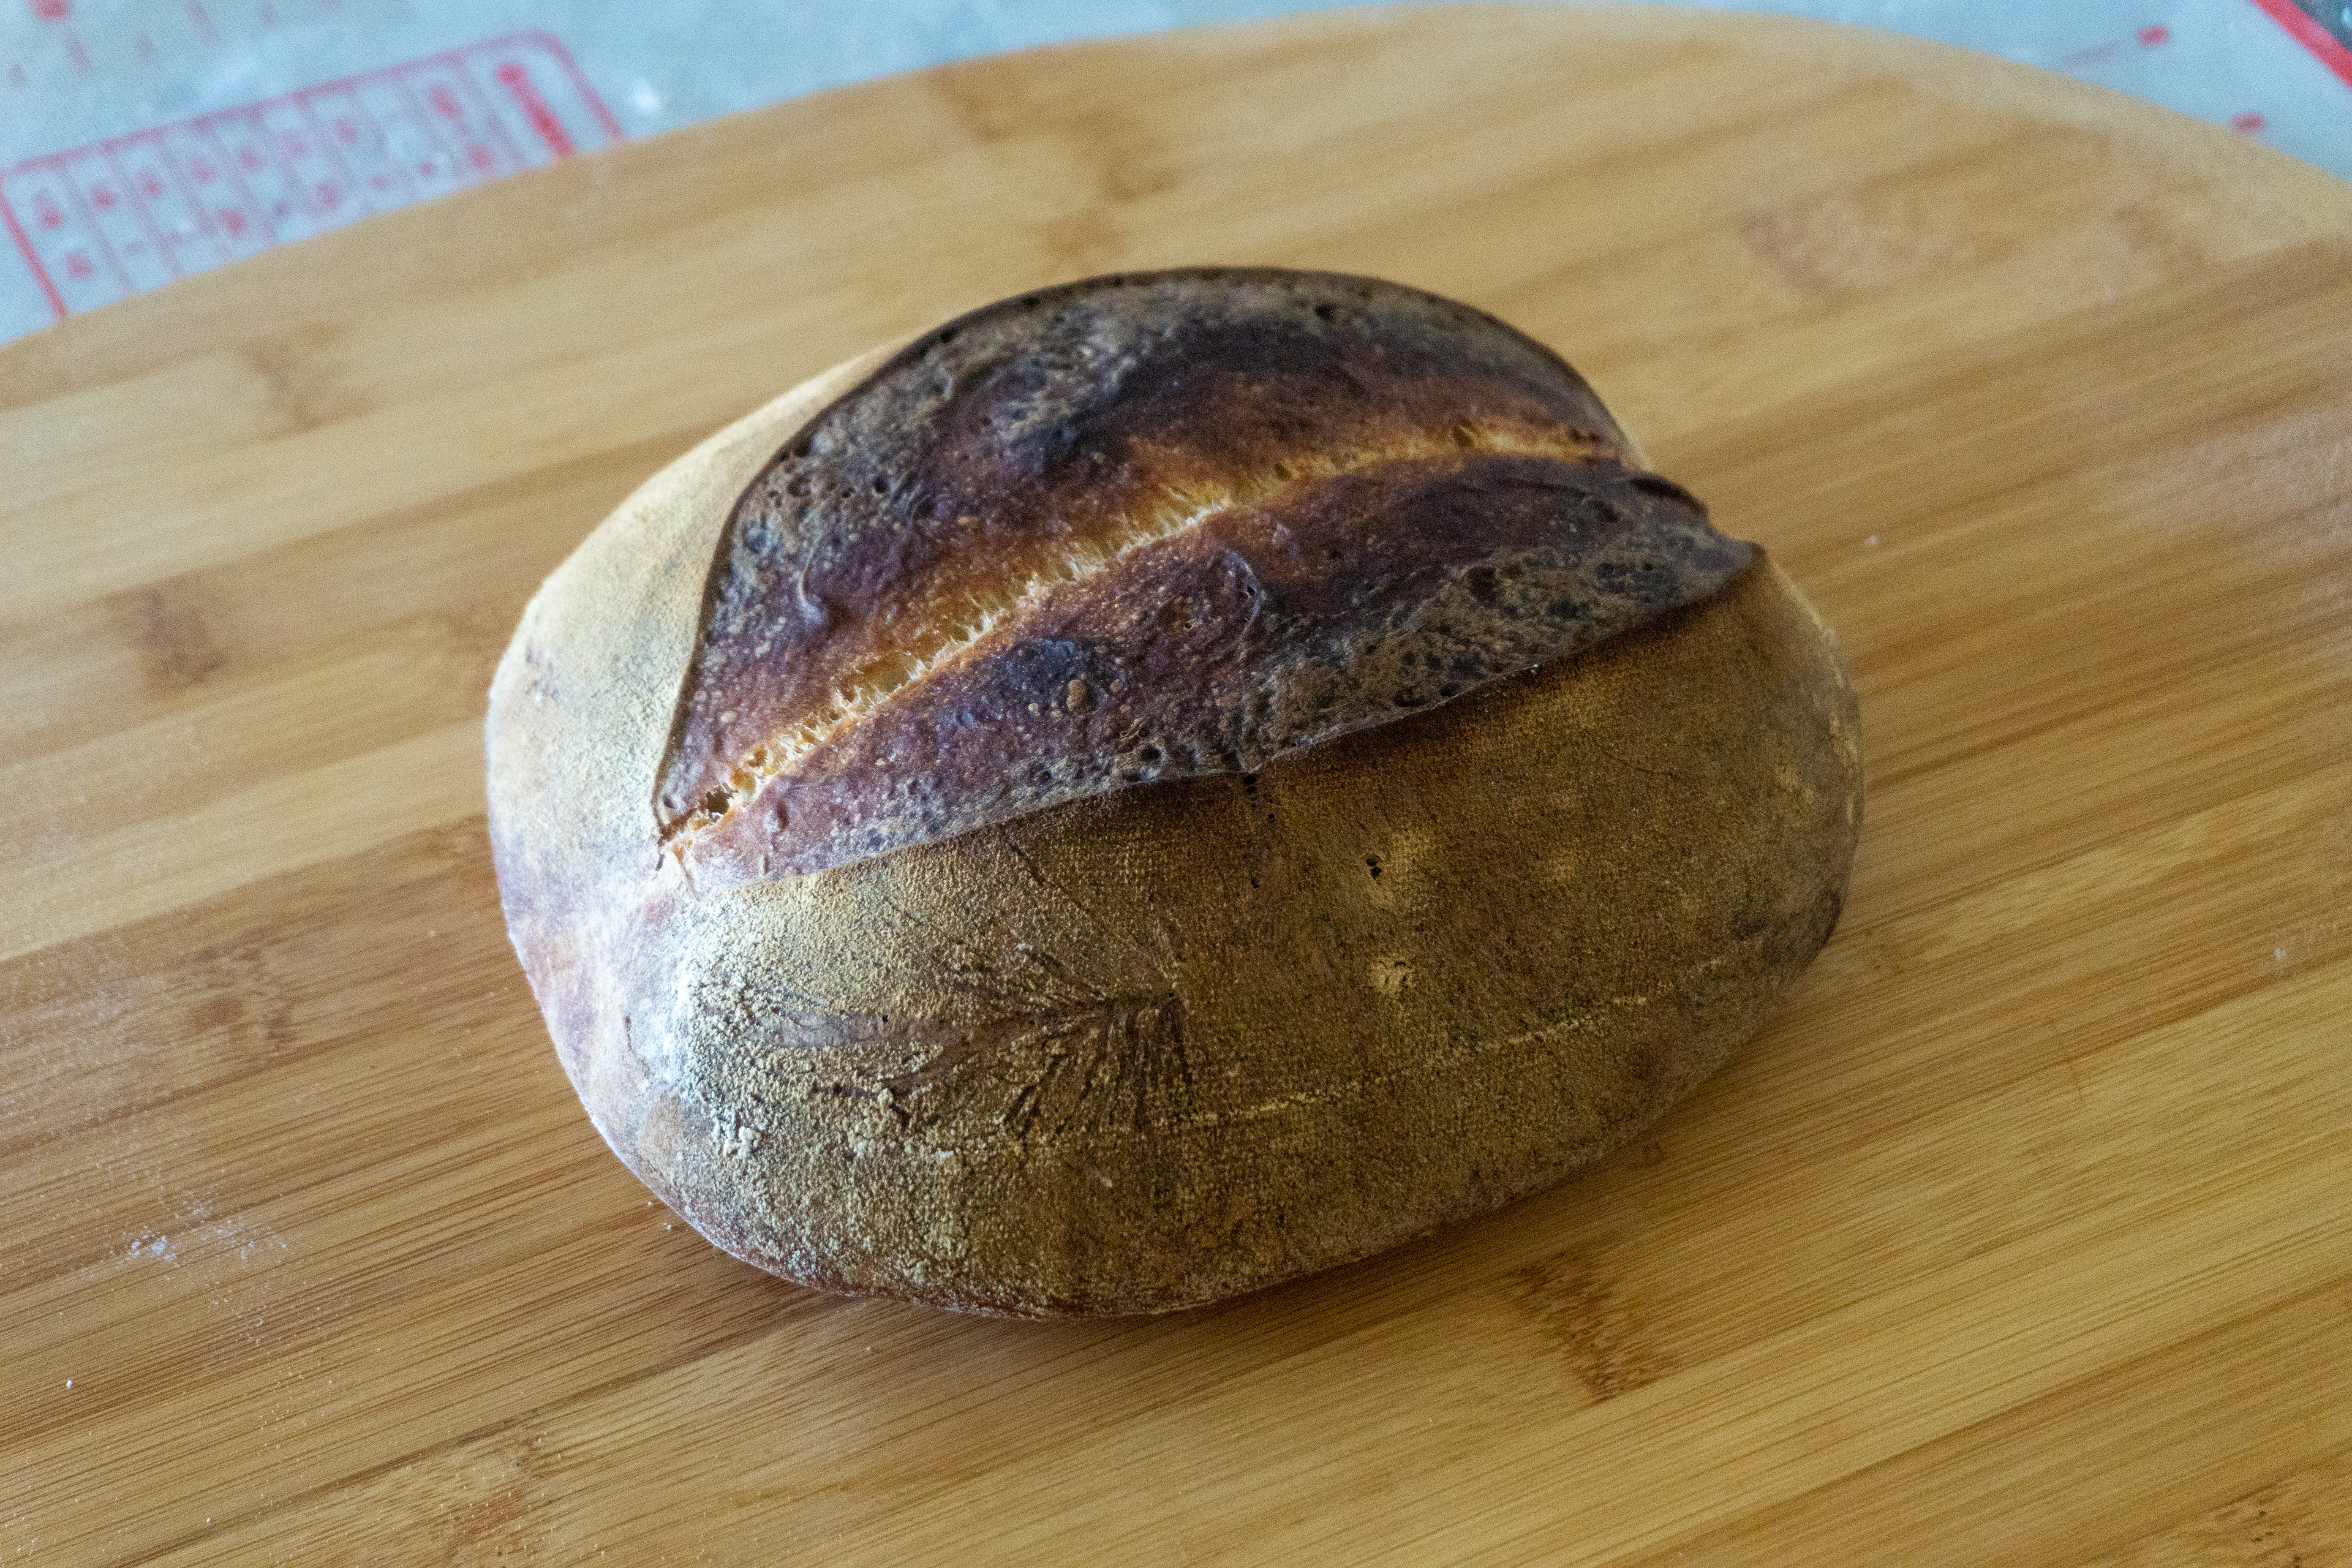
10/28/23 - Sara got me "Flour Water Salt Yeast" for my birthday and this was another big step. While this recipe does make for larger loaves, there have already been a few key process takeaways: dialing in the temperature of the water, baking in the dutch oven which provides a better crust and doesn't require a tray of water spilling throughout the oven, and a little less "hands on" time with the dough. The pain de campagne recipe I followed had a little bit of excess dough as well, so with that we ended up baking some pizza.